HOW TO CLEAN GAS STOVE BURNERS & GRATES
Gas stovetops bring together powerful burners and durable grates to deliver a dynamic cooking experience. Gas stove surfaces, burners and grates can get dirty while cooking and require cleaning. This guide will teach you simple, everyday steps for cleaning your stove burners and grates as well as heavy-duty cleaning techniques for built-up or stuck-on grease and spills.
You should always check your appliance’s owner’s manual before beginning any cleaning process. Your specific model may come with its own cleaning considerations and methods. Read on for more information on how to clean a gas stovetop, including how to clean clogged gas burners and cast-iron stove grates.

HOW TO CLEAN GAS STOVE BURNERS
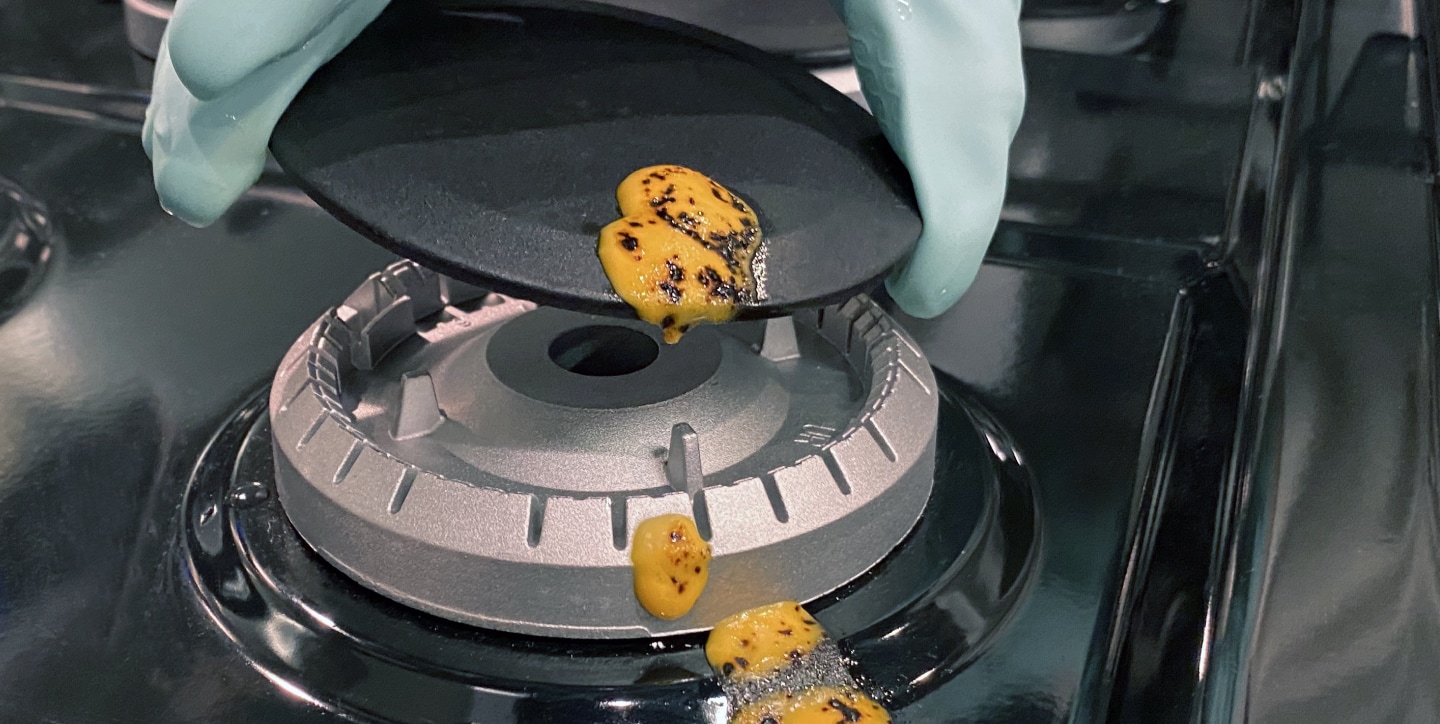
Most gas burners feature an easily removable burner cap which protects the burner base underneath from food spills. However, food or grease can accumulate under and around the caps over time. Regularly cleaning them, as well as the burner base, will help you maintain even flames and proper ignition. See below for tips on how to clean dirty or clogged gas burners in a few simple steps.
WHAT YOU’LL NEED
- Non-abrasive scrubbing pad or cloth
- Mildly abrasive cleaner or soap
- Straight metal pin or needle
- Baking soda (optional)
STEP 1: PREP THE STOVETOP FOR CLEANING
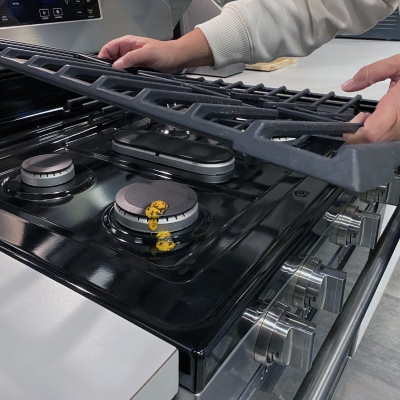
Before cleaning, make sure all controls are turned to the off position and the cooktop is cool. Remove the stovetop grates and set them aside. Remove the burner caps.
STEP 2: CLEAN THE BURNER CAPS
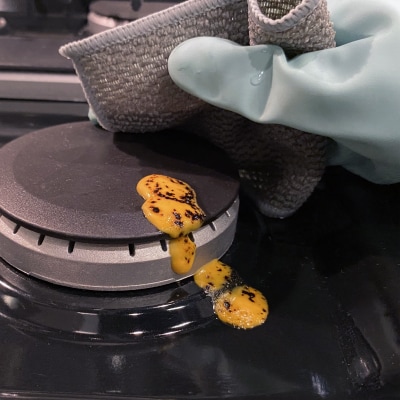
Wipe down all sides of the burner caps with a non-abrasive scrubbing pad or cloth and mildly abrasive cleaner or soap. If the caps are extra dirty, soak them in hot, soapy water for a minimum of 20 minutes.
If food and grease is still stuck on the burner caps, try creating a paste of three parts baking soda and one part water. Coat the caps with the paste and let them sit for 20 minutes. Rinse them and wipe them down with a soft cloth.
STEP 3: CLEAN THE BURNER BASE
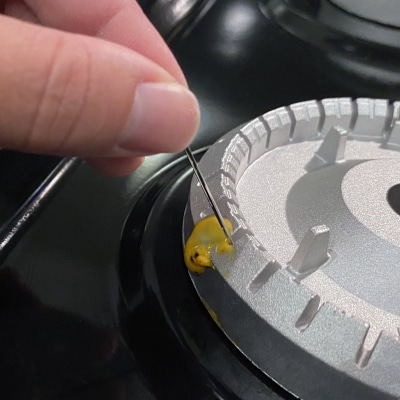
Wipe down the burner base with a non-abrasive scrubbing pad or cloth and mildly abrasive cleaner or soap. If the ports (the notches that help spread the flame) look dirty or clogged, remove any food or grease with some type of straight metal pin or needle. Do not use a wooden toothpick. Wipe down the burner with clean water and a soft cloth.
STEP 4: PUT THE BURNER CAPS BACK ON
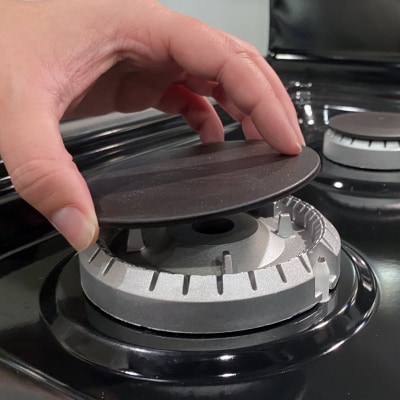
Manually dry the caps with a towel before putting them back on. Some burners have a marker on the underside of the cap that indicates which burner they belong to.
Some burner bases also have pins that help you align the cap correctly. The burner cap should fit flush with the burner and move very little when you try to turn it in either direction. Check if the caps were reinstalled correctly by turning on the burner and verifying that the flame looks normal.

HOW TO CLEAN STOVE GRATES
Gas stove grates are designed to handle whatever you throw on them, and a certain amount of spillage can be expected. Read these steps on the best way to clean stove grates, including cast iron grates, to get them clean with minimal time and effort.
WHAT YOU’LL NEED
- Non-abrasive scrubbing pad or cloth
- Mildly abrasive cleaner or soap
- Dishwasher (optional)
STEP 1: REMOVE THE GRATES AND SCRUB THEM
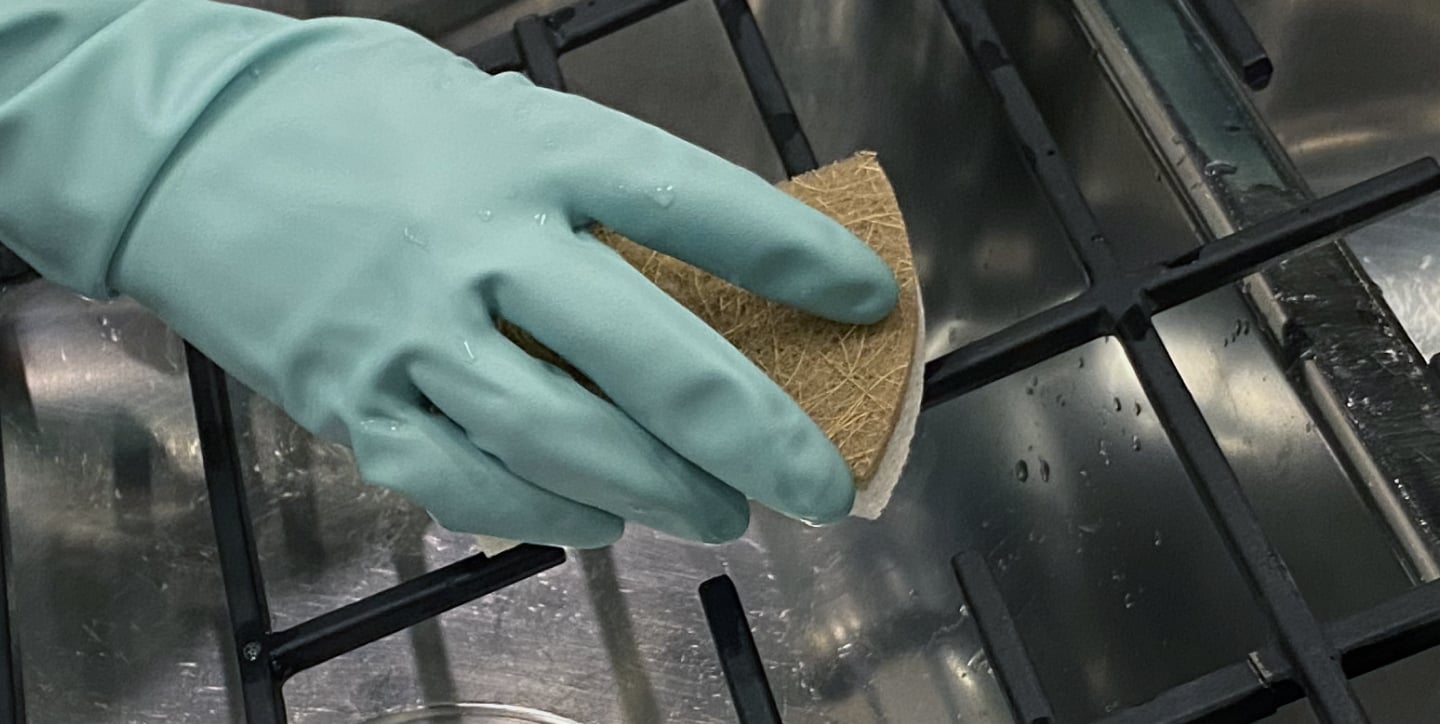
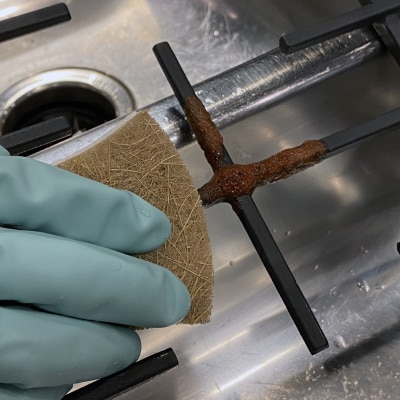
Make sure the grates are cool before removing them. Scrub them gently with a non-abrasive scrubbing pad or cloth and mildly abrasive cleaner or soap. Don’t worry about using water and cleaners on cast iron grates; they are mainly for heat conduction and durability, so they don’t need to be treated like a cast-iron pan for cooking.
STEP 2: PUT GRATES IN THE DISHWASHER, IF NECESSARY
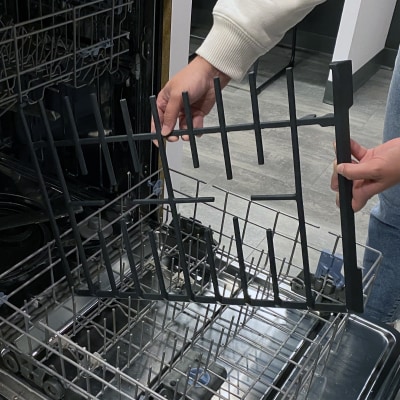
Many gas stove grates are dishwasher-safe, but check your oven’s owner’s manual before placing them in the dishwasher. If you’re washing them in the dishwasher, make sure to place the grates in the lower rack and select the most aggressive cycle. Scrubbing the grates by hand ahead of time can improve the cleaning process.
STEP 3: PUT THE GRATES BACK ON
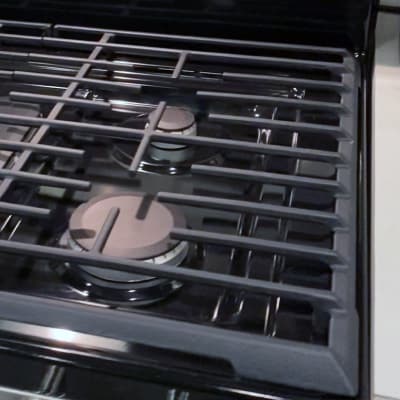
Wait until the grates are completely dry before putting them back on the stove. Look for any tabs or marks that indicate how they should be configured on the stovetop. When the grates are back in place, jiggle them slightly to make sure they are secure.

KNOW YOUR BTUS TO HELP PREVENT SPILLS
Gas burner heat is measured in BTUs (British Thermal Units). Not all gas burners on a single stovetop are capable of putting out the same amount of heat. Check your owner’s manual for the BTU ranges of each burner so you can avoid overcooking and spills.

HOW TO GET GREASE OFF THE STOVETOP SURFACE
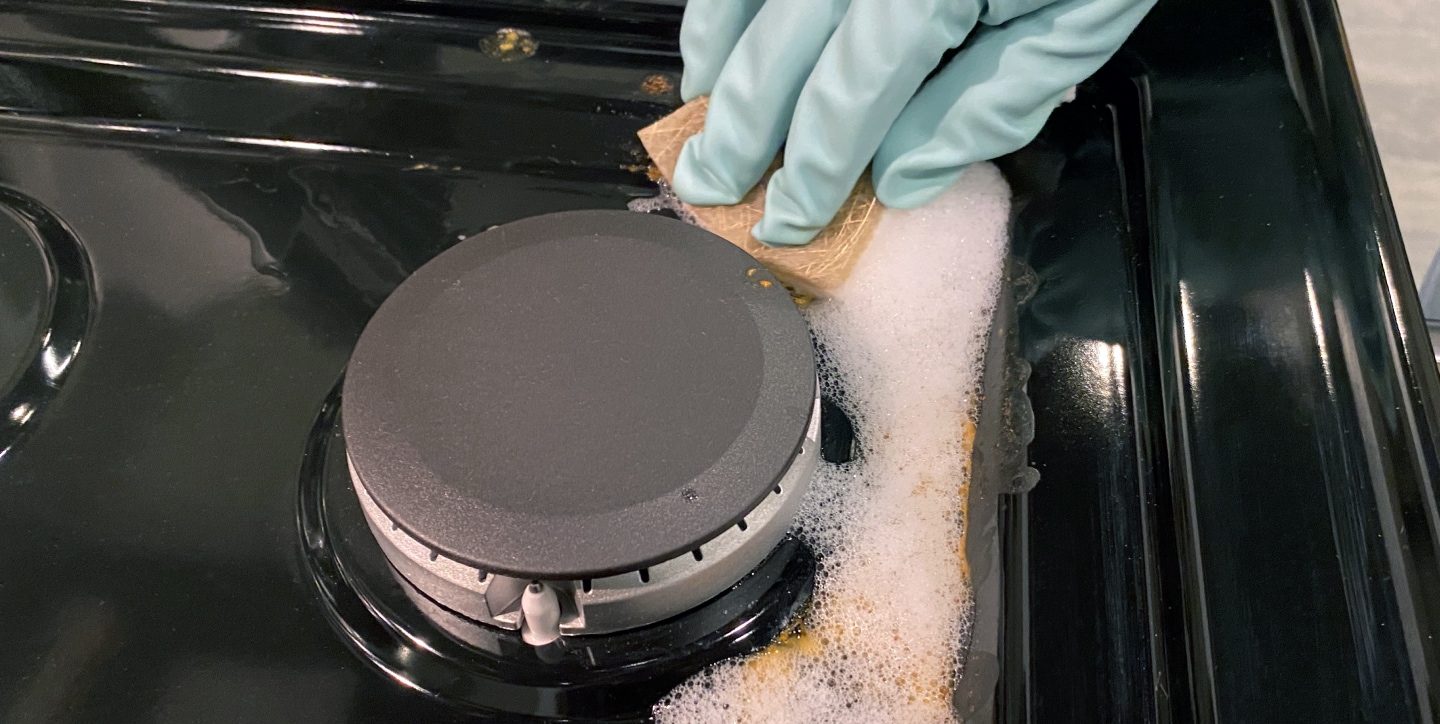
To tackle grease on a gas stovetop, first remove the grates. Work warm water and liquid dish soap (the kind used for handwashing dishes) into a lather with a soft cloth. Coat the stovetop surface with soapy water and let it sit for around five minutes. Scrub the surface until all the grease is gone.
If liquid dish soap doesn’t do the trick, try creating a paste of three parts baking soda and one part water. Coat the stovetop surface with the paste and let it sit for at least 20 minutes. The paste should then come up easily with a soft cloth or sponge. For more information on cleaning your stove surfaces, read this guide on how to clean an oven in four steps.
HOW TO KEEP YOUR GAS STOVETOP CLEAN
Cleaning your stove surface, burners and grates after each use will help it withstand years of messy meals. Even if there hasn’t been a major spill, some grease or food residue most likely made its way onto your stovetop and could bake on the next time you fire it up.
If you’re shopping for a new cooking appliance, consider a stovetop with a protective finish built in. For example, Maytag® DuraGuard Protective Finish and DuraClean Cast Iron Grates clean up easily and let pots and pans slide smoothly around the cooktop for fewer spills when transitioning from burner to burner.
Shop Maytag® gas cooktops
Maytag brand offers hardworking gas cooktops with features on select models like the Power™ burner, to give meats and vegetables a powerful sear or the simmer burner which provides precise, adjustable heat to give your cooktop both a full-power simmer burner and warming setting all in one. Explore these Maytag® cooktop options to find the best model for your home.


