HOW TO CONNECT
CONTROL. CONVENIENCE. CONNECTIVITY.
Choose from the guides below to connect your Maytag® Smart Appliance and put the power of Maytag in your palm.
DOWNLOAD THE MAYTAG™ APP AND CREATE AN ACCOUNT
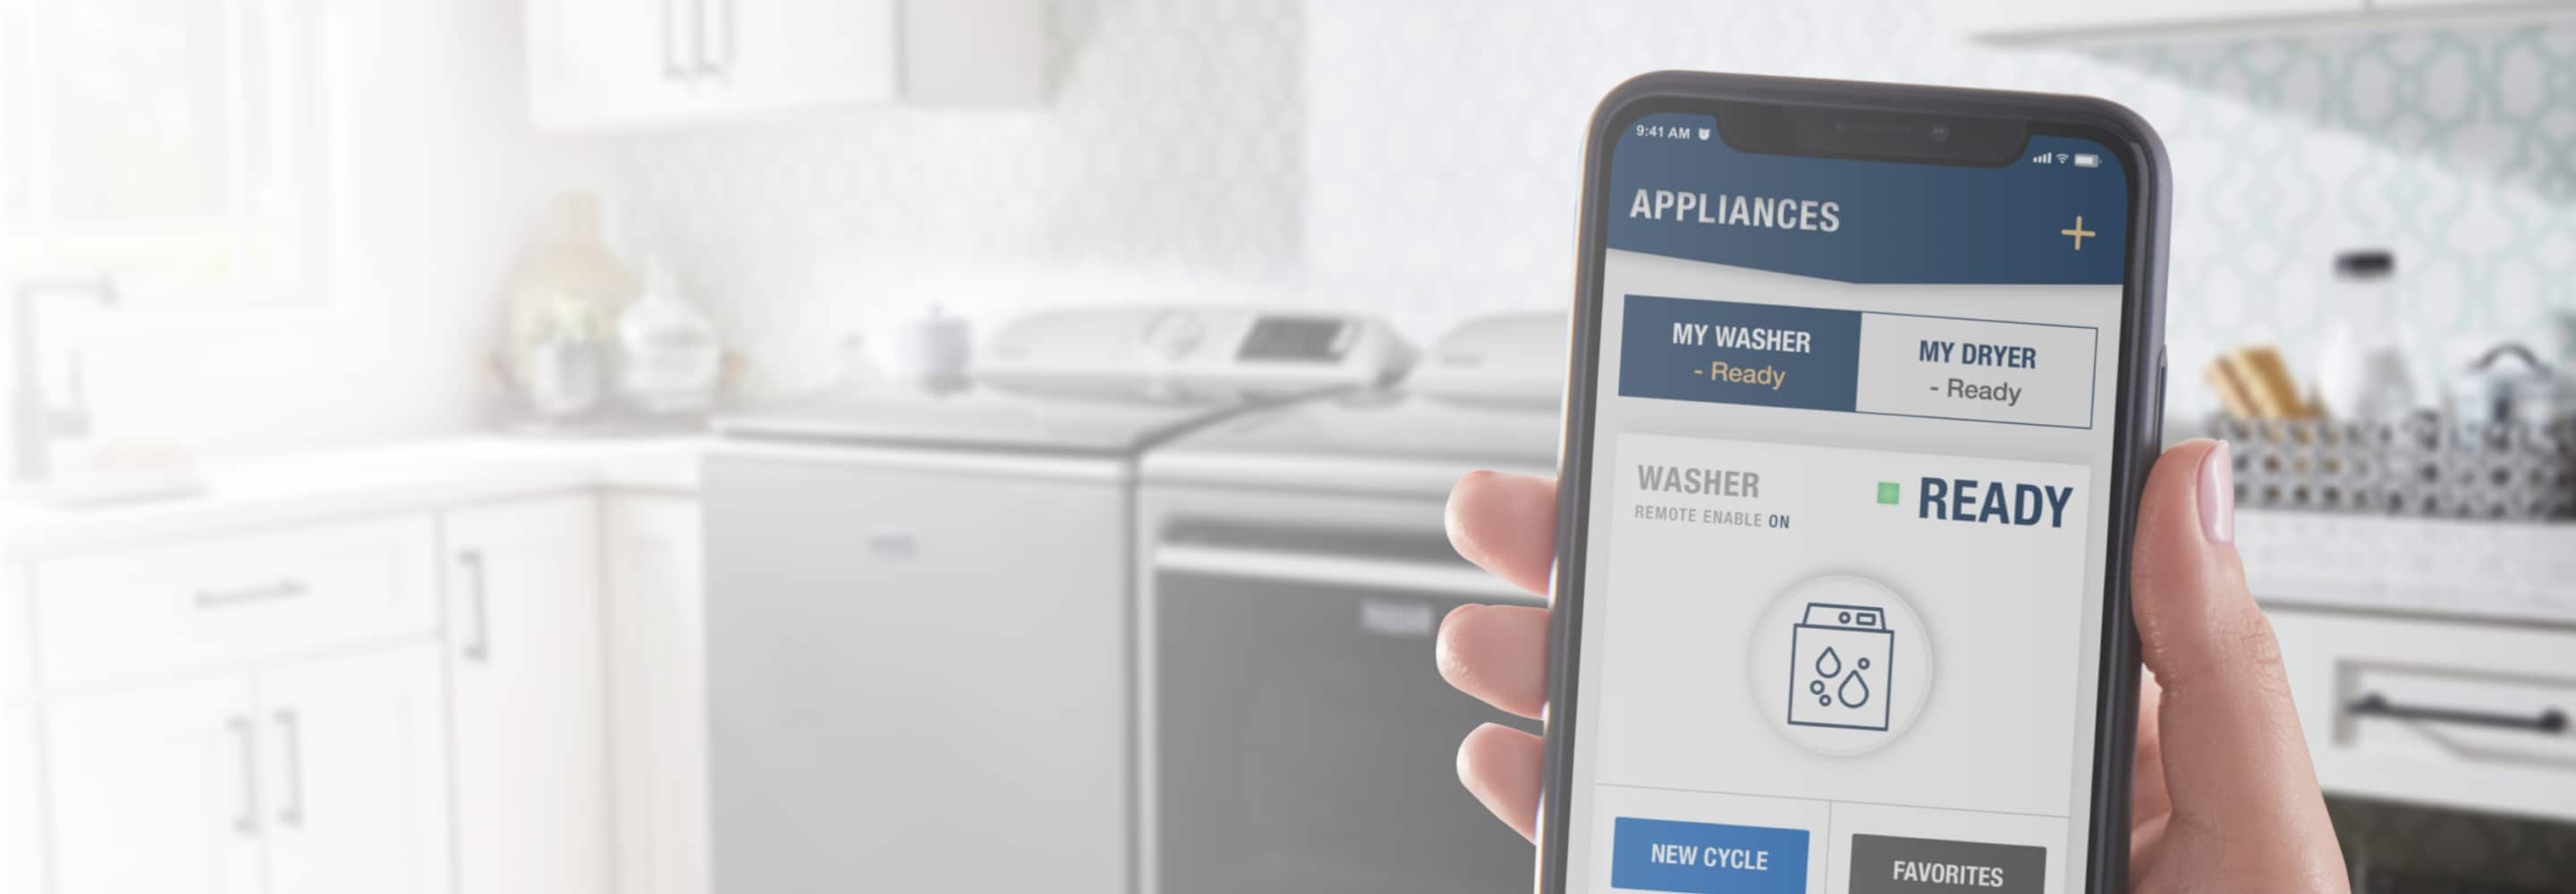
Open the Maytag™ App, add your appliance and follow the guided experience to get up and running quickly.1
View the Whirlpool Corporation Smart Appliance Terms of Use and Privacy Notice.
CONNECTING YOUR TOP LOAD SMART APPLIANCE*
step 1 of 10
Power on your appliance and press Remote Enable.
step 2 of 10
Download the Maytag™ App and create an account.1
step 3 of 10
Connect your mobile device to WiFi.
TIP: You must be on a 2.4GHz network frequency, 5GHz will not work. Bluetooth & location services must be on.
step 4 of 10
Open the Maytag™ App and add appliance.
TIP: App will search for nearby appliances so stand near your appliance. Allow permissions for both when opening the app for the first time.
step 5 of 10
When found, select the appliance you are trying to connect.
TIP: If no appliance is found, check that the appliance is in the right mode (see above). Otherwise, follow the Help path in the app.
step 6 of 10
Press Pair.
TIP: Check that the code on the appliance matches the code on your mobile device.
step 7 of 10
Confirm pairing on the appliance by pressing Start.
TIP: You must confirm the pairing on both the mobile app & the appliance to continue.
step 8 of 10
Press Let’s Connect.
step 9 of 10
Enter your home network password. Press Next.
step 10 of 10
Name your appliance and select Done.
CONNECTING YOUR FRONT LOAD SMART APPLIANCE*
step 1 of 8
Download the Maytag™ App and create an account.
step 2 of 8
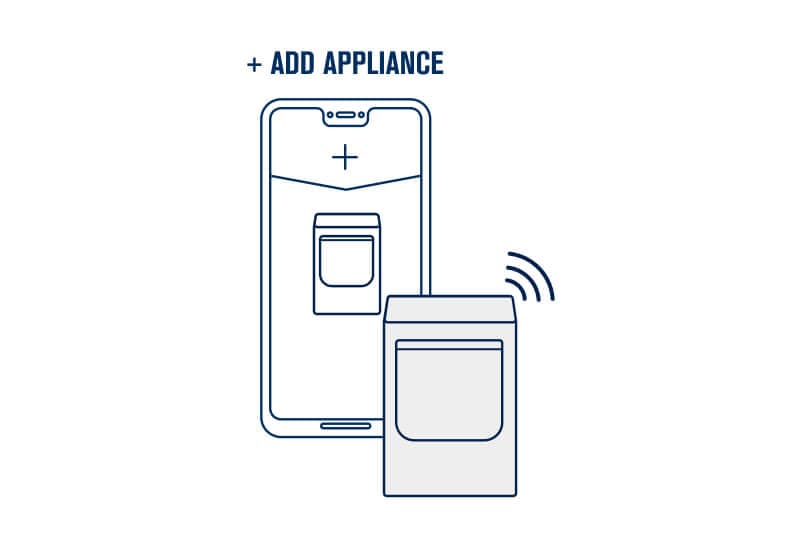
Select Add Appliance.
step 3 of 8
Scan the QR code.
TIP: Find the QR code on the appliance label or manually enter the SAID and MAC.
step 4 of 8
Select your product type and model number.
step 5 of 8
Press and quickly release the Wifi Connect button on the appliance.
TIP: Do NOT hold the button, this will put the appliance in the wrong mode. If your appliance says to "Hold 3 sec.", please ignore.
step 6 of 8
In the app, select your network and enter your password.
TIP: If your home router has a choice of frequency bands, be sure to use the 2.4GHz band router name.
step 7 of 8
A screen will appear that says "Connecting". These 4 steps can take up to 2 minutes to complete.
TIP: During this process, lights on the appliance will blink. This is normal. Once the appliance is connected, it will end on a solid white light.
step 8 of 8
Name your appliance and start using the remote features.
TIP: Remember to press the "Remote Enable" button when using these features.
FREQUENTLY ASKED QUESTIONS
Check your router for each of the following:
Frequency Band: 2.4GHz Band IEEE 802.11 b/g/n
Tip: You must be on a 2.4GHz network frequency, 5GHz will not work. Please connect your phone to the Network SSID that supports 2.4GHz band. If unsure, consult your router’s support documentation to find out how to identify the correct SSID. Some routers will support both bands and share the same SSID and Password.
Security: Security WiFi Protected Access WPA2
Network Support: IPV4 Minimum.
- If you are having trouble connecting, first check to see if your appliance is in the correct mode.
- If you see a countdown display on the appliance, it is in the wrong mode.
- Power the appliance off and then turn it on again.
- Press and quickly release the Wifi Connect button. Do NOT hold for 3 seconds, even if the button says to do so.
- Return to the app to complete the connection steps.
- If you are still experiencing issues, contact the Customer Experience Center at (866) 333-4591, Mon-Tue 8am to 6pm, Wed-Fri 9am to 6pm EST.
IF Product is past unboxing mode (eg. product professionally installed, cycles have been run in home)
- Make sure the appliance is powered on.
- Tip: Connecting to your wireless home network requires you to stay next to your appliance during this process and that there is adequate WiFi signal strength at the desired location.
- Download the Maytag™ App and create an account.
- On the appliance, press the Remote Enable button.
- Verify the appliance screen shows “Use the Maytag™ App to set up WiFi.”
or IF Product is in unboxing mode (Initial set-up)
- Make sure the appliance is powered on.
- Confirm language by pressing Start (or follow the prompts to select another language).
- Download the Maytag™ App and create an account.
- On the appliance, press the Start button to begin WiFi setup.
- Verify the appliance screen shows “Use the Maytag™ App to set up WiFi.”
What is Social Login?
Social Login refers to the following:
IOS:
Sign in with Apple
Sign in with Google
Sign in with Amazon
AOS:
Sign in with Google
Sign in with Amazon
I do not see my previously claimed appliances after I signed up with a social login provider.
Possible Causes:
If you had previously claimed appliances, and you Signed Up instead of Signing In and linking, you now have duplicate accounts — which are unrelated to one another.
Why this happened:
• You used a hidden email relay service of some sort.
• Your email associated with your Social Login provider is different from the one we have in our systems.
Not to worry, the fix is simple, and you can do it yourself.
Note: You can continue to sign in with your email address/password and use your account as you did previously without any loss of service.
Solution:
Step 1: Sign In to the app with the Social Sign On profile that currently has the missing appliances.
NOTE: Please make sure you are logged into the Social Sign On account that has missing appliances.
Step 2: Under “Account Settings” in the app, hit “Delete Account”.
Step 3: Sign In to your previously existing Whirlpool/Maytag account with your email/password — the one that has your claimed appliances.
Step 4: Under “Account Settings”, go to “Sign In Profiles”.
Step 5: Choose “Link Now” with your choice of Social Login provider and follow the prompts in the app.
Can I use Apple's hidden email service to link my existing account with the app?
Yes! There are two ways to do this.
Method A: Already signed in - preferred method
Step 1: Make sure that you are logged into your Whirlpool/Maytag App account.
Step 2: Under “Account Settings”, go to “Sign In Profiles”.
Step 3: Choose “Link Now” with your choice of Social Login provider and follow the prompts in the app.
Method B: Use the "Continue with Apple" button on the homescreen
Step 1: Hit “Continue with Apple” on the home screen.
Step 2: Since you have chosen to hide your email, our systems will not be able to auto-link your existing account with Sign In with Apple and you will need to authenticate your original account using your email/password.
Step 3: The app will prompt you to “Sign In & Link” if you are an existing user (which you are in this case). Hit “Sign In & Link”.
Step 4: Authenticate your original account by entering the email/password associated with your Whirlpool/Maytag account.
You should now have linked your existing account with Apple's hidden email service.
Can I link a social sign on provider that has a different email compared to the one I used to sign up for the app?
Yes!
Method A: Already signed in
Step 1: Make sure that you are logged into your Whirlpool/Maytag App account.
Step 2: Under “Account Settings”, go to “Sign In Profiles”.
Step 3: Choose “Link Now” with your choice of Social Login provider and follow the prompts in the app.
You should now have linked your existing account with the Social Login provider of your choice with a different email compared to the one you originally registered with.
Method B: Use the "Continue with ..." button on the homescreen
Step 1: Hit “Continue with Apple/Google/Amazon” on the home screen.
Step 2: Since you have a different email associated with your Social Sign On provider compared to the one we have on file, our systems will not be able to auto-link your existing account with your Social Sign On provider of choice. You will need to authenticate your original account using your email/password.
Step 3: The app will prompt you to “Sign In & Link” if you are an existing user (which you are in this case). Hit “Sign In & Link”.
Step 4: Authenticate your original account by entering your email/password.
You should now have linked your existing account with the Social Login provider of choice with a different email compared to the one we have on file.
I am getting a "Sign In Error"
This error can be caused by many different issues. Often, the servers are simply busy temporarily. Typically, retrying after a minute or two will resolve the issue. If this doesn't resolve after a few attempts with waiting in between, please contact the Consumer Experience Center.
I am unable to add multiple Apple profiles to the same account/"Link Now" for sign in with Apple is disabled.
Due to potential conflicts in our systems, we do not currently allow multiple Apple profiles to be linked to one account. Please use your primary Apple profile to sign in.
Can I link multiple social login providers with the same account?
Yes!
Step 1: Under “Account Settings”, go to “Sign In Profiles”.
Step 2: Choose “Link Now” with your choice of Social Login provider and follow the prompts in the app.
Exception: You only link one profile with Apple. Due to potential conflicts in our systems, we do not currently allow this.
I used a social login provider to create my account but now I want to use my email to login instead.
Sure! First, you will need to set a new password using the forgot password process. You can then login using your email/password.
Step 1: You will need access to the email that you used with your Social Login provider to sign up for an account. If you are currently logged into the app, this information is available under “Account Settings → Sign In Profiles”.
Step 2: Log out of the app if you are currently logged in.
Step 3: On the homepage of the app, click “Continue with Email”.
Step 4: When prompted to enter a password, click “Forgot Password”.
Step 5: Follow in-app instructions to reset password.
Step 6: Once the password is reset, navigate to the homepage and click “Continue With Email” on the home page. Use email/password (the one that you just reset) to login.
What is the “Invite Household Member” feature?
This feature allows you to invite up to 10 additional household members to interact with connected appliances associated with the account in the following ways:
1. Run cycles
2. Receive notifications
3. Create, edit, and delete favorite cycles for all users - favorites created, edited and deleted by one user will be accessible to all users, both invited and primary
What features are restricted for an invited household member?
An invited household member cannot:
1. Setup voice for the shared appliance
2. Make changes to Amazon Dash Replenishment Service if it has been set up by the primary user
3. Delete an appliance that is associated with the primary user
As a secondary user, how do I accept an invitation that was sent to me?
1. Open the app and make sure you are logged in
2. On your mobile device, where you are logged into the app, click on the invitation link sent to your email inbox
3. The link will redirect you to the app, and prompt you to either accept or cancel the invitation
4. Click on “Accept” if you wish to do so, and you are all set!
How many household members can I invite?
Currently, you can invite a maximum of 10 household members (Accepted, Pending, Expired).
How do I invite a household member and share my appliances?
1. Open the app and make sure you are logged in
2. Access the Settings page
3. On the Settings page, navigate to “Household Members”
4. On the Household Members page click on “Invite New Member” and follow in-app prompts
What happens if a household member does not accept my invitation?
The invitation expires in 10 days. At this point, you can either choose to resend the invitation, or remove the expired invite.
Where can I see a list of household members that I have invited?
1. Open the app and make sure you are logged in
2. Access the Settings page
3. On the Settings page, navigate to “Household Members”
4. This page contains a list of all household members that you invited and are in varying stages of acceptance: accepted, pending, or expired. This page also gives you the ability to remove household members.
How do I remove household members?
1. Open the app and make sure you are logged in
2. Access the Settings page
3. On the Settings page, navigate to “Household Members”
4. You will see a list of invited members who are in varying stages of acceptance: accepted, pending, or expired
5. Tap on any name on the list to bring up a detailed menu. This menu will allow you to remove a household member.
As a secondary user, how do I know what appliances were shared with me?
1. Open the app and make sure you are logged in
2. Access the Settings page
3. On the Settings page, click on “Appliance Settings”
4. On the Appliance Settings page, you will see a list of appliances
5. Click on the appliance of interest to view details, including whether this appliance is shared and by whom.
Why am I seeing a “Feature Unavailable” message?
Appliances associated with a household member’s account have been shared with you, and sharing restricts certain features. You attempted to access a feature that is restricted for a secondary user.
What is the “Appliance Health” feature?
The Appliance Health feature is a real-time visual indicator of your appliance’s health in 4-8 categories. This dashboard can provide you with peace of mind that your appliance is operating as intended in those categories.
In the event that there is an active error present, you will be alerted to the issue by a push notification, you will see the affected appliance health category highlighted, and there will be details on the error, along with steps to troubleshoot.
*** Please note that the Appliance Health feature is not a preventative maintenance tool, and will not be able to foresee an appliance issue (like component wear) before it occurs. In some cases, it will not be able to detect the root cause of the error and we will direct you to call our service team.
What does it mean if all of my Appliance Health Categories are green?
If all of your Appliance Health categories are green, this means that your appliance is in good health! Your appliance is operating as expected and there are no known errors present.
What does it mean if one of my Appliance Health Categories is red?
If an Appliance Health category is red, this means that there is an active error present in that category. Please see the red banner at the top of your Appliance Details page for details on the appliance error and a link to troubleshooting steps. If troubleshooting does not resolve the issue, please contact our service team.
How do I learn more or troubleshoot an active error on my appliance?
When an active error is present, you will see a red banner at the top of your Appliance Details page. This banner will provide the error name, a short description of the error and a link to troubleshooting instructions. If troubleshooting does not resolve the issue, please contact our service team.
What does each of the Appliance Health categories mean? And what falls under each category?
Your appliance’s health is organized into 4-8 overarching categories. Each of these categories is related to several components that are critical to your appliance’s overall operation.
Load Preparation - Related to how you prepared your load. For example, if the load is too large, off-balance or too much detergent was added, you will see this category flagged.
Electronic Controls - Addresses issues related to your appliance’s electrical circuit connections and switches.
Display & Keypad - Addresses issues related to your appliance’s display, the knobs, controls and keypad.
Internal Sensors - Addresses issues related to your appliance’s thermistor, pressure sensor, water temperature sensor and moisture sensor.
Door & Latch - Addresses issues related to the door lock or if the door has not been opened between cycles.
Server Connection - Addresses communication issues that exist in your appliance
Motor & Drive - Addresses issues related to the appliance’s tachometer, shifter, motor and motor control.
Water & Drainage - Addresses water or drainage-related issues, such as overflow, drain pump failure, excess water, unusual water temperature and other water hazards.
What partner sensors work with my Maytag® connected washing machine?
Some Maytag® connected washing machines can link via software with WiFi enabled Resideo water leak detectors. If you have a capable Maytag® connected washing machine and it is linked to a Resideo water leak detector, you will get notified in your Appliance health section of the App if water is detected close to your machine.
SUPPORT ON YOUR SIDE
Still having trouble? Contact customer support at (866) 333-4591, Mon-Tue 8am to 6pm, Wed-Fri 9am to 6pm EST.
SMART APPLIANCES
EXPLORE THE POWER OF CONNECTED APPLIANCES
INFO HUB
GET ALL THE INS AND OUTS ON MAYTAG APPLIANCES
*WiFi and App Required. Features subject to change.
1. Connection method not compatible with all routers. You may be prompted to try other connection methods. Appliance must be set to remote enable. WiFi & App required. Features subject to change.