How to Level a Refrigerator in 5 Steps
A properly leveled refrigerator is essential for optimal performance. If your fridge wobbles, the doors don’t close properly or it appears uneven, it likely needs leveling. You can likely tackle this task with a friend and a few tools. Follow this step-by-step guide to get started.
SHOULD A REFRIGERATOR BE LEVEL?
An unlevel refrigerator is not just an eyesore and an inconvenience, it might also prevent the appliance from working at peak performance. Your refrigerator should be level from front to back and side to side, and when it’s unlevel, this may cause fluctuations in temperature that could spoil your food. That's why leveling is one of the most important steps when installing a refrigerator.
If your doors aren’t closing properly, or if the door switch isn’t activating, then the culprit could be your unlevel refrigerator. Your fridge could also develop moisture problems, as well as an accumulation of frost on the evaporator coils, which can hinder heat removal. If you’re experiencing other potential issues, check out your refrigerator’s troubleshooting guide.
HOW DO YOU LEVEL A REFRIGERATOR?
Leveling a refrigerator is a straightforward process you can accomplish in four simple steps. Follow the process below to learn how to remove the kick plate, find the leveling legs or rollers, use a level to check if the fridge is balanced and adjust the legs with a wrench or screwdriver. Always check your manual for the specifics.
To get started, you’ll need an extra person to help you do this task safely, as well as a few tools:
Screwdriver
Wrench
Owner’s manual
Level
Specifics about what you’ll need to level your refrigerator will depend greatly on what refrigerator model you have. Consult your owner’s manual for full details. If you have a Maytag® refrigerator, you can search for your manual here.
1. REMOVE THE GRILLE OR KICK PLATE
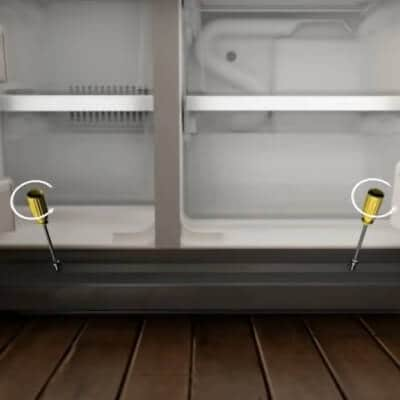
To level your refrigerator, first remove the grille or kick plate. Depending on the refrigerator model, you may need to use a screwdriver to remove the screws that are located on the front of the grille. Some models will require you to open the refrigerator doors at a 90º angle before removing the grille.
Once the screws have been removed, place both your hands on either side of the grille, and pull straight toward you. Specific instructions on how to remove your grille will depend on your model, so check your owner’s manual for details. Put the grille aside until you’ve leveled the refrigerator.
2. LOCATE THE REFRIGERATOR’S LEVELING LEGS OR ROLLERS
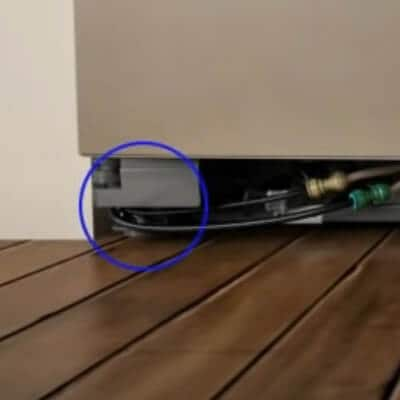
Depending on the model of your refrigerator, you’ll either have leveling legs or adjustable rollers. They are usually located directly behind the grille or kick plate, on either side of the fridge. If you’re having trouble finding them, check your owner’s manual for further instructions.
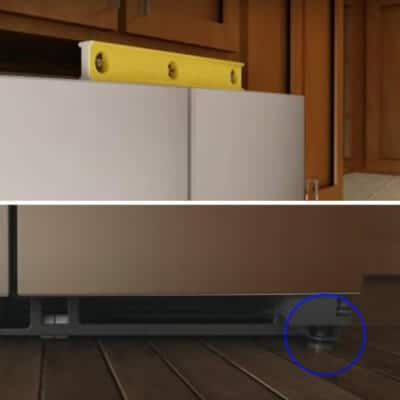
3. USE A LEVEL TO DETERMINE HOW MUCH TO ADJUST THE HEIGHT OF THE REFRIGERATOR
To determine whether you’ll need to raise or lower the front leveling legs/rollers, place the level on top of your refrigerator and measure from front to back and side to side.
To check if your refrigerator is level side to side, place the level on top of the fridge with the front facing you. If the bubble is in the center, the fridge is level. If the bubble is to the right, the right side is higher; if it’s to the left, the left side is higher.
For front-to-back leveling, stand next to the refrigerator and place the level on top with the bubble facing toward you. If the bubble isn’t centered, the fridge is higher on the side where the bubble leans.
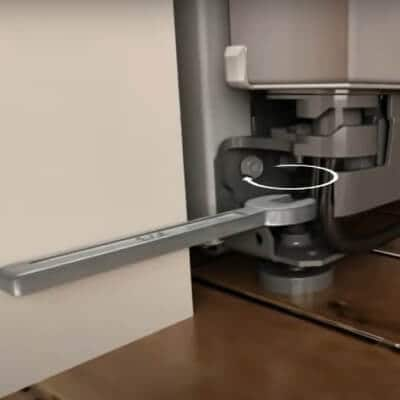
4. ADJUST THE LEVELING LEGS OR ROLLERS TO LEVEL YOUR FRIDGE
If your refrigerator model has leveling legs, then you’ll most likely need to use a wrench to lower or raise the refrigerator. For this part, ensure that your refrigerator is back to its installation location. Since leveling legs are essentially brakes, you will likely not be able to move your refrigerator once you’ve adjusted the legs down.
The wrench size you’ll need will vary from model to model, but a 1/4-inch, open-ended or adjustable wrench is common for this particular task. Check your owner’s manual for details about the right tool for the job. If your refrigerator has adjustable rollers or wheels, you may need to use a screwdriver instead.

If you have a freestanding refrigerator that needs to be tipped forward, you may have to apply shims to the floor beneath the rear end of the fridge, since some freestanding refrigerators do not have rear adjustable legs.
HAVE A FRIEND READY TO HELP
A second person will need to push firmly on the top front of the refrigerator, tilting it back slightly to relieve weight on the leveling feet at the front of the fridge. This makes it easier for you to adjust the leveling feet.
HOW DO YOU LOWER A REFRIGERATOR?
With the base grille or kick plate off, you’ll usually find brackets located on each side of the refrigerator, just above the flat base of the leveling feet. You can lower your fridge by connecting the wrench just above the base of the leveling foot and turning the wrench to the right, or clockwise. This will shorten the leveling foot and lower the refrigerator on the selected side.
Adjusting refrigerators with wheels or rollers follows a similar process, but may require you to use a screwdriver or socket wrench—rather than an open-ended wrench—to adjust the wheels. Again, check your owner’s manual to be sure.
HOW DO YOU RAISE A REFRIGERATOR OFF THE FLOOR?
You can usually raise your refrigerator by removing the base grille or kick plate, and then locating the brackets just above the base of the leveling feet on either side of the refrigerator. Connect the wrench above the base of the leveling foot, then turn the wrench to the left, or counterclockwise, to extend the leveling foot and raise the unit higher.
Consult your owner’s manual if you have a refrigerator with wheels or rollers, as you may need a socket wrench or screwdriver to adjust the height of the fridge.
NEED HELP? SCHEDULE A SERVICE CALL
For Maytag® appliance owners who don’t want to tackle this task on their own, you can schedule a service call for fast and easy service.
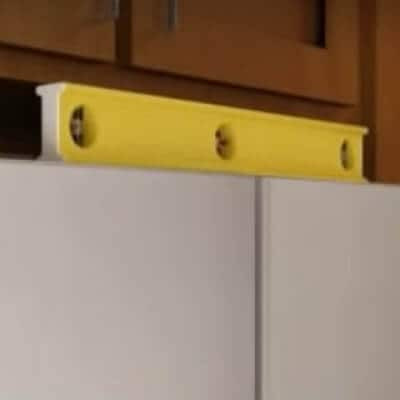
5. CHECK THAT YOUR REFRIGERATOR IS LEVEL
To check if your refrigerator is level, place the level on top of the refrigerator again to measure from front to back and side to side. The bubble on the level should be in the center. If it drifts to one side or the other, that side is likely higher than the other.
HOW DO YOU LEVEL A FRIDGE ON AN UNEVEN FLOOR?
An uneven floor can make leveling a refrigerator an uphill battle, but using shims beneath the feet or back of the fridge can sometimes help even out the foundation your fridge rests on. Shims are thin, tapered wedges (usually made of wood) that can sometimes help eliminate the wobble in your appliances caused by uneven flooring.
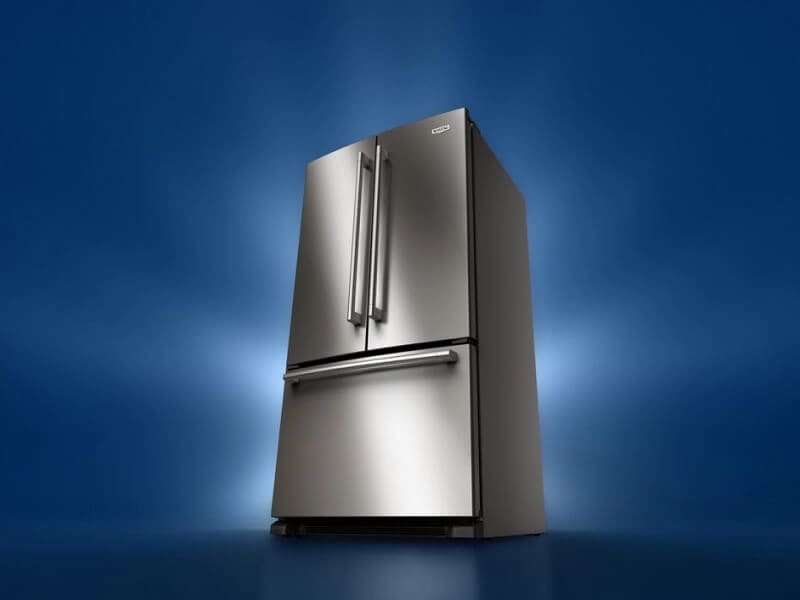
HOW DO YOU LEVEL REFRIGERATOR DOORS?
You’ll need to level your refrigerator before you can start working on leveling the doors, so see the steps above to make sure your refrigerator is ready. Once the refrigerator is level and with the kick plate off, locate the alignment screw under the bottom hinge of the door you’re adjusting.
You’ll most likely need a 5/16-inch open-ended or adjustable wrench for leveling, but check your owner’s manual to be sure. Raise the refrigerator door by turning the alignment screw counterclockwise to raise the door, and clockwise to lower it.
Keep in mind that refrigerator doors are designed to account for the weight of the food they store, so the doors may look uneven when the refrigerator is empty. Make sure your refrigerator is fully stocked before determining if the doors need to be leveled. Then, if they need leveling, empty the refrigerator before you start the process.
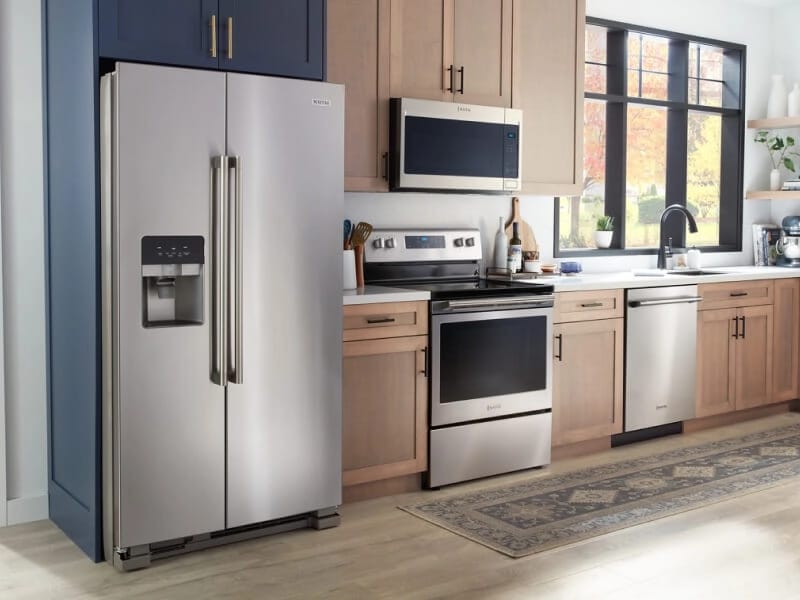
EXPLORE MAYTAG® REFRIGERATORS
Power up your mealtime routine with Maytag® refrigerators. Explore side-by-side or French door models that offer convenient organization and flexible features, and browse top or bottom-freezer models that offer various ways to help store your food. No matter the style, there's a Maytag® refrigerator that's right for your kitchen.

