WHAT IS MICROWAVE SENSOR COOKING?
Sensor Cook is a setting on select microwaves that automatically adjusts the cooking time and microwave power settings, making them ideal for a variety of meals, from large casseroles and pasta to popcorn and pizza.
Use this guide to learn how to use Sensor Cook in your microwave and explore tips for better results.
HOW DOES A MICROWAVE SENSOR WORK?
Microwave sensors detect moisture released from food as it heats and adjust the cooking time accordingly, helping to take the guesswork out of mealtime. It is typically recommended that you cover foods with a loose-fitting, microwave-safe lid when using Sensor Cook on your microwave.
BENEFITS OF MICROWAVE SENSOR COOKING
Using Sensor Cook when you microwave can help prevent overcooking, help avoid creating cold spots and uneven temperatures in your dish and take some of the uncertainty out of selecting cook times. Explore more benefits of this setting below.
Convenience: No need to look up a recipe’s cooking time or search online for proper microwave power settings for your food, the microwave can do it all for you.
Less Monitoring Needed: Sensor Cook settings can help reduce how often you have to check on your food as it heats in the microwave.
- Reduced Undercooking: This setting can help prevent cold spots and scorched edges as it stops the cooking process once your food has reached the desired temperature.

Explore top-rated microwaves

What size microwave do you need?
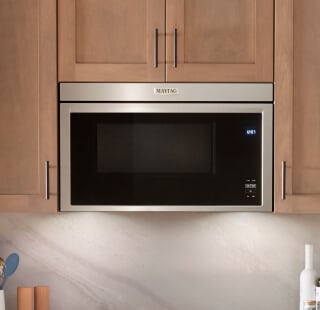
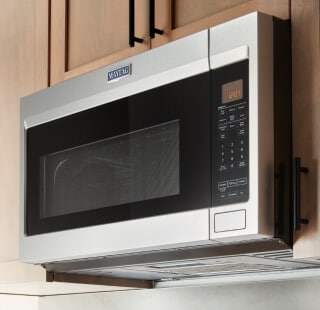
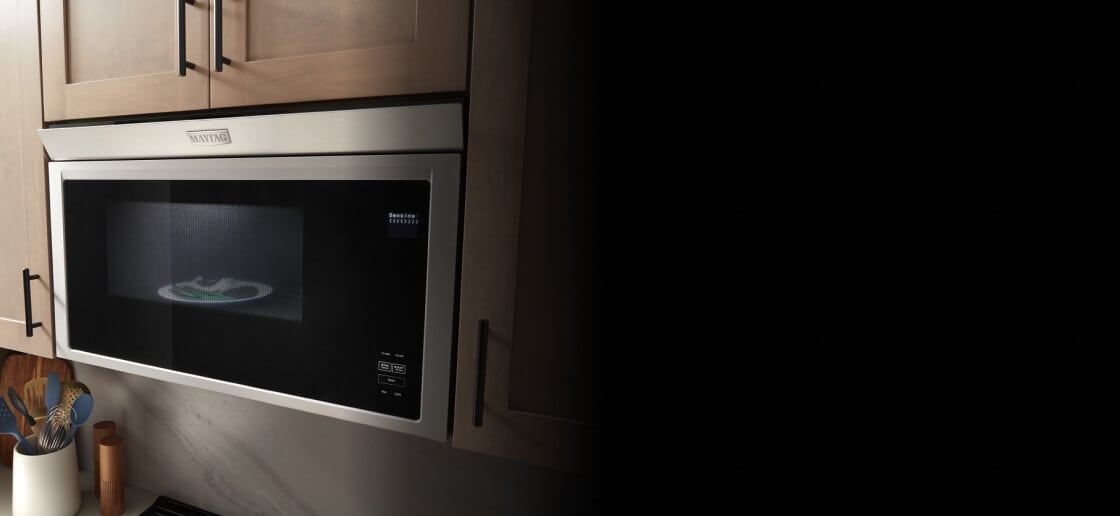
SHOP MAYTAG® SENSOR COOKING MICROWAVES
Maytag® microwaves with Sensor Cooking can help you take the guesswork out of mealtime. Shop the full lineup to find the microwave that can help make meals less of a chore.
HOW TO USE MICROWAVE SENSOR COOKING
Using this setting on your microwave is simple. Just place your food in its microwave-safe container on the turntable, select Sensor Cooking on your microwave and press Start. You can use the following instructions along with your microwave’s product manual for step-by-step instructions.

STEP 1: PLACE FOOD INSIDE MICROWAVE
Place your food on a microwave-safe dish and cover it with a loose-fitting lid. Put the dish on the microwave turntable and close the door.

STEP 2: SELECT SENSOR COOK SETTING
Find the Sensor Cook button on your microwave control panel. The name of the setting may vary depending on the model of your microwave, so be sure to consult your owner’s manual for model-specific settings information.

STEP 3: PRESS START
Press Start on your microwave control panel, then your microwave will do the rest of the work.
TIPS FOR USING MICROWAVE SENSOR COOKING FOR OPTIMAL RESULTS
You can help improve the outcome of your microwave meals using Sensor Cooking with these helpful tips and tricks.
When using a microwave-safe lid to cover your food, make sure there is a gap or opening large enough to allow moisture to escape so that the sensor can accurately determine cook times.
Make sure the interior of your microwave and the exterior of your dish and lid are completely dry before using.
If you have just installed your microwave and are ready to use it, plug it in and let it sit for at least two minutes before attempting to use Sensor Cook. This ensures that the sensor is on and ready to function.

Maytag® microwaves
Look forward to leftovers
Let Maytag® microwaves take over mealtime with features that serve up the right settings and temperatures for your meal
EXPLORE MAYTAG® MICROWAVES
With Maytag® microwaves, you can look forward to leftovers. Discover features on select models built for performance, like Sensor Cooking, that helps take the guesswork out of cook times or the Dual Crisp Feature that combines top-down heat from the crisp element with microwave cooking power to improve the quality of microwaved meals, from popcorn to frozen vegetables. Explore over-the-range and countertop options from Maytag brand to find the best microwave for you.

MAYTAG® PERFORMANCE LINEUP
POWER PACKAGES THAT GET THE JOB DONE
Explore Maytag® kitchen appliances designed to power through mealtime and cleanup and look good while doing it


