
FREEZER TROUBLESHOOTING: POSSIBLE SOLUTIONS
A freezer that won’t stay cold can lead to food spoilage and wasted resources. Read the guide below to learn how to tell if your freezer is broken, the potential causes of a warm freezer and how you can troubleshoot the problem.
HOW DO I KNOW IF MY FREEZER IS BROKEN?
Food that won’t stay frozen may be an obvious sign of a faulty freezer, but signs like excessive frost build-up on the walls or freezer-burnt food can also indicate unstable freezer temperatures. You may also notice your freezer making unusually loud humming, clicking or buzzing noises as parts struggle to operate.
WHY IS MY FREEZER NOT WORKING?
A variety of issues can cause a freezer to stop working, but a few potential culprits typically rise to the top of the list. Freezers with excessive ice build-up, overpacked shelving, a faulty door gasket or improperly set controls can struggle to keep food frozen.

Maytag® chest freezers
Keep food cold and fresh for the long haul
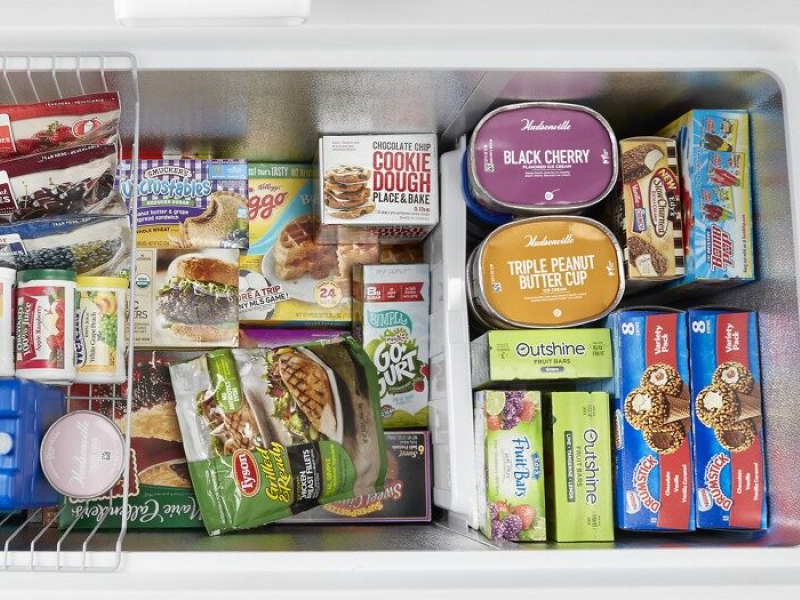
Maytag® chest freezers can help you store bulk grocery items and premade meals
HOW TO TROUBLESHOOT A FREEZER
A freezer that won’t stay cold can result from simple problems like a loose power cord to more complicated issues like faulty freezer parts. See 7 steps below that walk you through troubleshooting a freezer that’s warming up, from the simplest explanation to more complex issues, so you can help your freezer get back to work.
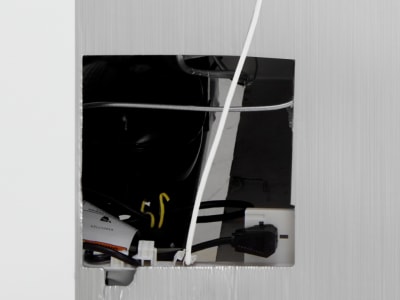
STEP 1: INSPECT POWER SOURCES
Sometimes a warm freezer can stem from simple problems like a tripped circuit breaker or loose power cord. Go to your home’s electrical box and check that the fuse powering your freezer is switched on, then check that your freezer’s power cord fits snuggly and doesn’t have rips or tears in the wiring.
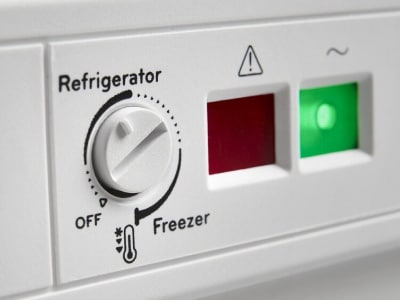
STEP 2: CHECK TEMPERATURE CONTROLS
Your freezer should be set to 0ºF (-18ºC) to help preserve your frozen foods at peak freshness. Check your freezer’s temperature controls and lower the temperature if necessary. Consult your owner’s manual for more information about using the control panel.
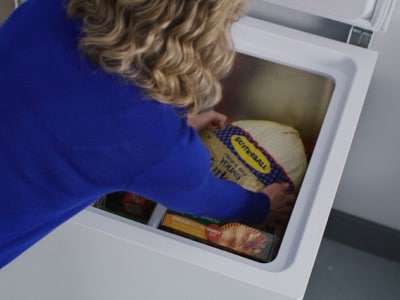
STEP 3: REORGANIZE FOOD
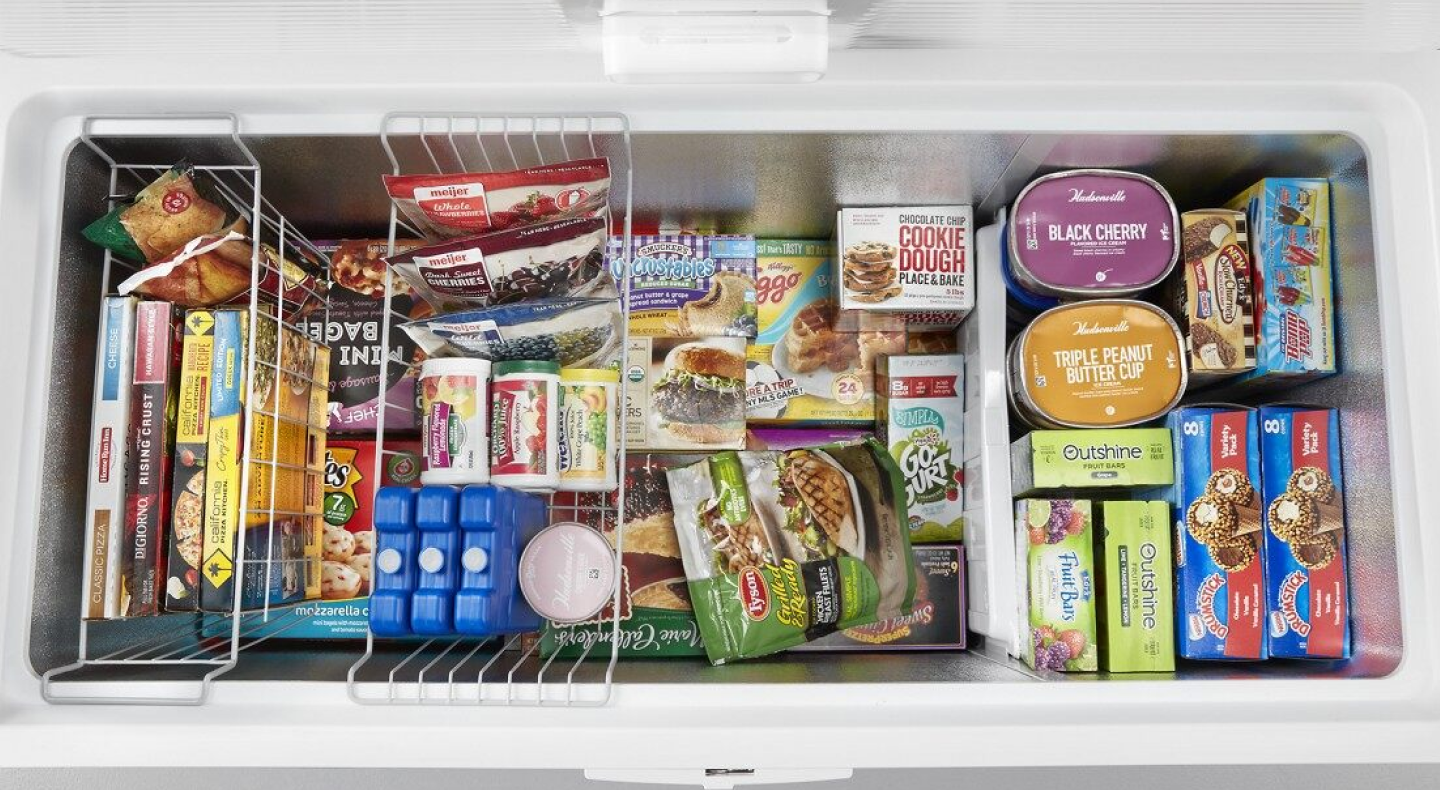
An overcrowded freezer can prevent proper airflow and block the evaporator fan that helps regulate temperature. Clear off your freezer shelves of forgotten or unnecessary items, being sure to leave room in front of the evaporator fan and between items so cold air can circulate.
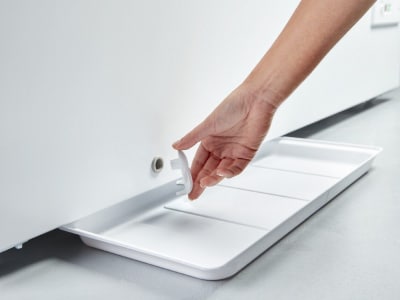
STEP 4: MANAGE ICE BUILDUP
Frost that builds up in the freezer can obstruct vents, coils and temperature sensors that help your freezer stay cold. You should defrost your freezer whenever ice build-up is more than ¼ inch thick to keep things running smoothly.
Many modern freezers have an auto-defrost option, so frost build-up can indicate that some parts may need to be replaced. It could also be something simpler like the freezer door being opened too frequently, especially on hot and humid days. Consult a professional if you suspect that your freezer isn’t defrosting properly.
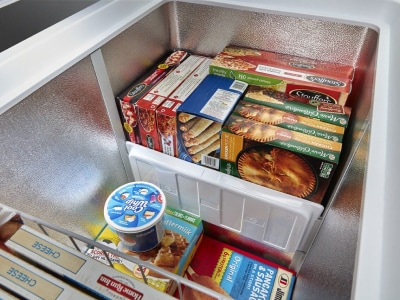
STEP 5: CLEAN THE CONDENSER COILS
Some refrigerator-freezer combinations have external condenser coils that get dirty from time to time—particularly in dusty or greasy environments—that may impact freezer performance. You can clean condenser coils using a vacuum equipped with a crevice attachment.
Standalone chest and upright freezers typically have condenser coils built into the walls of the freezer that can’t be accessed, so dirty condenser coils won’t be the cause of a malfunctioning freezer.
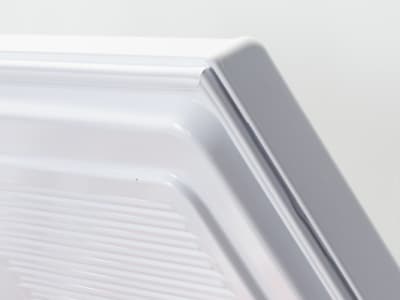
STEP 6: CHECK THE DOOR SEAL
The freezer door gasket seals the door to keep warm air out, so a gasket that’s warped or torn may lead to a slightly warmer freezer compartment. You can test your freezer door gasket by closing a piece of paper flatly in the door and then tugging at the paper to see if it slides free. Little to no resistance means that the seal is too loose and needs to be replaced or cleaned. Be sure to check the seal around the entire perimeter of the freezer door.
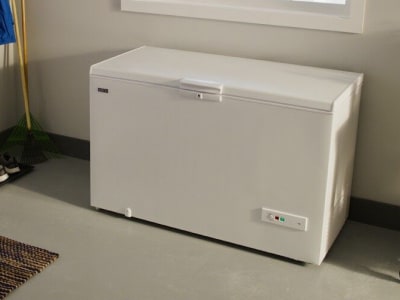
STEP 7: LISTEN FOR NOISES
All freezers make humming or buzzing noises as part of normal operations, but abnormally loud or persistent sounds can mean there’s an issue contributing to fluctuating freezer temperatures. A freezer that clicks, buzzes or hums loudly may have a faulty evaporator fan that needs to be repaired or replaced.
SHOP MAYTAG® CHEST FREEZERS
HOW DO YOU RESET A FREEZER?
Resetting your freezer may help its components get back up and running smoothly, and it should only take a few minutes to accomplish. First, cut power to your freezer by unplugging it from the wall or shutting off power to the proper control panel switch. Then reset the freezer’s control panel by lowering it to zero or using a shut-off switch. Consult your user manual for specifics on navigating the control panel.
Wait several minutes, then plug the freezer back in and restore power to the control panel switch. Set your freezer to your preferred temperature settings and allow it to cool. It can take up to 24 hours for its temperature to stabilize, depending on how long the unit was without power.
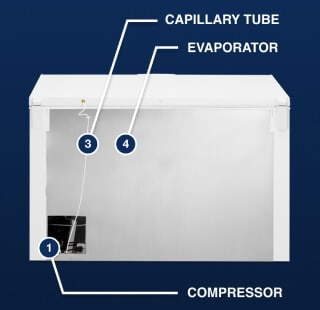
Freezer Parts and Components
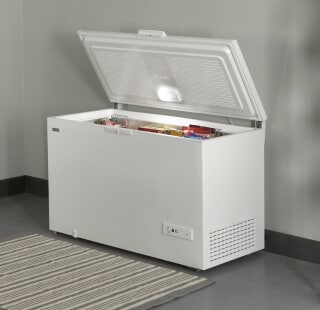
Find The Right Freezer For You
SHOULD YOU REPAIR OR REPLACE A FREEZER?
Whether you repair or replace your freezer depends on your freezer’s age and the complexity of the issue. Problems like a broken gasket door seal are simple and inexpensive to fix, but some freezer issues may require replacing the freezer entirely. You can expect a standalone freezer to last years, but if yours has been around a while, you may consider shopping for a new model equipped with the latest features.
EXPLORE MAYTAG® FREEZERS
Maytag® chest and upright freezers come with a 10-year limited parts warranty on the compressor1 so you can depend on them to keep your food frozen year after year. Select upright freezers feature a reversible door, allowing you to install the door to open from the left or right to best fit your space. Plus, select chest freezer models come garage ready in freezer mode, so you can rest assured that your food will stay frozen even when external temperatures hit extremes.

MAYTAG® PERFORMANCE LINEUP
POWER PACKAGES THAT GET THE JOB DONE
Explore Maytag® kitchen appliances designed to power through mealtime and cleanup and look good while doing it
Was this article helpful? Pass it on
EXPLORE MORE FROM MAYTAG BRAND
1. See product warranty for details

