STOVE INSTALLATION: HOW TO INSTALL GAS & ELECTRIC RANGES
Installing an electric or gas stove, also known as a range, is a project that can be tackled with the right tools and precautions. Becoming familiar with the different parts of a stove before installation may help installation go smoother. Whether you are replacing a gas range or installing an electric stove for the first time, this step-by-step guide provides an overview of the installation process. Exact instructions may vary by model and brand. Be sure to consult the installation instructions for your appliance model.
When handling electric and gas stoves, it is recommended to have another person on hand to help move the appliance. For questions or concerns with gas connections or electrical wiring, consult a professional for installation assistance.
Learn how to install gas and electric ranges below.
HOW TO INSTALL A GAS STOVE
With a few tools, the help of another person and this convenient 8-step guide, installing a gas stove can be tackled in roughly 4 to 6 hours. Always refer to your owner’s manual for specific installation instructions for your Maytag® gas stove. Contact a professional if a gas line needs to be installed.
WHAT YOU’LL NEED TO INSTALL A GAS RANGE
Dealing with gas connections may pose a risk. For questions or concerns during your installation process, consult a professional for dependable handling and connecting.
Supplies
Slide-in or freestanding gas range
Gas stove tube or connector
Yellow Teflon® pipe-joint tape, if necessary
½ inch by ½ inch street elbow
Gas leak detector
Tools
- Adjustable wrench
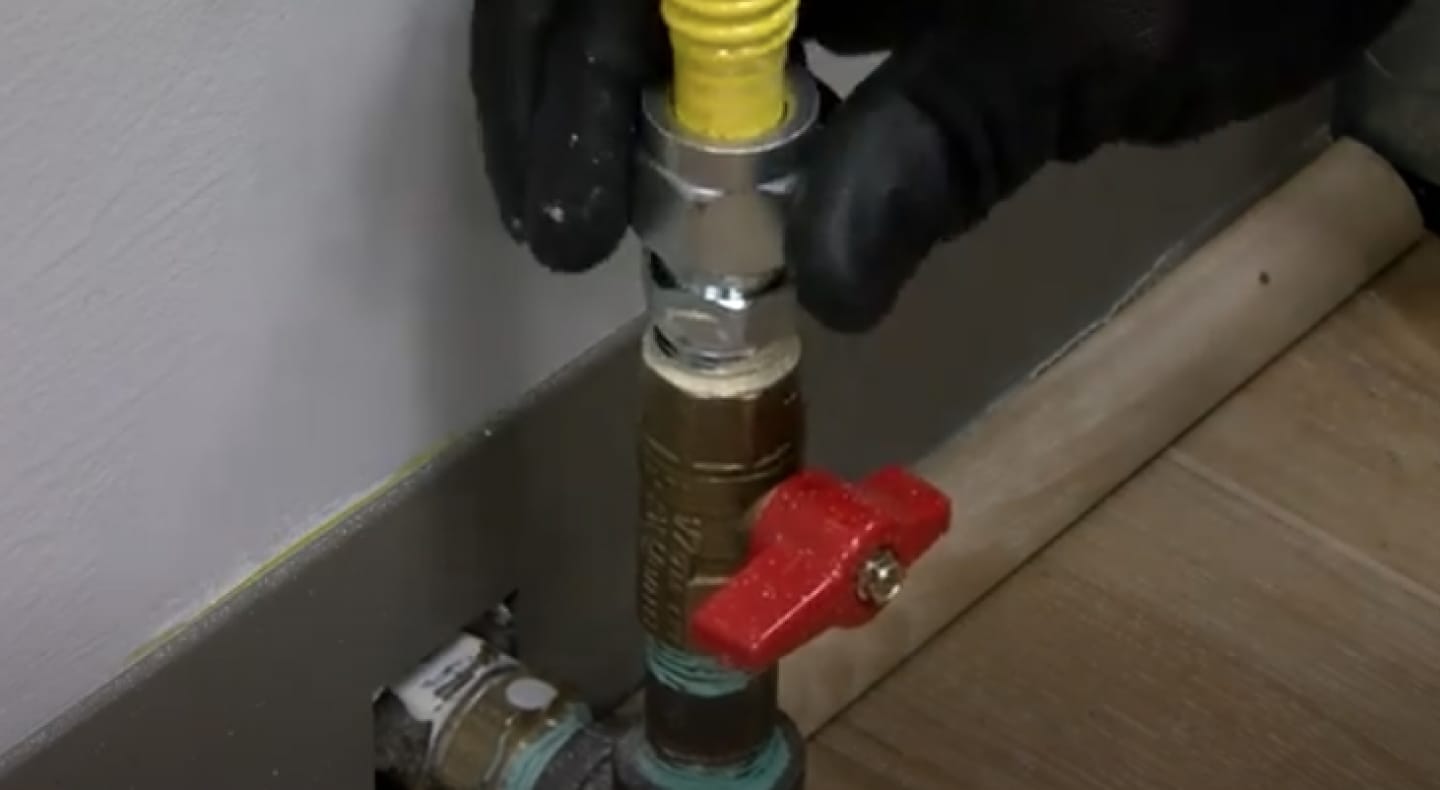
STEP 1: CHECK THE GAS CONNECTOR OR TUBE
If you are replacing a gas stove, always use a new gas stove connector or tube to help prevent gas leaks. Your owner’s manual will dictate the specific connector type that is needed. Ensure that the connector is long enough to connect the range and gas valve. Typically, the connectors are approximately ½ inch in diameter.
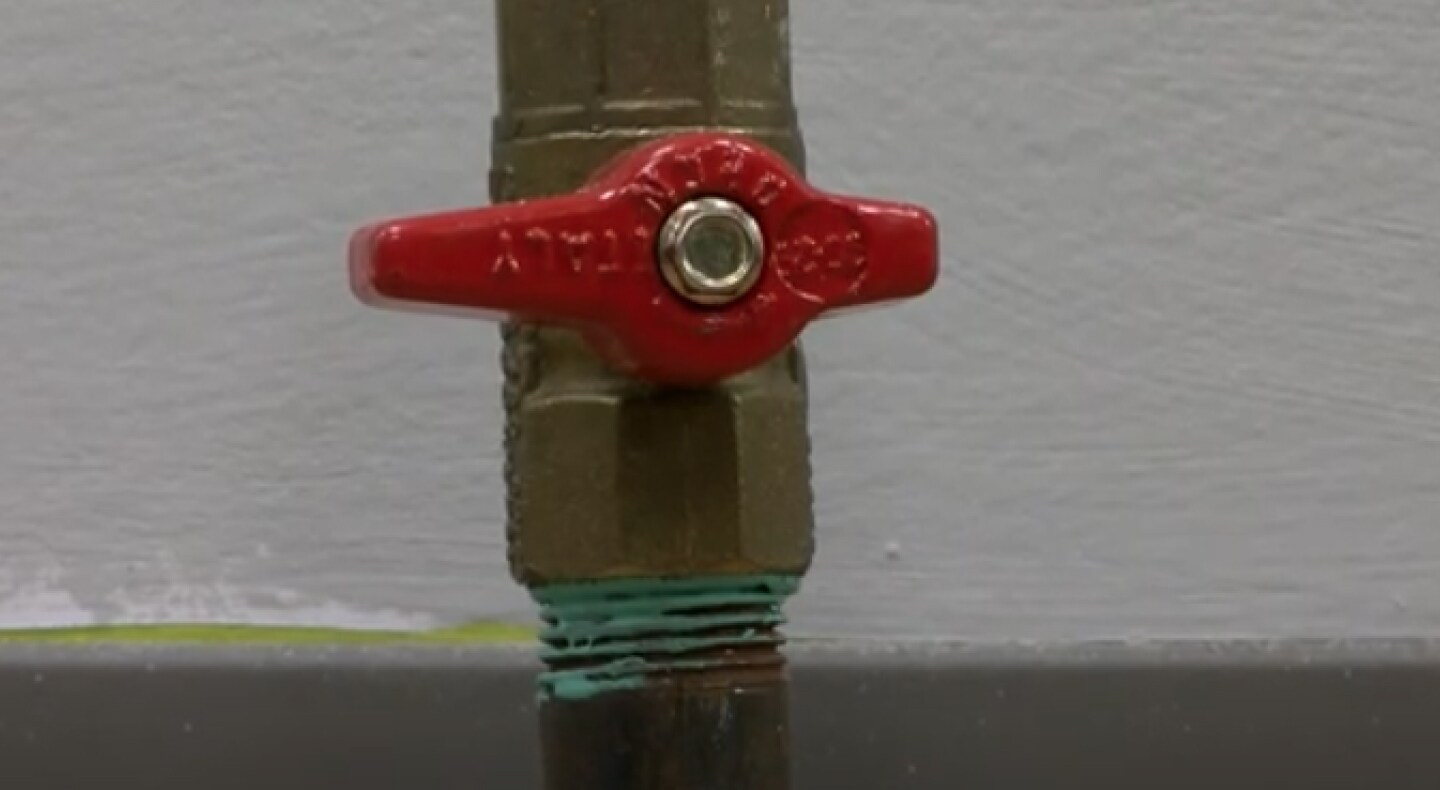
STEP 2: TURN OFF THE GAS
Before connecting or disconnecting your appliance, make sure to shut off the gas valve to your stove. In most cases, turn the shut-off valve 90 degrees to turn it off. If you are replacing a gas stove, disconnect the existing appliance. For concerns about your gas connection or shut-off valve, consult a professional for assistance.
STEP 3: WRAP GAS VALVE THREADS
Wrap the gas valve threads with yellow Teflon® tape two times in a clockwise motion to help minimize the risk of gas leaks.
Note: Do not use Teflon® tape to wrap LP gas piping or tubings. Refer to your installation guide and consult a professional if you are unsure or have questions.
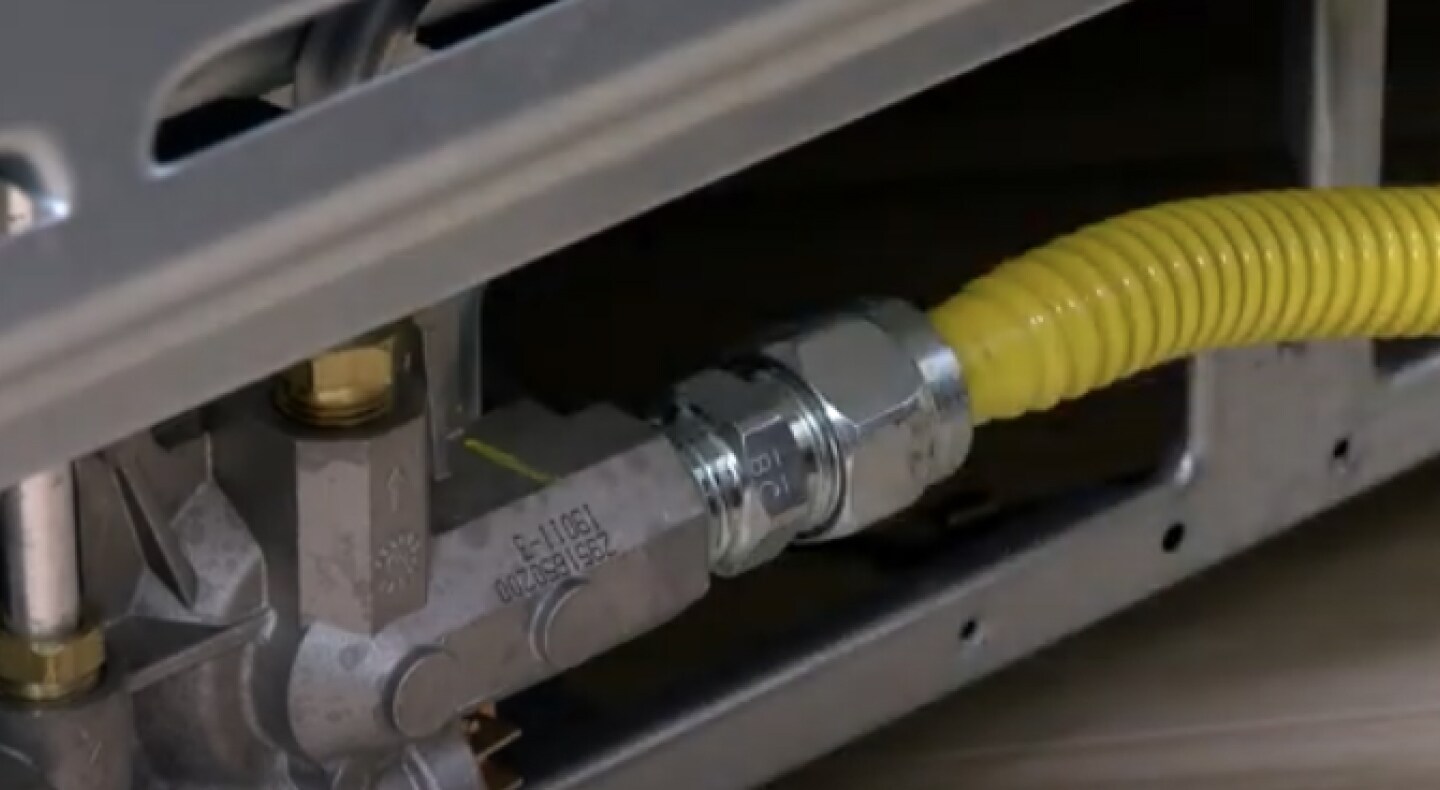
STEP 4: CONNECT THE GAS TUBE
Attach the gas connector or tube to the gas valve port.
Remove the end cap on the connector.
Screw the connector or tube into the gas valve port.
Do not force the connector into the gas line, and make sure the tube is free of kinks and has leeway.
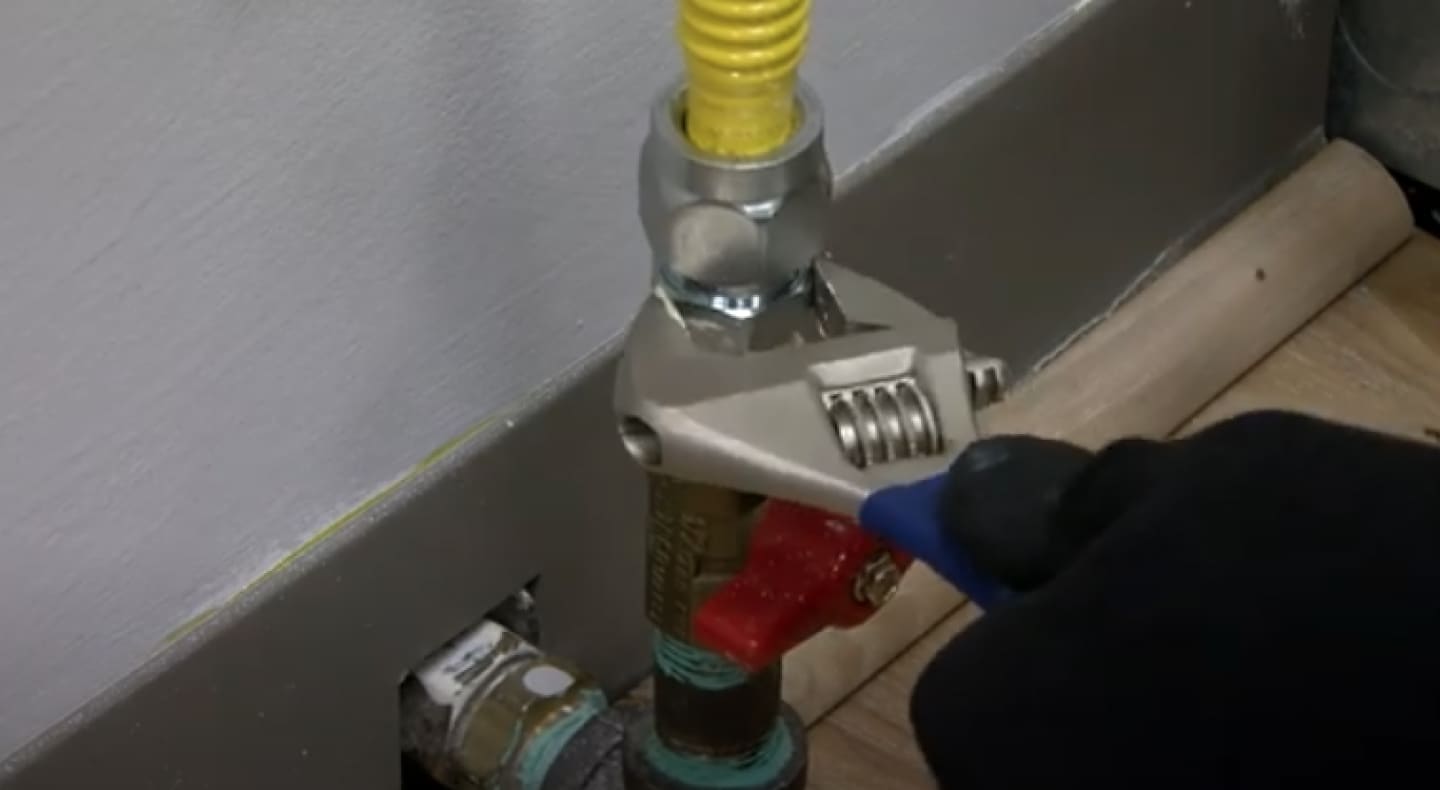
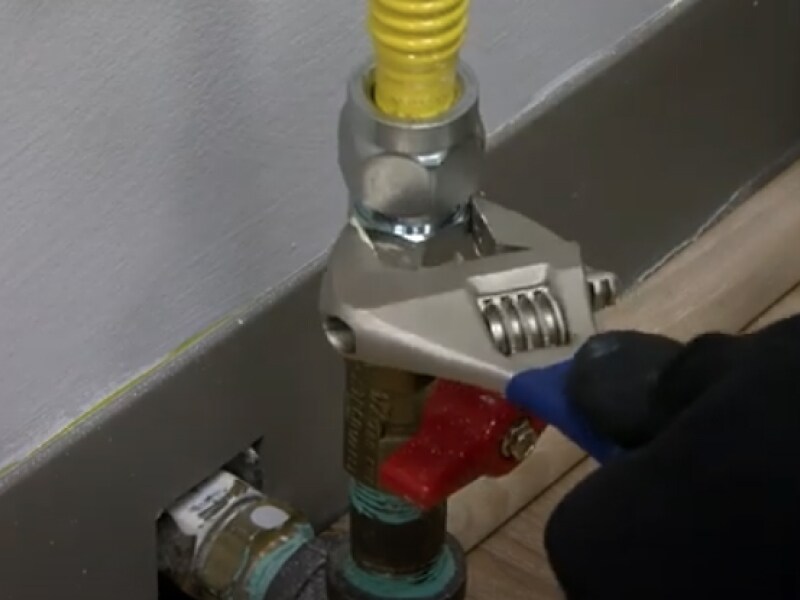
STEP 5: CONNECT THE STREET ELBOW
Secure the street elbow to the gas port on your range.
Screw the street elbow into the stove’s gas port.
Attach the free end of the street elbow to the free end of the gas connector or tube.
- Use yellow Teflon® tape to wrap the fittings. Be mindful not to overtighten.
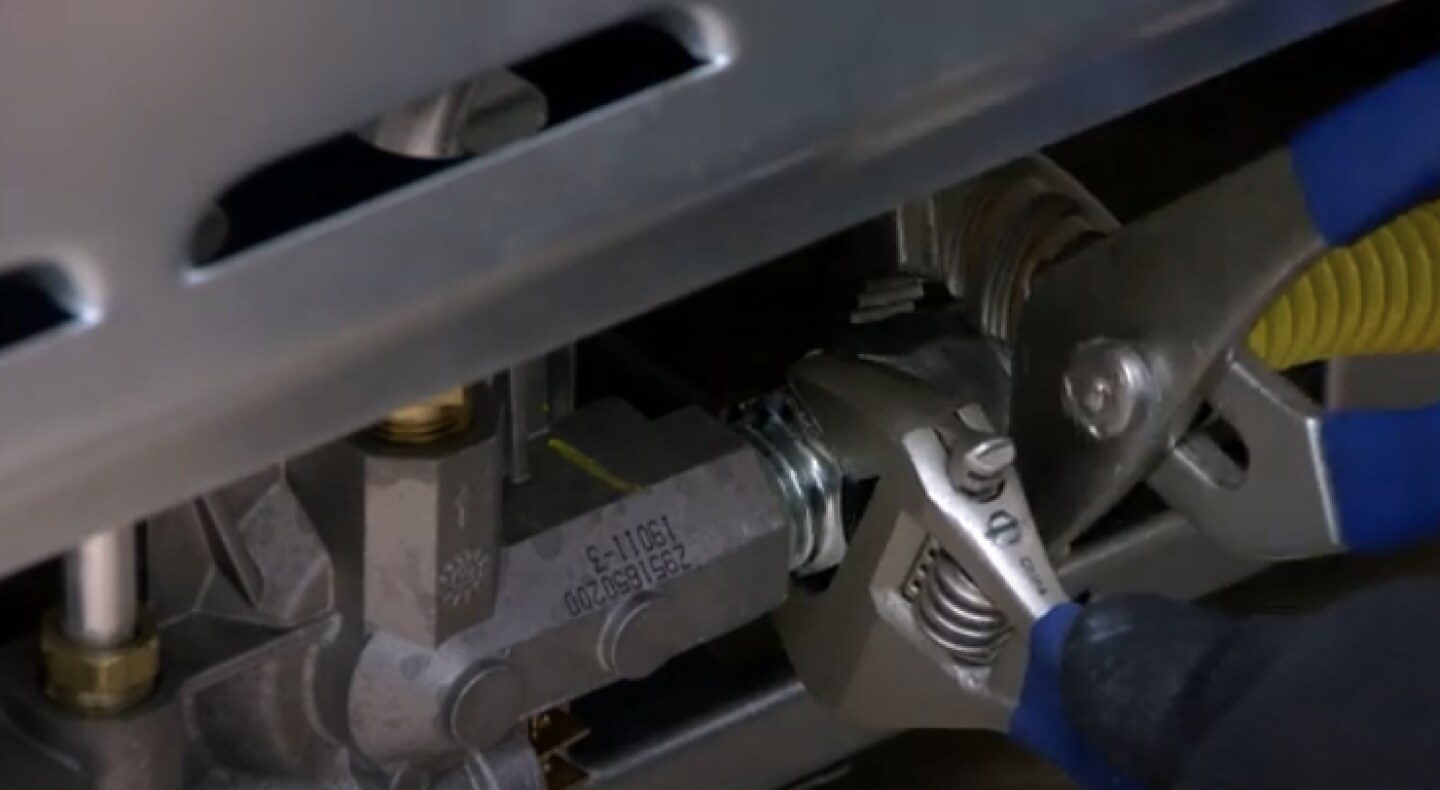
STEP 6: TIGHTEN THE GAS CONNECTOR NUTS
On both ends of the gas connector, tighten the nuts to the connector fittings.
Hold the tube straight during this step.
Do not wrap the threads with yellow Teflon® tape.
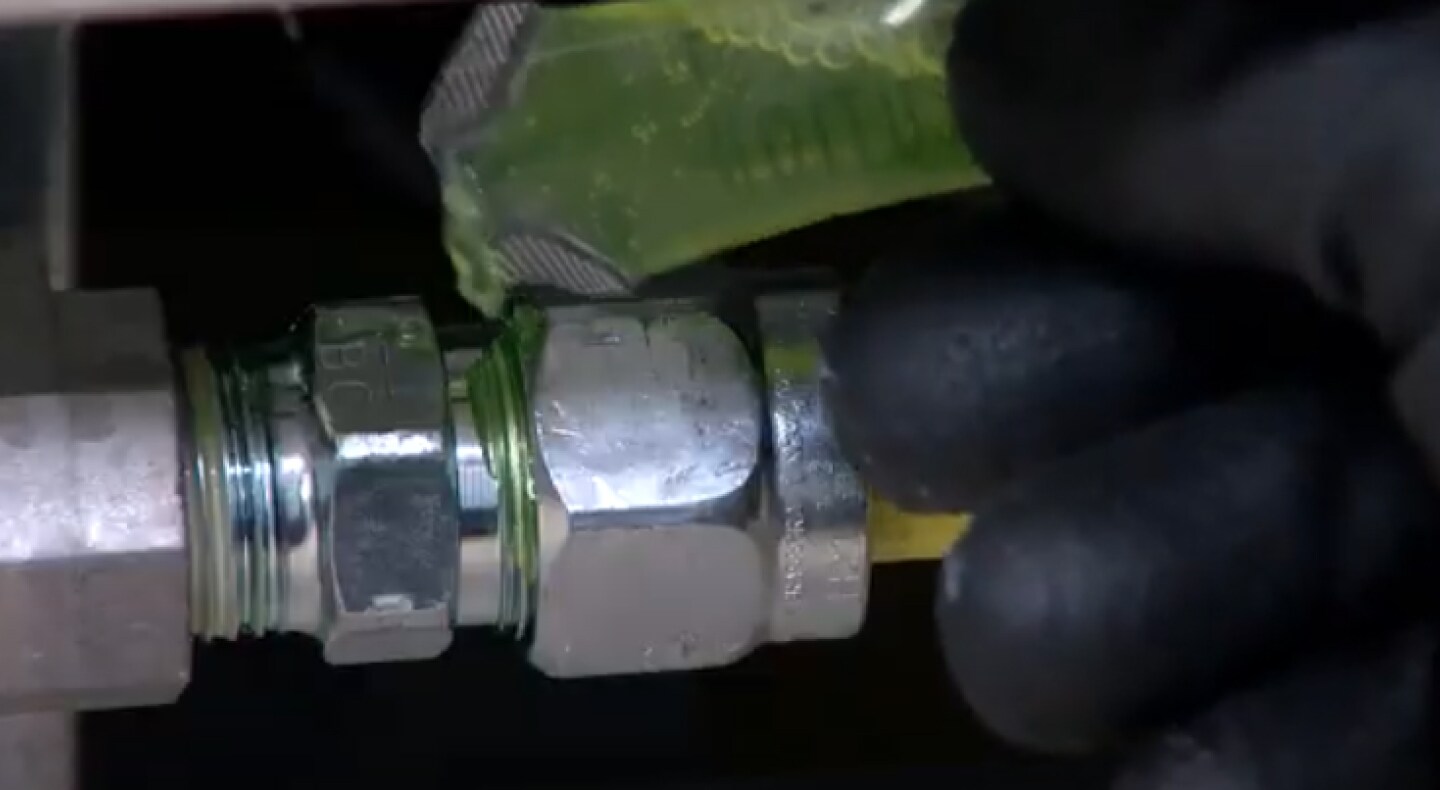
STEP 7: CHECK FOR GAS LEAKS
As a precaution, it is strongly recommended to consult a professional to inspect the connection for gas leaks. Gas leaks cannot always be detected by smell.
Turn the gas back on.
Spray the connector joint with a gas leak detector.
If bubbles appear, turn off the gas and contact a professional immediately.

MAYTAG TIP
Warm water mixed with soap can be used as an alternative tool to locate a gas leak.
STEP 8: SLIDE GAS RANGE INTO CUTOUT SPACE
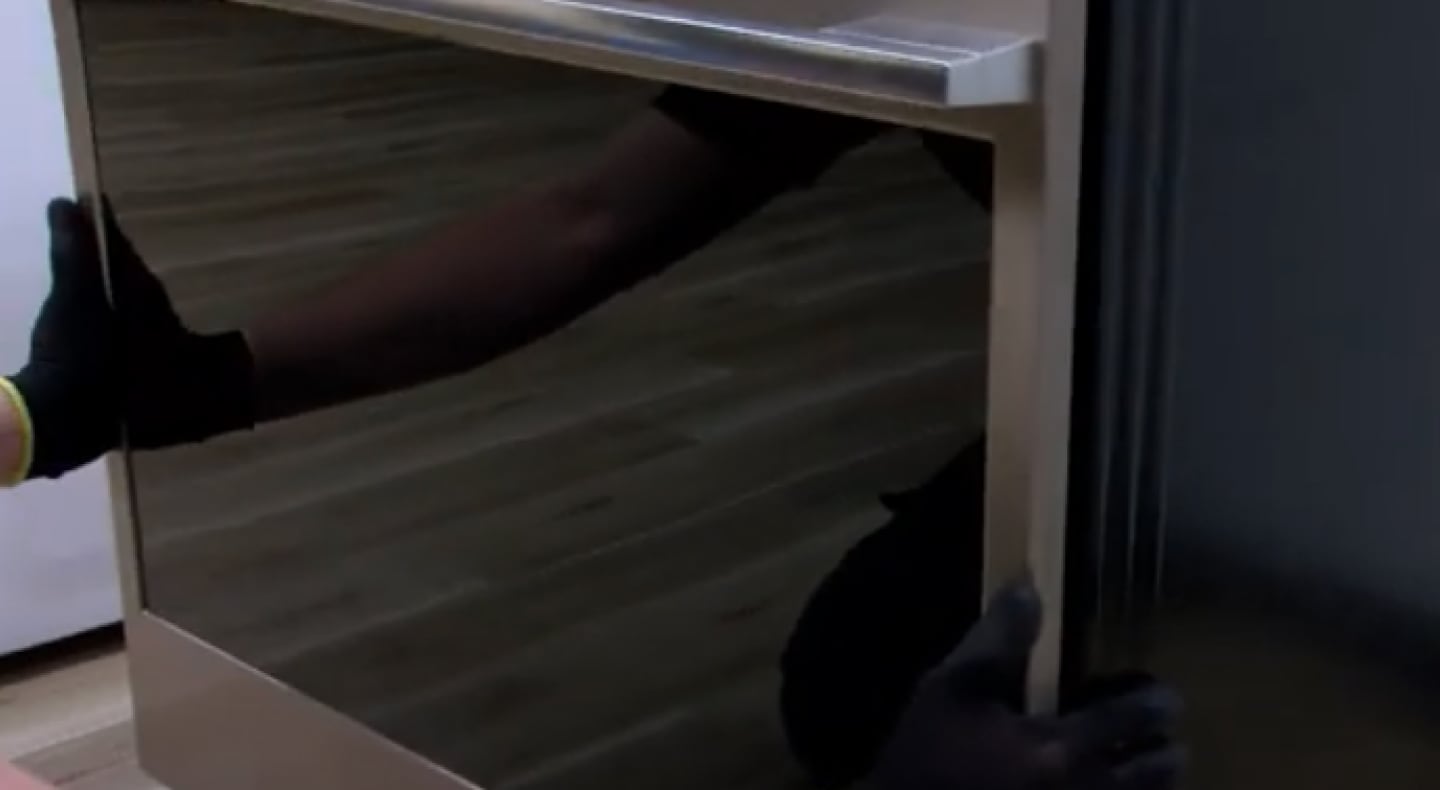
Assuming there are no gas leaks present, push your stove into place with another person.
Confirm that your stove is aligned and level with the floor.
- Adjust leveling feet on the bottom of the range, if necessary.
SHOP FOR GAS RANGES FROM MAYTAG BRAND
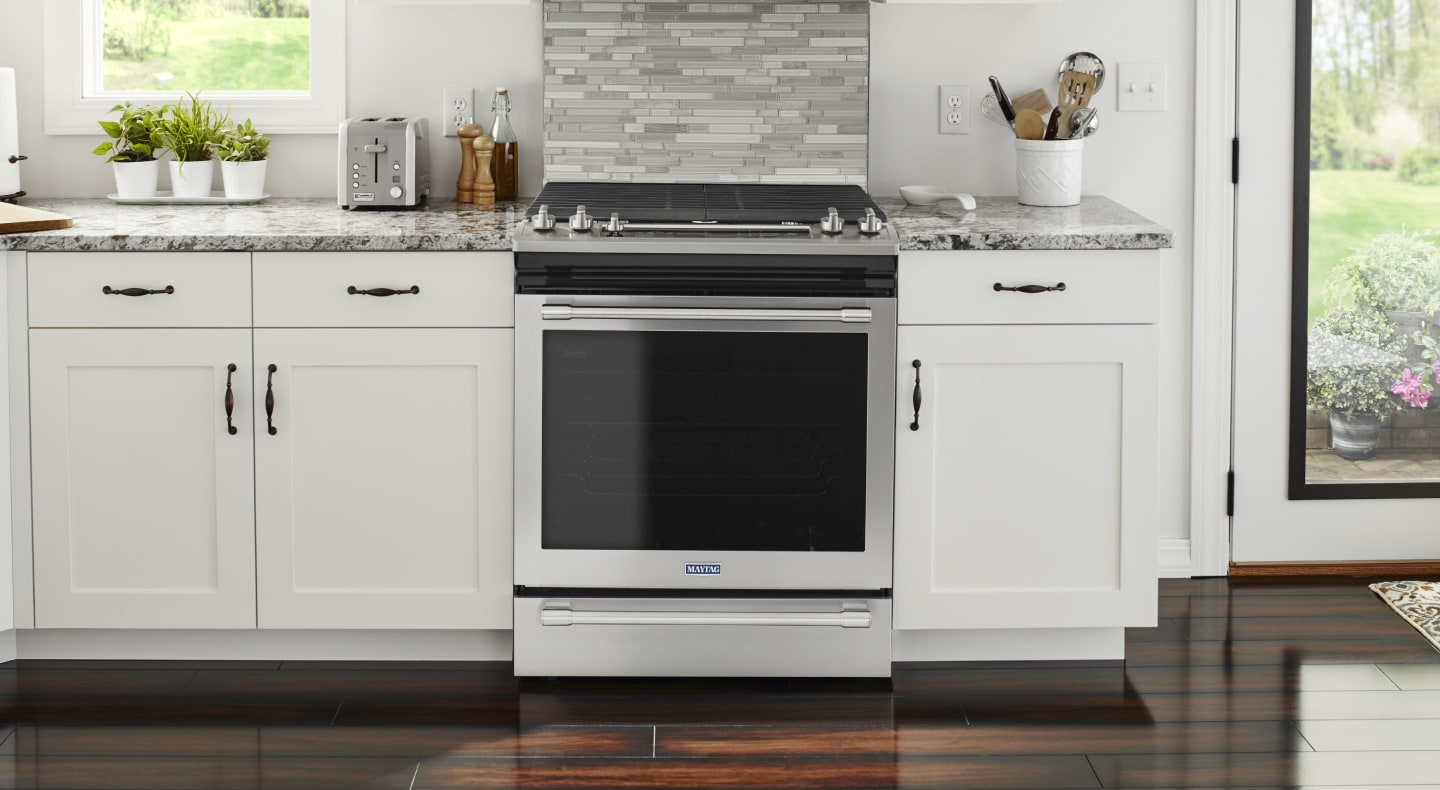
Browse gas ranges from Maytag brand for a size and style to suit your needs.
HOW TO INSTALL AN ELECTRIC STOVE
Installing an electric stove from Maytag brand can be handled with this 6-step guide and the installation instructions for your model. This process may take up to 2 hours from start to finish. Be mindful to refer to your appliance installation guide for specific instructions. Consult a professional electrician for required electrical circuits and wiring.
WHAT YOU’LL NEED TO INSTALL AN ELECTRIC RANGE
Electric stoves require specific volt circuits and amp receptacles to function properly. Consult a licensed electrician for questions or concerns.
Supplies
Slide-in or freestanding electric range
3-prong electric range power cord, refer to owner’s manual for requirements
4-prong electric range power cord; refer to owner’s manual for requirements
Tools
- Screwdriver
STEP 1: CHECK THE CIRCUIT VOLTAGE
Generally, a 250-volt circuit and a receptacle with 40 amps are the minimum requirements to install an electric range for consistent performance. A voltage detector can be used to check the outlet’s voltage. If you are replacing an old electric stove, the circuit and receptacle may already meet these requirements. If a 250-volt circuit is not present, a licensed electrician will need to install one.
STEP 2: CHECK THE POWER CORDS
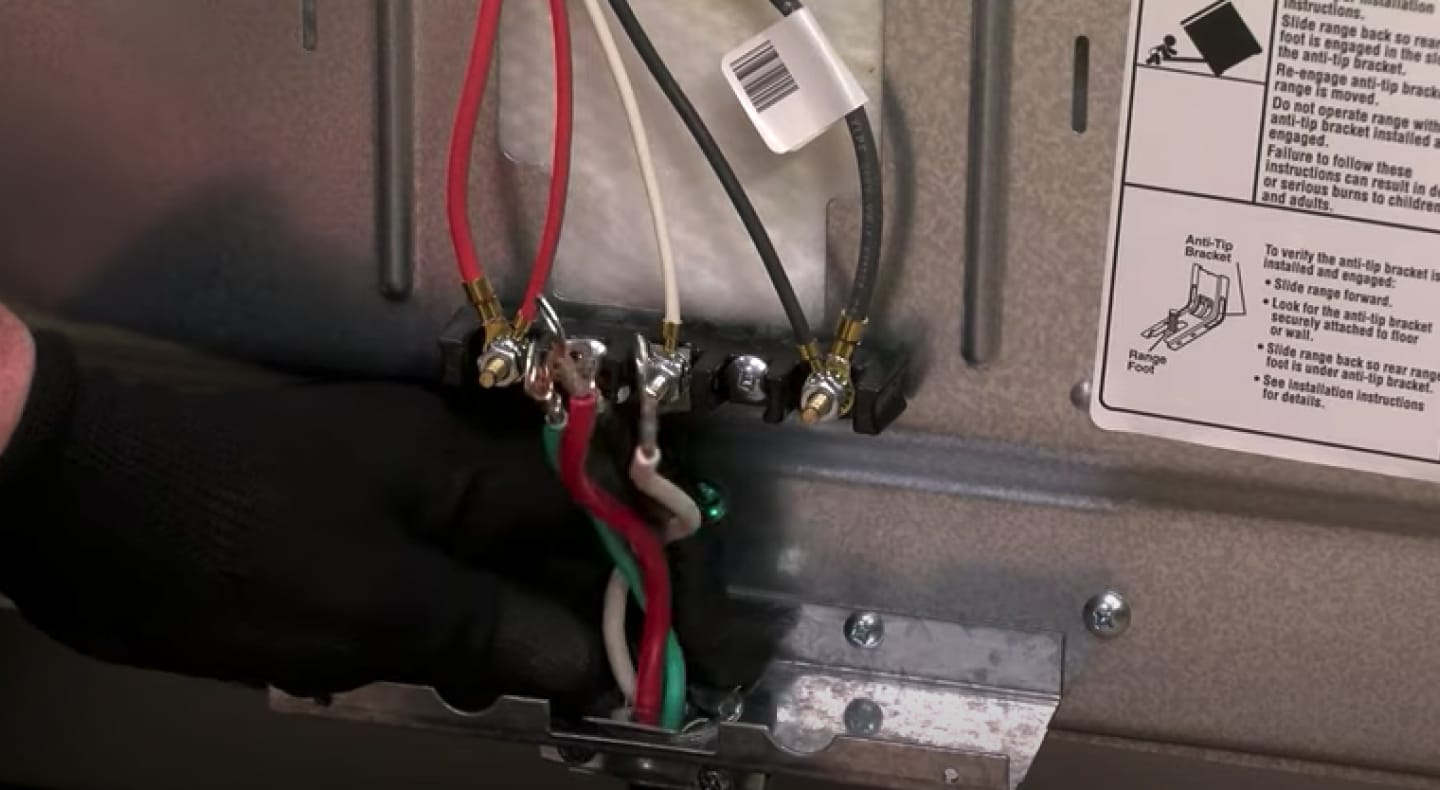
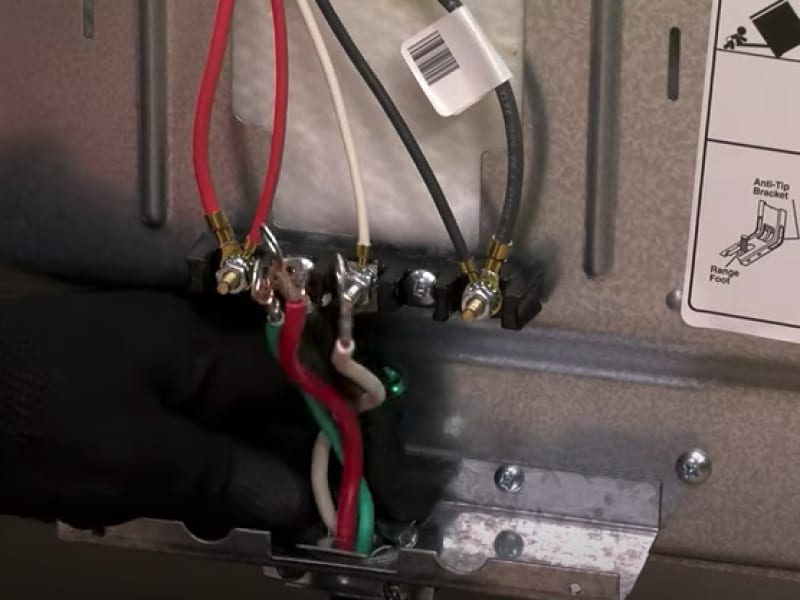
250-volt power cords come in 3- and 4-wire models that connect to the back of your stove into the corresponding color-coded ports.
3- and 4-wire configurations contain one black conductor, one red conductor and a white conductor that is used as the grounded link.
4-wire cords also contain a grounded link that is green.
Maytag brand offers power cords and stove accessories to get your installation finished.
STEP 3: CHECK THE CONNECTIONS IN THE BACK YOUR STOVE
Always refer to your owner’s manual for specific instructions on the required electrical circuits. Newer electric stoves typically have 4-wire connections.
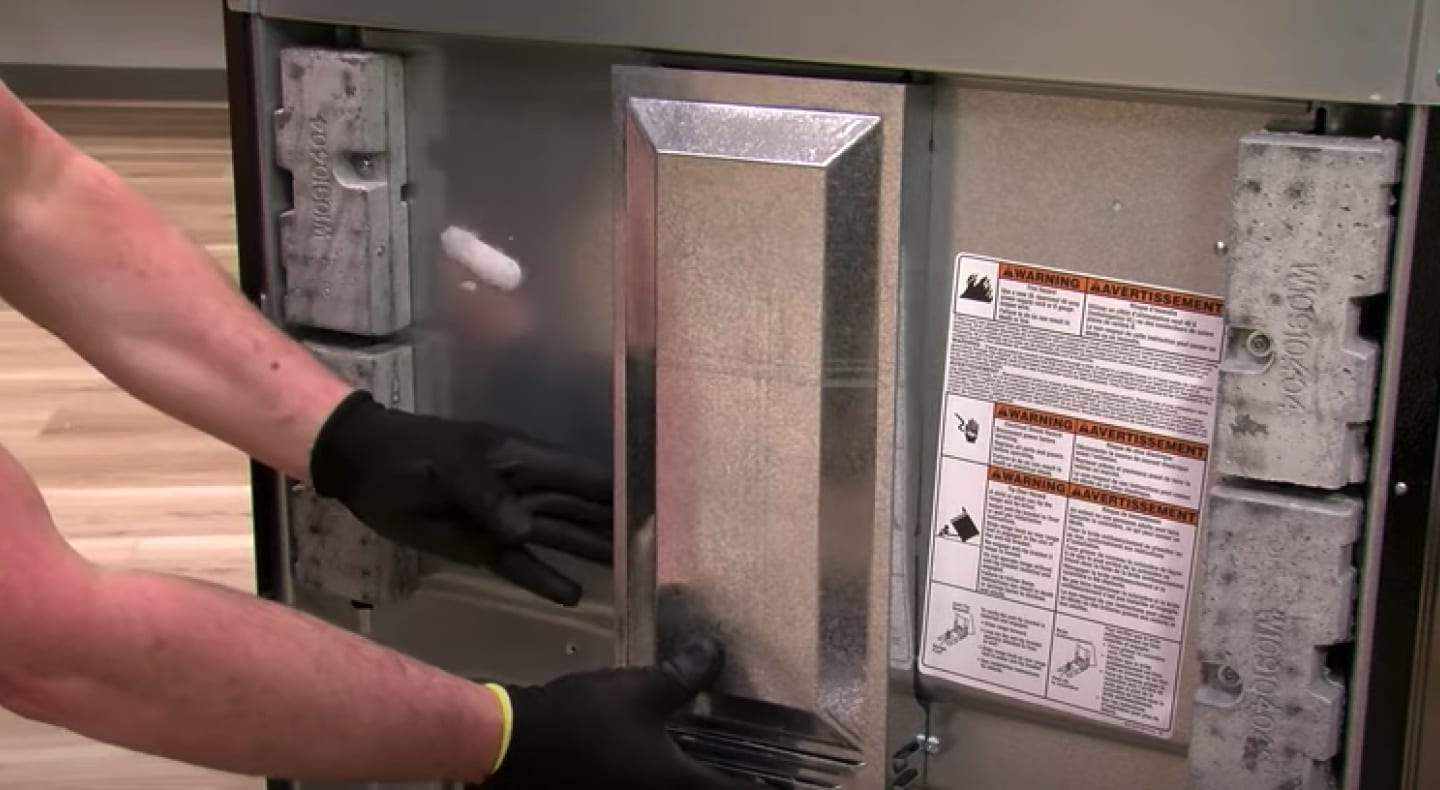
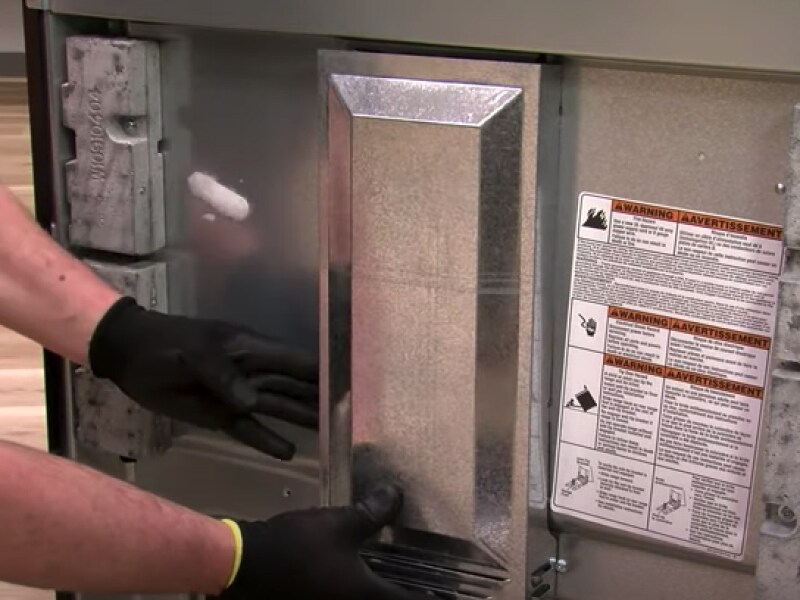
Detach the wire connection cover plate from the back of your range with a screwdriver.
Locate the wiring configuration and ground conductor screws for either 3-wire or 4-wire placement.
Contact a licensed electrician to configure the grounding connections, if necessary.
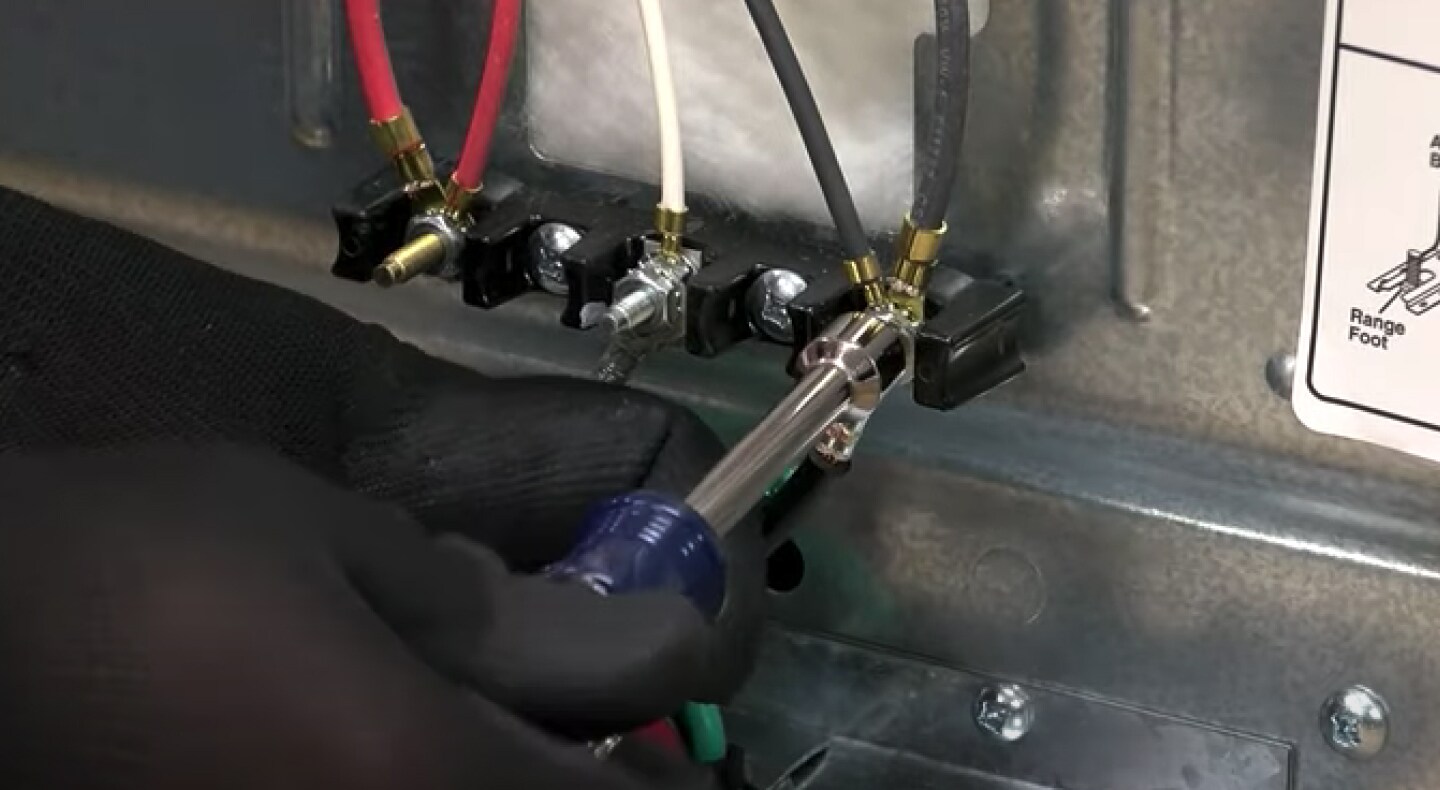
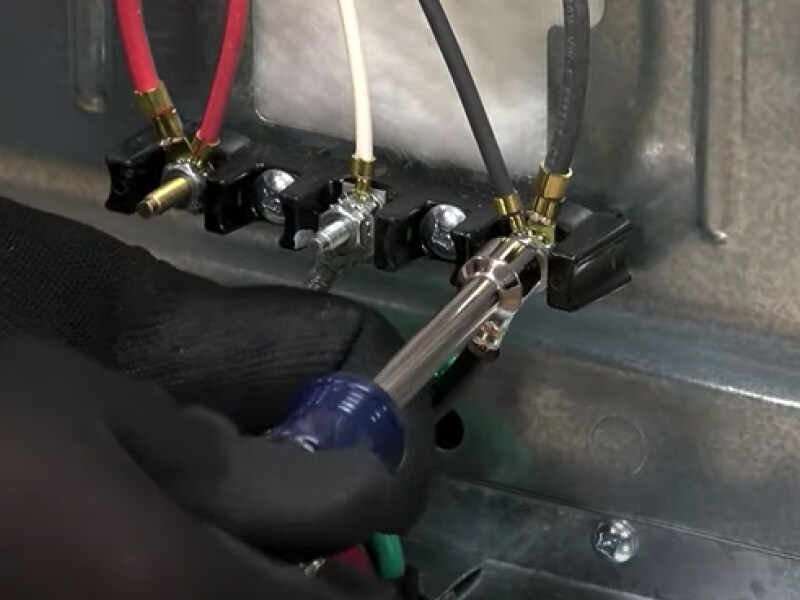
STEP 4: CONNECT THE POWER CORD TO THE BACK OF THE STOVE
Depending on your range, connect the 3-wire or 4-wire configurations to their corresponding colors.
For 3-wired, ensure that the white grounded wire is connected to the center port. The red and black wires will be on either side.
For 4-wired, secure the green wire to the green grounding connector and connect the rest of the wires with their ports.
Make sure the wires are secured, and reattach the wire connection cover plate.
STEP 5: PLUG IN THE APPLIANCE
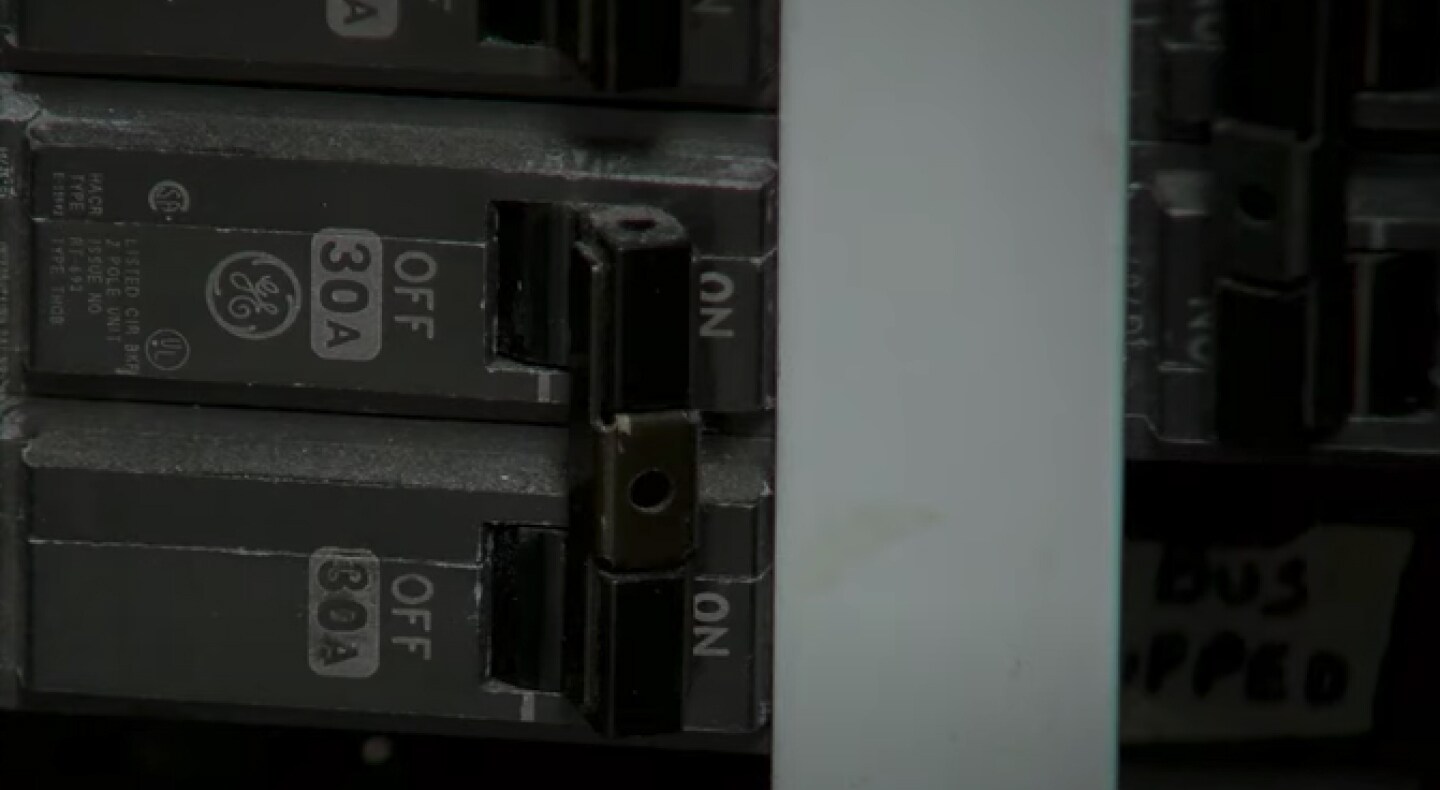
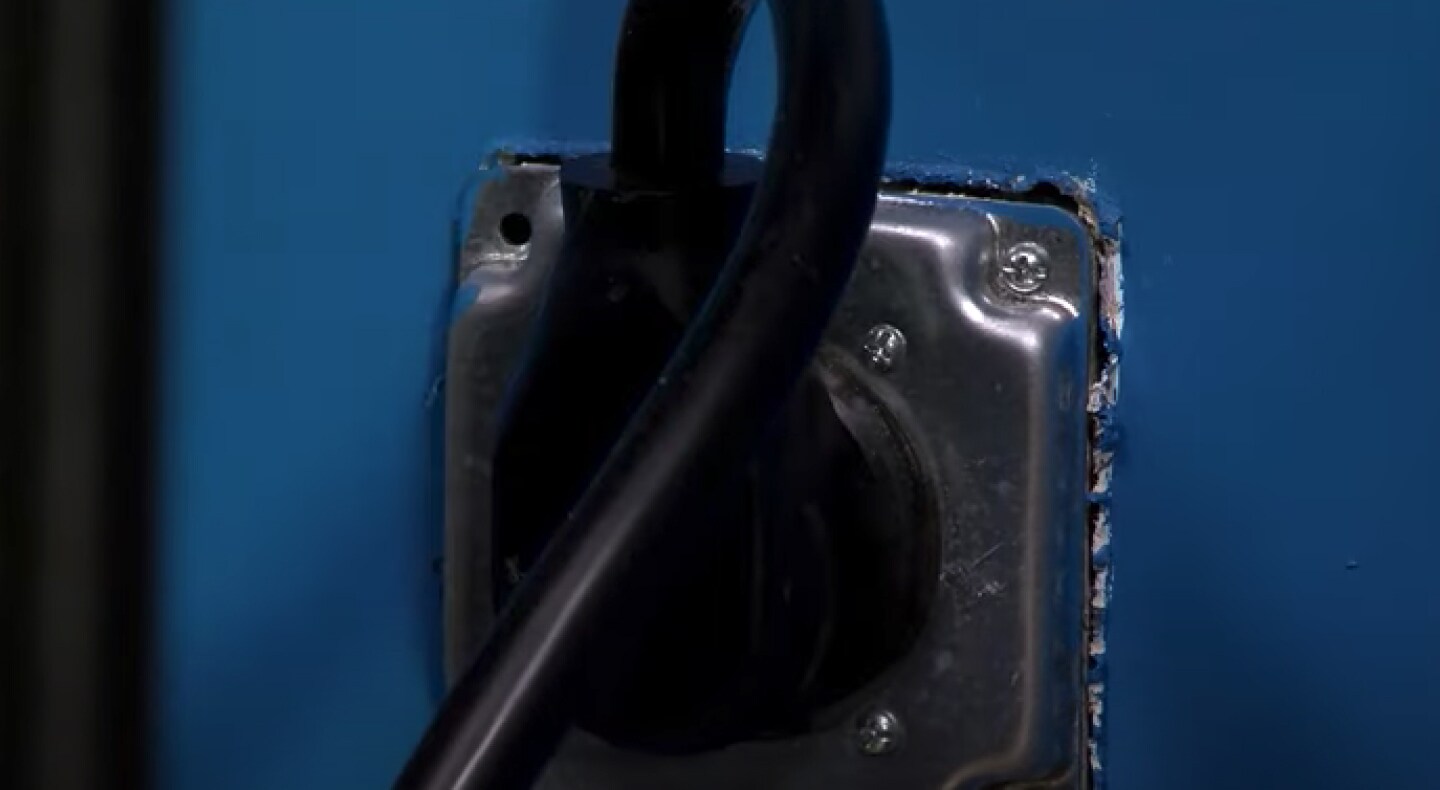
Once the wiring is connected, shut off the power circuit in your home that is connected to the stove. Next, plug the power cord into the electrical outlet.
Make sure the outlet is solely dedicated to the range.
Turn your main power circuit back on.
STEP 6: SLIDE THE RANGE INTO PLACE
Due to the heavy size and bulkiness of most electric stoves, gently slide it into place with another person.
Make sure the appliance is level and properly aligned by adjusting the leveling legs if needed.
Install the anti-tip bracket for secure installation.
SHOP FOR ELECTRIC RANGES FROM MAYTAG BRAND
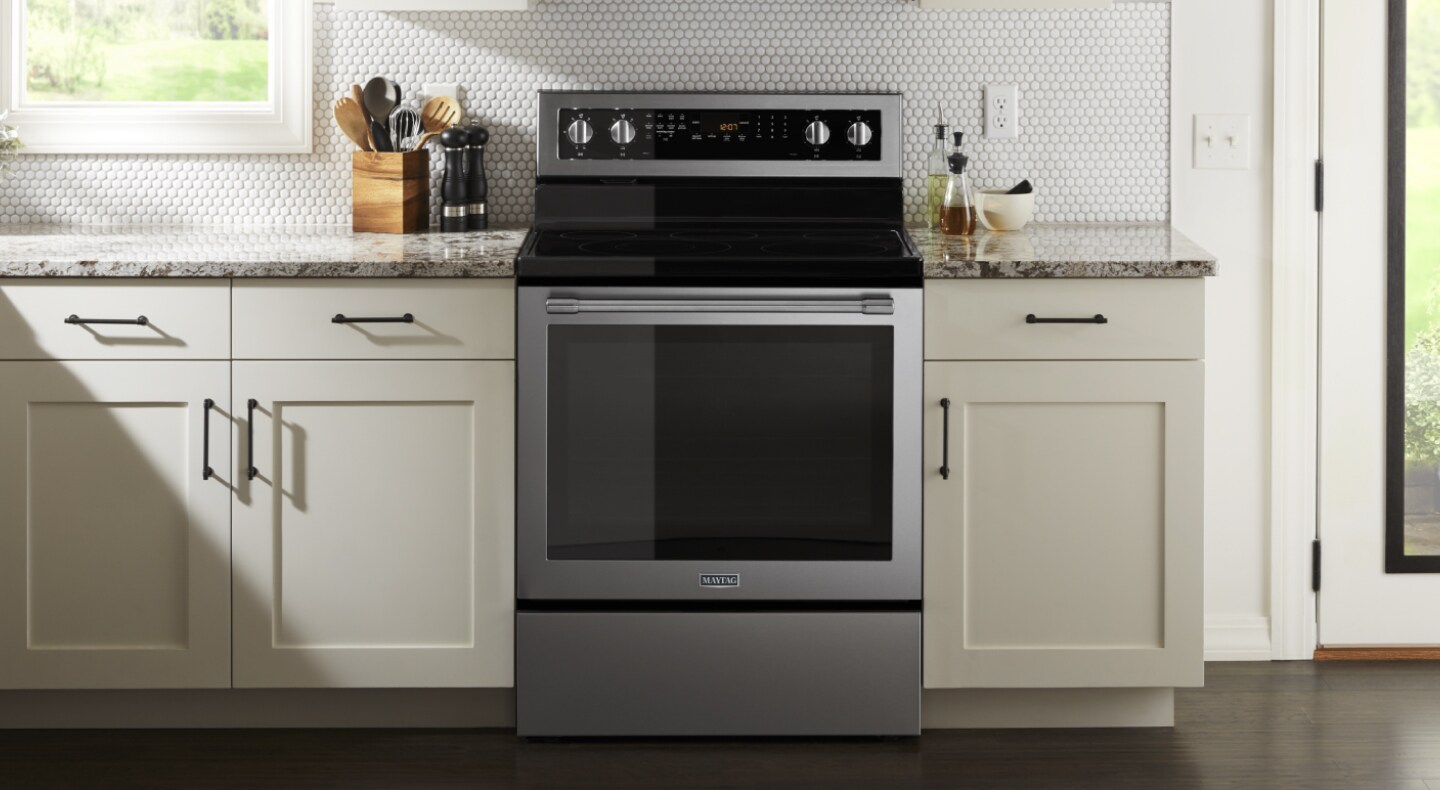
Browse electric ranges from Maytag brand for a size and style to suit your needs.
STOVE INSTALLATION TIPS & CONSIDERATIONS
There are a few things to consider when installing a new stove. Read on for more gas and electric stove installation tips.
MAKE SURE THE NEW STOVE WILL FIT
Before you install a new gas or electric stove, measure the width, height and depth of your current stove or the kitchen cabinet cutout to ensure a proper fit. Most kitchens have a standard size, however, stoves can vary in size from small, compact models to large, commercial-size appliances.
Keep in mind that the space between the back of your stove and the wall requires a minimum clearance–consult your user’s manual for instructions. Learn more about how to measure the dimensions of your stove and cabinet cutout.
SLIDE-IN VS. FREESTANDING RANGE INSTALLATION REQUIREMENTS
A slide-in range is designed to fit between kitchen cabinets and align flush with your countertops, while a freestanding model can be installed the same way or placed as a standalone appliance. Installation requirements vary for a slide-in and freestanding range and may not be interchangeable.
GAS VS. ELECTRIC STOVE INSTALLATION REQUIREMENTS
An existing gas connection is necessary to install a gas range. While gas ranges require a standard 110-volt outlet, electric stoves generally require a 250-volt circuit and 40-50 amp receptacle. If a gas connection or electrical circuit is not present, contact a service professional for installation.
Full installation instructions typically include a chart to determine what is needed based on the total wattage of your model. Gas and electric stoves can replace each other if the proper gas or electrical connections are installed and conveniently placed.
DIY VS. PROFESSIONAL STOVE INSTALLATION
While this guide takes you through the steps of installing a gas and electric stove, professional installation is generally recommended, especially for a gas stove, unless you have previous experience. Professional installation can ensure that it’s installed properly. Typical DIY installation for a gas stove may take 4 to 6 hours or up to 2 hours to install an electric stove.
If you opt for DIY and have questions during the process, don’t hesitate to contact a professional. Troubleshooting FAQs and convenient resources, such as installation guides and tips, are available to help simplify your installation process.
The cost of professional installation can vary depending on the model and whether it's a gas or electric stove. If you purchase a stove through Maytag.com, you can add professional installation and haul away services at checkout, depending on your location.
EXPLORE MAYTAG® GAS AND ELECTRIC STOVES
Whatever’s on the menu, a Maytag® range offers convenient and reliable cooking on the range and within the oven. Browse the full lineup of Maytag brand gas and electric ranges and discover the power of models with features like True Convection, Power™ Burners on the stove and Power™ Preheat to help prepare dinner with ease.

