
How to Install Washer & Dryer Pedestals
Laundry pedestals can make loading and unloading laundry easier while providing extra space to store laundry supplies. Laundry pedestals are only recommended for front-load models and are installed underneath your washer and dryer, so check that you have enough open space above your units. Installing them is simple, but you'll need the written installation instructions that came with your product and a second person to help lift and position the appliances.
Why do you need a laundry pedestal?
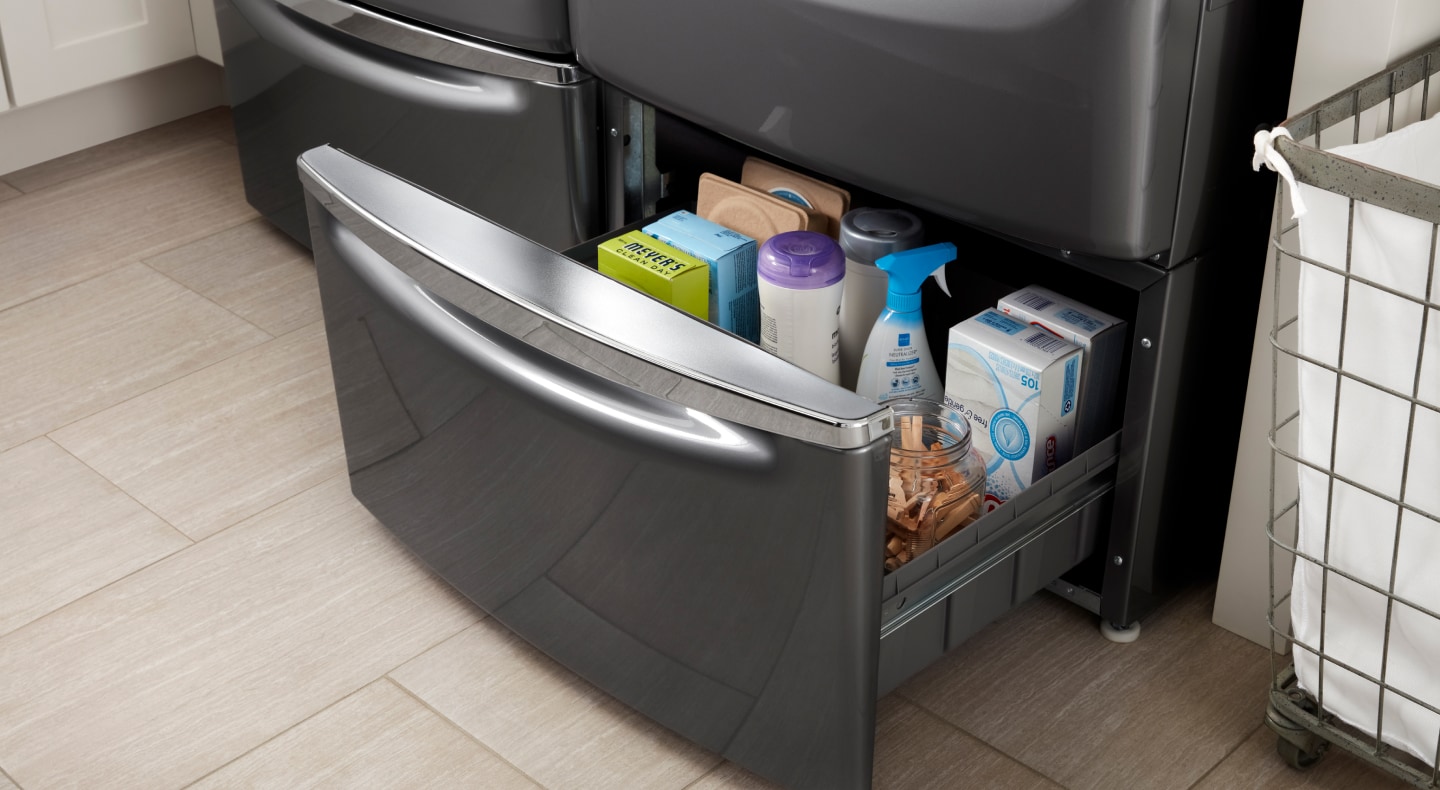
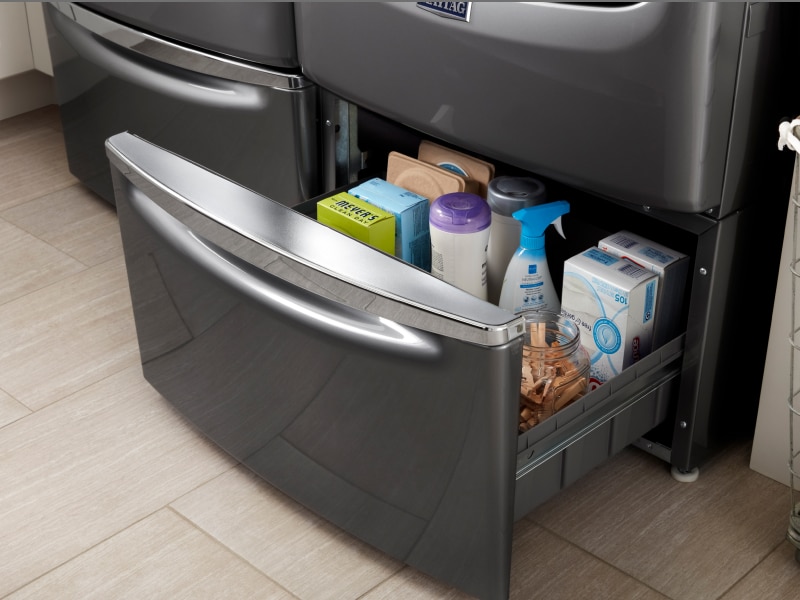
A laundry pedestal, like these models from Maytag brand, is not necessary for your washer and dryer to function properly, but it offers convenience. It lifts front-load machines 10 to 15.5 inches off the floor, minimizing the amount of bending needed to load and unload items. Some pedestals include built-in storage or compartments.
When shopping for a laundry pedestal, it’s best to try matching it to the brand of your washer and dryer. You may find that some laundry pedestals are universal, but things such as the pedestal's dimensions, color/finish, weight limit and features can vary from brand to brand.
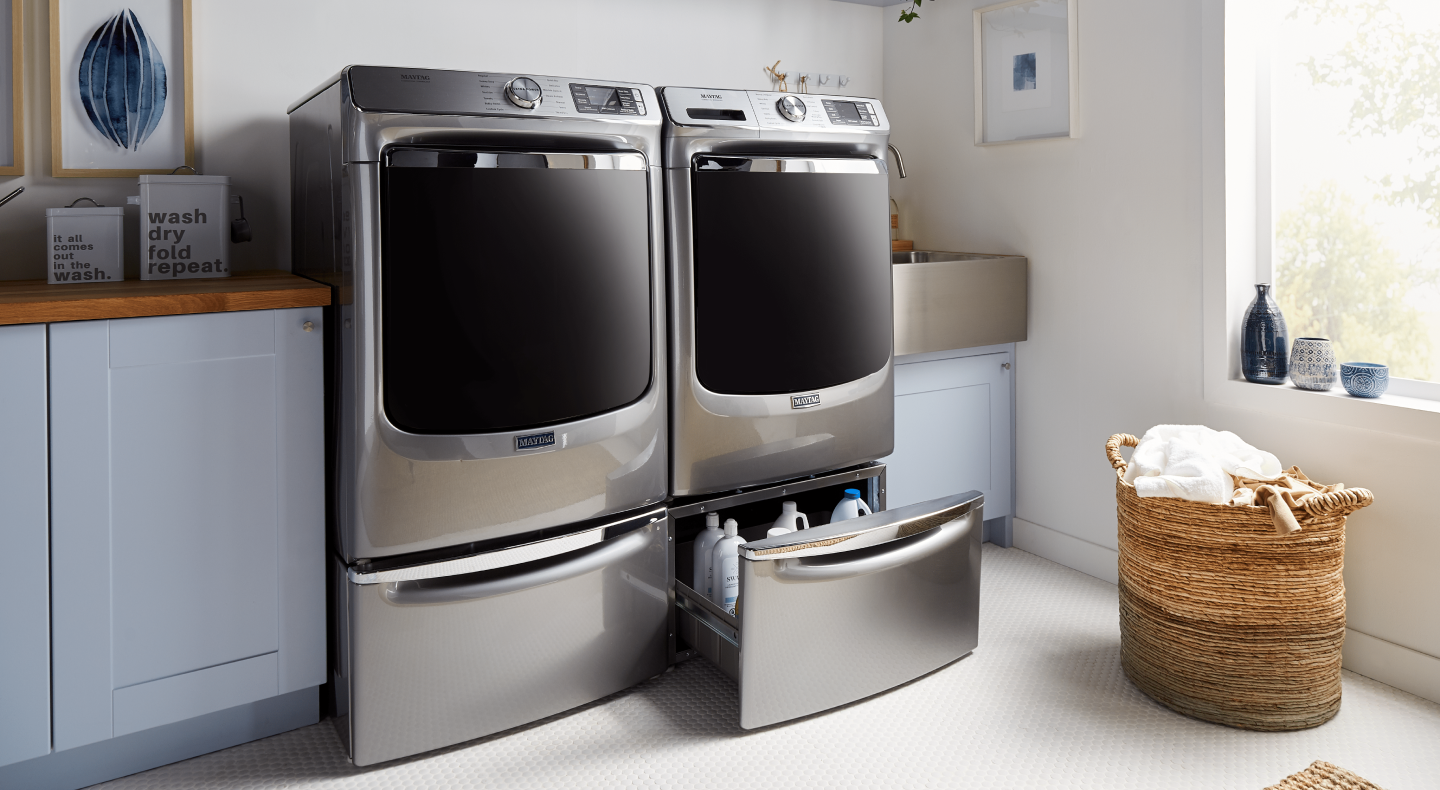
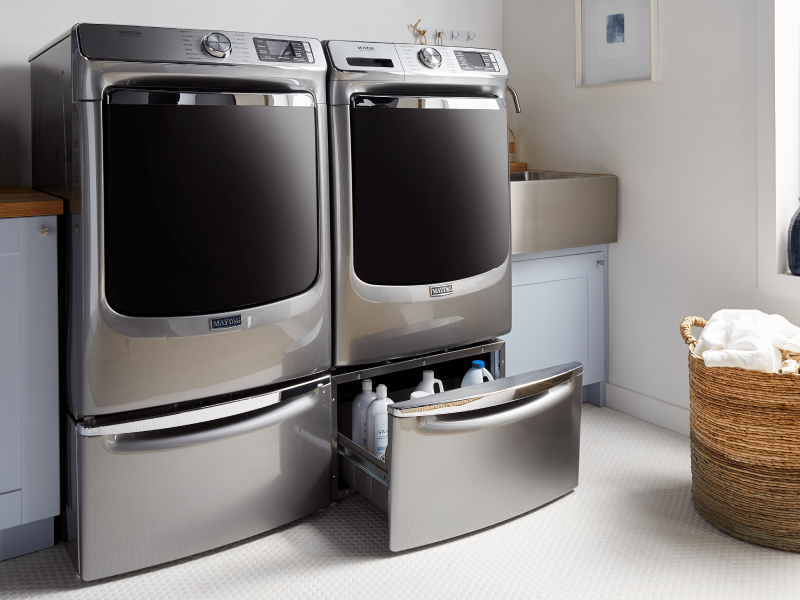
How to Install Laundry Pedestals Step-by-Step
Follow these steps for your washer and dryer pedestal DIY installation. Please note that these steps are only intended to supplement the written installation that accompanies your product, not to replace the instructions. For best results, have your installation manual with you as you install your laundry pedestal. The steps below reflect the typical process for installing Maytag brand pedestals but installation may vary by make and model. If you prefer to leave the installation to the professionals, installation service is available for most major appliances, depending on your location. Add it during checkout and we’ll install your appliance at the time of delivery.
What You’ll Need
Before you begin, check that you have all the tools and parts, along with an extra person, to help you install your laundry pedestal. This will help your installation go as smoothly as possible. Set aside approximately 15 to 20 minutes to install a pedestal.
Tools
Utility knife
Level
Pliers or slip-joint pliers
1/4" hex-head ratchet or open-end wrench
9/16" open-end wrench
1/4" nut driver
- 5/16" hex-head ratchet or nut driver
Supplies
Bucket
Towel
Sponge
Four #12 x 3/4" hex-head sheet metal screws
Drawer divider

Step 1: Prepare the Pedestal
Unpack the pedestal. Remove the pedestal from the shipping box and set the box aside to use during installation. Open the pedestal drawer and take the parts out. You will find the drawer divider and a package with four #12 x 3/4" hex-head sheet metal screws.
Locate spacer pads. The four spacer pads are on the top of the pedestal. These pads reduce vibration between the pedestal and the machine.
Remove the pedestal drawer. Using a 1/4" nut driver, remove the hex-head screws from both drawer slides and save the screws. Remove the drawer from the slides and set it aside. Push the slides back into the pedestal.

Step 2: Uninstall your washer
Turn off the hot and cold water faucets.
Unplug the power supply cord.
Slowly loosen the fill hoses at the faucets to relieve the water pressure. Use a sponge or towel to absorb the released water.
Remove the “HOT” and “COLD” fill hoses from the back of the washer. Drain the water from the hoses into a bucket.
Remove the drain hose from the standpipe or laundry tub and drain any water remaining in the hose into a bucket.
Pull the washer away from the wall so that you will have enough space for the installation.

Step 3: Uninstall your dryer
Remove any clothing left over in the appliance and clean out the lint trap.
Unplug the power supply cord or disconnect wiring if the dryer is directly wired.
Pull the dryer away from the wall enough to loosen the vent clamp. Loosen the clamp and gently remove the exhaust vent from the dryer exhaust outlet.
Pull the dryer away from the wall so that you will have enough space for the installation.
Follow these steps for a gas dryer:
Remove any clothing left over in the appliance and clean out the lint trap.
Unplug the power supply cord.
Contact a professional prior to turning off the gas supply.
Pull the dryer away from the wall enough to loosen the vent clamp. Loosen the clamp and gently remove the exhaust vent from the dryer exhaust outlet.
Disconnect the flexible gas supply line from the dryer. Put a piece of tape over the open ends of the gas line connection fittings.
Pull the dryer away from the wall so that you will have enough space for the installation.

Step 4: Install the Pedestal On Your Washer or Dryer
Confirm transport bolts are in place. Locate the transport bolts on the rear of your washer or dryer if your machine is new. Transport bolts must remain in the washer before the pedestal can be installed.
Place the appliance on its side. Before you begin, make sure to enlist the help of at least one other person. To avoid floor damage and ease installation and handling, unfold the empty pedestal box flat and place it next to the washer or dryer. Position the drawer divider so that it will be near the top of either appliance. Gently tip the washer on its side so the washer or dryer is resting on the drawer divider.
Prepare your washer or dryer. Partially install two of the #12 x 3/4" hex-head sheet metal screws in the indicated holes. Leave a space of about 3/8" (10 mm) between the screw head and the bottom of the washer or dryer. If your appliance has leveling feet installed, remove them.
Attach the pedestal to the appliance. Move the pedestal against the washer or dryer bottom. The front of the pedestal cabinet should align with the front of the appliance cabinet. Slide the pedestal’s keyhole slots over the lower two partially installed screws.
- Secure the pedestal to the appliance. Position the pedestal toward the front of the washer or dryer and install the two remaining hex-head sheet metal screws. Do not tighten completely. Now proceed to Step 5 “Complete the Pedestal Installation.”

Step 5: Complete the Pedestal Installation
Align sides of pedestal. Align the sides of the pedestal so that they are even with the sides of your washer or dryer. Reach inside the pedestal opening and securely tighten all four pedestal screws.
Prepare pedestal feet. Using a 1/4" hex head ratchet or open-end wrench, lower the feet approximately 1" (25 mm) away from the bottom of the pedestal.
Stand the appliance upright. With help from another person, tip the washer or dryer back to its upright position. Remove any remaining packaging material. Set the pedestal box aside for use if installing another pedestal. Once both the washer and dryer have been installed, dispose of/recycle all packaging material.

Step 6: Level the Washer or Dryer
Move your washer or dryer close to the final location. Follow the installation instructions that came with your model to finish installing or reinstalling your washer or dryer (i.e., hoses, vents, etc.). Be sure to remove the transport bolts from the back of the machine.
Check the level of the appliance. Place a level on the top edges of the washer or dryer, checking each side and front. Rock the washer or dryer back and forth to make sure all four feet make solid contact with the floor. If not level, adjust the pedestal feet up or down, repeating as necessary.
Adjust the pedestal feet. Locate the 1/4" hex-head screws on the top of each pedestal foot. Reach inside the pedestal and use a 1/4" hex-head ratchet or open-end wrench to adjust the feet up or down as needed, to level the washer or dryer. Make sure all four pedestal feet are in solid contact with the floor.
Securely tighten jam nuts. When the washer or dryer is level, use a 9/16" open-end wrench to securely tighten all four jam nuts against the pedestal. The jam nuts must be tightened to avoid vibration.
Step 7: Reinstall Pedestal Drawer
Reassemble pedestal drawer. Pull both drawer slides out and reassemble the drawer to the drawer slides with the two hex-head screws.
Place drawer divider in drawer. Remove the shipping film from the drawer. Place the divider in the drawer at the desired location. Close the drawer. Use of the divider is optional.
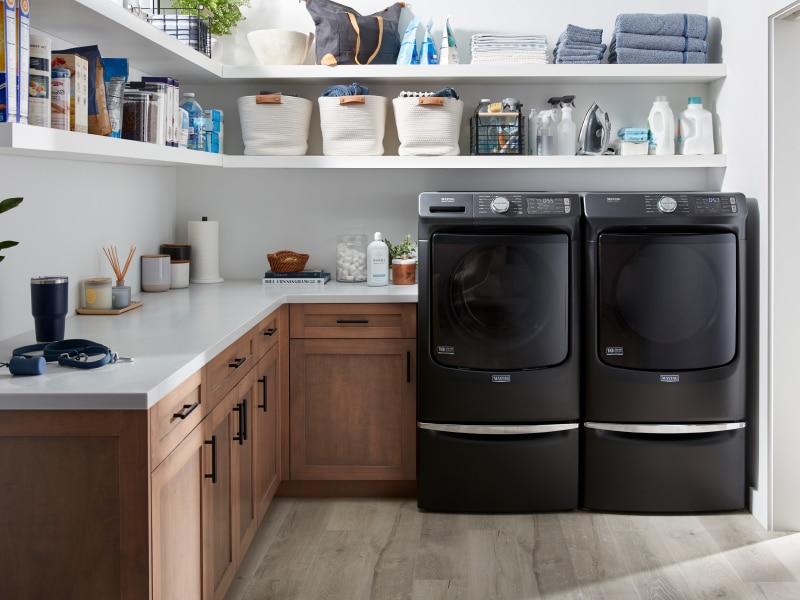
How Do You Lift a Washing Machine or Dryer Onto a Pedestal?
One benefit to laundry pedestals is you do not need to lift either your washer or dryer onto them, which could damage the pedestal or the machine. Instead, it is recommended to place these appliances on their side, then attach the pedestals to the base, before setting them back upright. (see “Step 4” for further details). Just remember that you will need the help of a second person when moving or tipping appliances.
How to Remove Washer and Dryer Pedestals
To remove washer and dryer pedestals, you will first uninstall your appliance. With the aid of a second person, place the appliance on its side onto a drawer divider, then unscrew the hex-head sheet metal screws. Remove the washer or dryer pedestal. Complete by standing the appliance upright once more. If you require further instructions, refer to the full list of steps for more details.
Shop Maytag® Washer & Dryer Pedestals
Explore pedestals to level up laundry day, giving a boost to your washer and dryer with extra height, comfort and storage without giving up valuable space. Maytag brand offers a variety of sizes and colors to match your front-load washer and dryer.
