


 New Code Sent!
HOW TO REMOVE DYE TRANSFER STAINS FROM COLORED CLOTHES
Color-bleed stains from the wash can catch even the most careful laundry doers off guard. Fortunately, there are a few reliable ways to help spot treat stained clothes and possibly save your favorites.
Use this guide for tips on how to remove dye stains from clothes using oxygen bleach, vinegar or detergent, then discover laundry tips for treating whites and preventing future color mishaps.
IS IT DIFFICULT TO REMOVE COLOR-BLEED STAINS FROM CLOTHES?
Color-bleed stains can be particularly stubborn, especially if the garment has already gone through the dryer. Heat can set the dye, making it much harder to remove. The key is to act fast. If you catch the stain early, you may be able to lift it before the dye settles deep into the fabric.

3 METHODS FOR REMOVING DYE TRANSFER STAINS FROM COLORED CLOTHES
When dye transfer happens, treat the stains as quickly as possible, ideally before the clothes go through the dryer where heat can lock them in. Pretreating before rewashing boosts your chances of removing the stains for good. Below, explore three pretreatment methods using oxygen bleach, vinegar, and enzyme-based detergent or stain remover.
1. OXYGEN BLEACH
Oxygen bleach—sometimes called non-chlorine or color-safe bleach—is a gentler alternative to chlorine bleach. Made from hydrogen peroxide and sodium carbonate, it can be helpful for everyday stains without harsh fumes and is usually safe for most colored fabrics. Check your care tags and perform a spot test to make sure your fabric can handle it, then follow the steps below to help remove dye transfer from clothes.
- Step 1: Follow the instructions on the packaging to mix oxygen bleach with water, creating a cleaning solution. Then, fully submerge the stained items and let them soak for up to eight hours to give the bleach time to work through the stain.
- Step 2: Rewash soaked items according to the instructions on their care tag, using non-chlorinated oxygen bleach alongside your regular laundry detergent.
- Step 3: After rewashing, inspect the clothing for any remaining dye. If the stains are still visible, go back and repeat steps one and two. If the stain is gone, let the item air-dry to help prevent any hidden residue from setting in with dryer heat.
2. VINEGAR
Vinegar can be a budget-friendly, readily available option for tackling stains and odors, but it shouldn’t go straight into your washing machine. Direct use can damage your washer over time. Instead, use vinegar as a pretreatment, then rinse garments thoroughly before you wash them. After performing a quick spot test to make sure your clothes can handle interactions with vinegar, follow the steps below to help treat color-bleed stains.
- Step 1: Mix equal parts water and white vinegar in a basin or tub deep enough to submerge clothing.
- Step 2: Fully submerge stained clothes in the mixture, leaving the clothes to soak for up to 30 minutes. Agitate the water periodically to help release loose dye in your clothes.
- Step 3: Rinse the item thoroughly with clean, cool water to remove any lingering vinegar.
If you decide to machine-wash your garment after treating it with vinegar, be sure to air-dry it afterward. This helps prevent any remaining stain from setting before you’re certain that it’s completely gone.

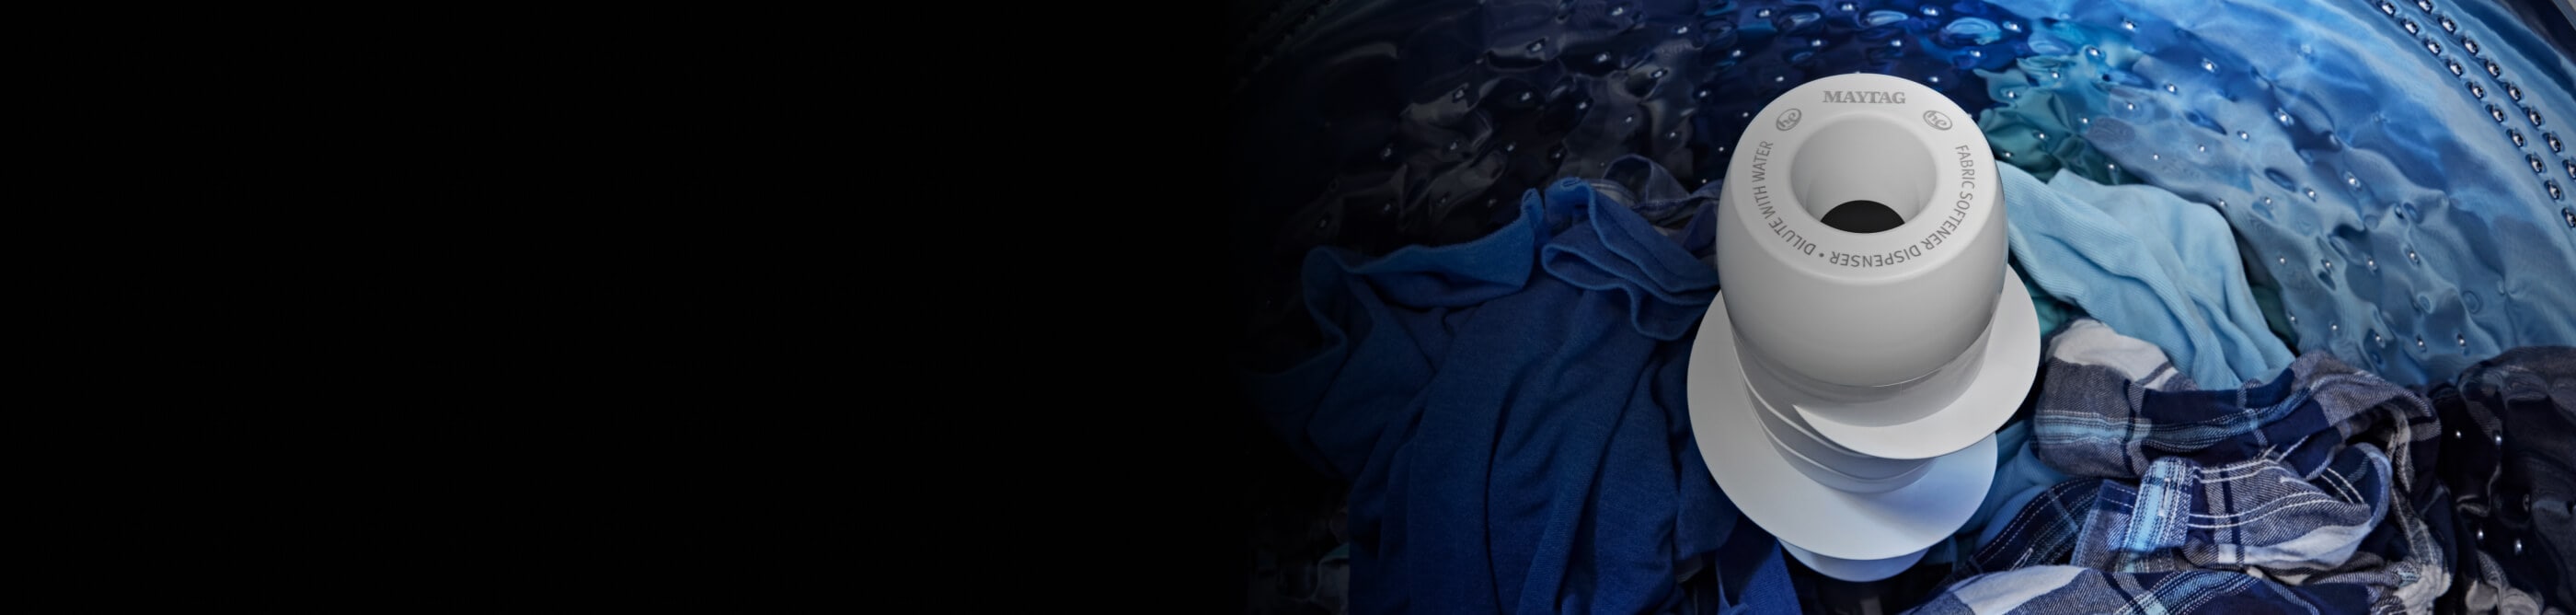
Extra Power
BOOST STAIN FIGHTING ON ANY WASH CYCLE
Maytag® washers with Extra Power give clothes an intense pre-wash and extra agitation to help wash stains away
3. DETERGENT OR STAIN REMOVER
An enzyme-based detergent or stain remover may help give stain fighting a boost when you’re dealing with dye transfer residue. The enzymes in detergent speed up the chemical reactions that help break down stains and grime, helping lift unwanted color transfer during pretreating. Follow the steps below to pretreat your clothes with an enzyme-based detergent or stain remover.
- Step 1: Add two tablespoons of detergent to the stained area, or apply stain remover per the package instructions, then use a brush to gently scrub the stain.
- Step 2: Soak the garment in water for 30 minutes, then wash according to the care tag’s instructions.
- Step 3: Inspect your clothes at the end of the wash cycle and repeat the process if you notice lingering stains.
- Step 4: Air dry afterward to keep any lingering stains from setting in with heat.
SHOP SWASH® LAUNDRY DETERGENT
Swash® Laundry Detergent1 is designed with zero phosphates and 8x the concentration, so you can keep your things clean and use only what you need—no more, no less. Plus, the Auto-Stop Top will stop automatically when you have the right amount. So there’s no guess and no mess.


HOW TO REMOVE COLOR TRANSFER STAINS FROM WHITE CLOTHES
Stains tend to stand out more on white clothes, making treatment feel even more urgent. For white, cotton-based garments, pretreating or washing with chlorine bleach may be especially effective. Follow the steps below to help lift color transfer stains from your whites. Always check your care labels and spot treat your garment in a small area first, to be sure the fabric can handle the treatment.
Step 1: Start by separating the stained white items from the rest. Place the affected cotton garments back into the washer, then add ½ cup of chlorine bleach—either directly into the drum or the bleach dispenser (check your washer’s manual for specific instruction on adding bleach). Wash as you normally would.
Step 2: If rewashing with chlorine bleach doesn’t fully remove the stains, try soaking the affected items. Mix 1 gallon of water with 3 tablespoons of chlorine bleach and fully submerge one garment at a time for up to 5 minutes. If the stain lingers, give it another 5-minute soak before rinsing.
Step 3: If all traces of dye are gone, wash your clothes according to their care tags, then air-dry to help avoid setting any unnoticed and lingering stains in the dryer.


TIPS FOR PREVENTING COLOR TRANSFER STAINS ON CLOTHES
Removing dye transfer stains from clothes can be tough, so preventing them in the first place can save you time and the hassle of stubborn stain treatment. Discover tips below that may help you avoid dye transfer stains in the washer.
Sort laundry thoroughly: Take extra time to ensure your clothes are properly sorted by whites, lights and darks before you add them to the washer.
Check colorfastness: Testing clothes for colorfastness—or how well your garment can retain its color without running—can help you find out if items may be prone to loose dyes.
Clean the washer drum: If it’s been a while, consider cleaning out your washer before you rewash stained clothes or add a new load to the washer.
- Wash new clothes separately: New clothes may be more prone to bleeding color in the washer, so be sure to wash them alone to help reduce the risk of dye transferring to other clothes.
EXPLORE MAYTAG® WASHING MACHINES AND DRYERS
Maytag® washers and dryers offer convenient features and powerful cycles to help you keep laundry day moving. The Built-in Water Faucet on select Maytag® top load washers allows you to rinse, spot treat or soak clothes right in the washer—no extra steps needed. After three hours, the water drains, leaving clothes ready for the wash cycle. And, on select Maytag® dryers, Advanced Moisture Sensing monitors inside moisture and air temperatures to help evenly dry loads.
Was this article helpful? Pass it on
LEARN MORE WITH MAYTAG BRAND
1. Swash and the recommending brands are owned and distributed by Whirlpool Corporation.
