
HOW TO STACK A WASHER AND DRYER
Stacking your washer and dryer is a relatively easy task that can help you save space when living in tight quarters. With the help of someone, a few tools and a stacking kit, you can stack your washer and dryer to optimize your space.
For many people, there never seems to be quite enough room in the home, regardless of the actual square footage. Especially with essential appliances like washers and dryers, you may sometimes have to get creative with the space available. Luckily, stacking your laundry appliances can help you save valuable space and it’s a relatively simple task that you can tackle with a friend.
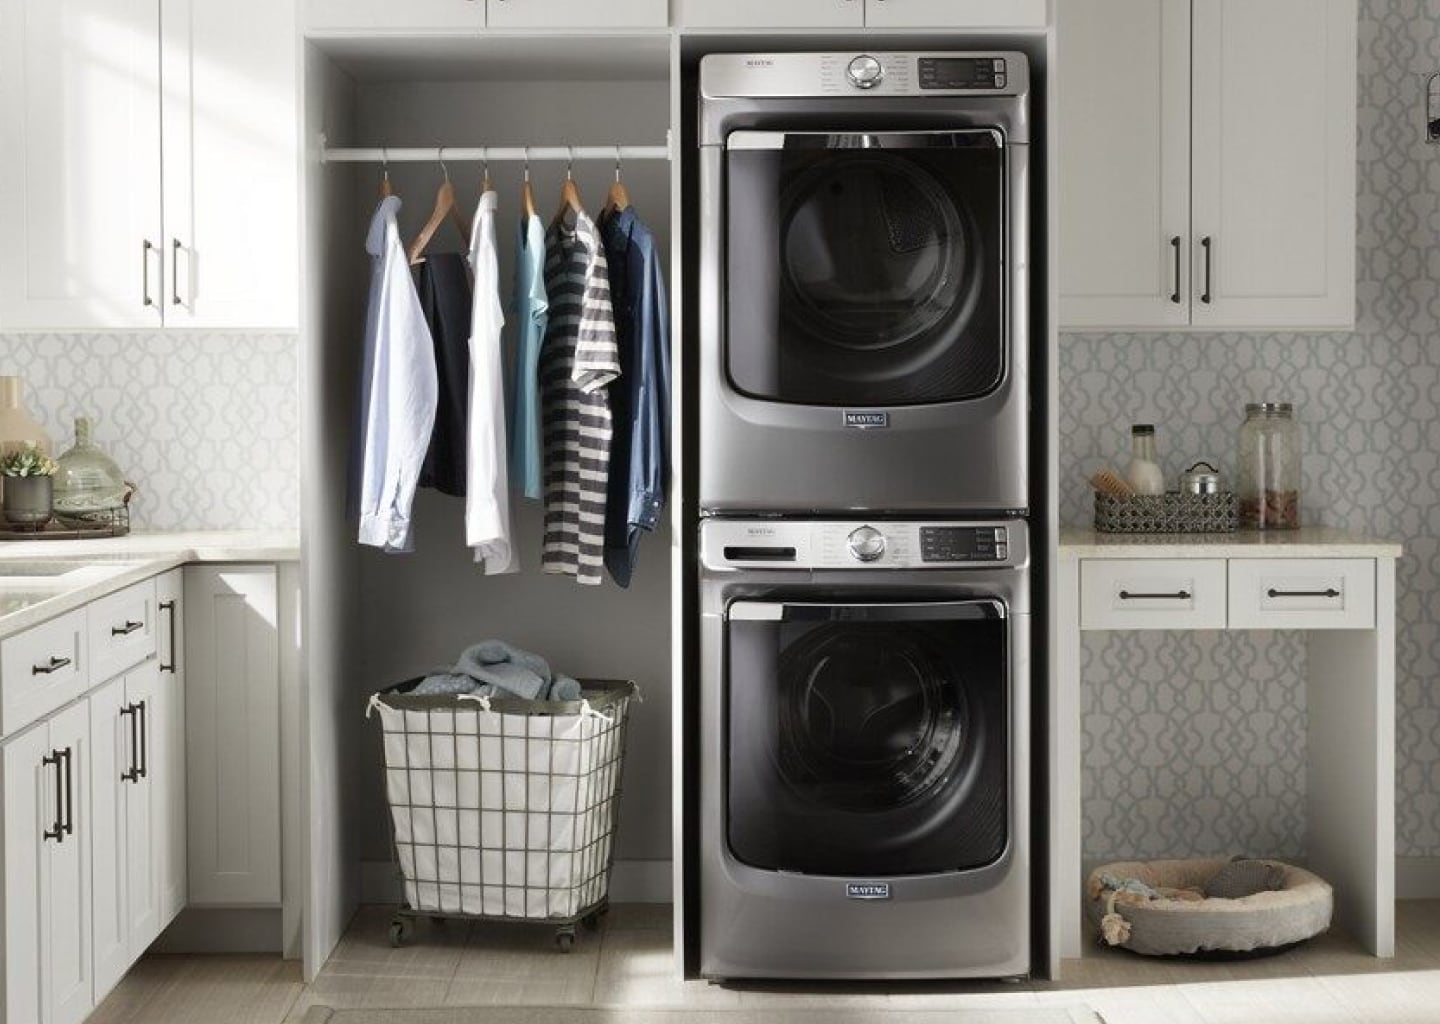

Instructions for Stacking a Washer and Dryer
Before you get started on your laundry stacking endeavor, there are a few things to consider to make sure your task goes off without a hitch. Whether purchasing new appliances or stacking the washer and dryer you already have, keep in mind that only front-load models are stackable, and you should still consult the owner’s manual to make sure that the appliances are compatible with stacking. If you’re looking for a new set of stackable washer and dryer, Maytag offers a selection of stackable models that will fit your style and budget. Explore all types of washer and dryer sets from Maytag.
Additionally, make sure that you have enough space in the area that you’ve designated for your washer and dryer–you will need between 1 to 5 inches of space for ventilation in the back and on the sides–at least 5 inches of space between the rear of the washer and wall, and at least 1 inch of space between each side of the washer and wall. If installing in a closet, make sure that your appliance doors can open and close fully, and closet doors should have about an inch of space from the bottom of the closet door to the floor to help with air circulation. If a closet door or louvered door is installed, top and bottom air openings in the door are required.
Tools Needed
- Stacking kit
- Measuring tape
- Level
- Adjustable wrench
- Screwdriver
- A friend
- Cardboard (optional)
- Adhesive foam pads (optional)
- Lifting straps (optional)
Step 1: Consult your owner’s manual
You should not stack a washer and dryer unless they are compatible with stacking. Even if your appliances are made by the same manufacturer, it does not guarantee that they are stackable. Check your owner’s manual for information as well as further instructions, including the kind of stacking kit you’ll need to purchase.
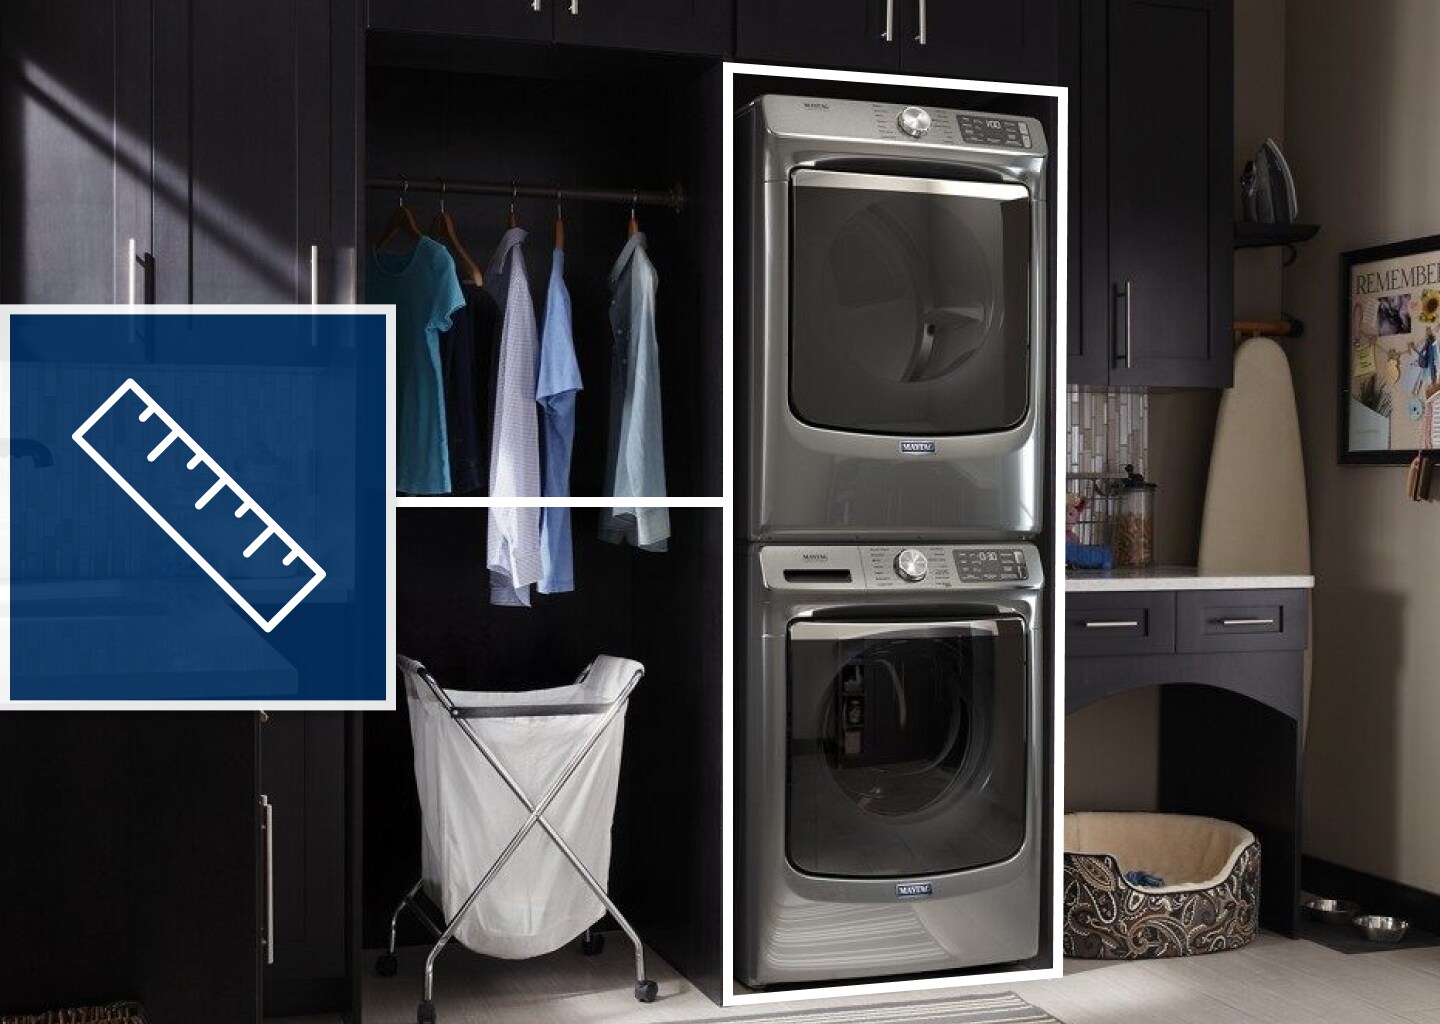

Step 2: Prepare the space you want to use for your stacked washer and dryer
Before rearranging or shifting any of your appliances, measure the space you'll be using for your stacked units. Make sure you have a few inches of space for wiring, ventilation and the natural vibration of the machine. You should also make sure your floor is level using a carpenter’s level, so you can be prepared to properly adjust the leveling feet of your washer. Learn more about stackable washer and dryer dimensions.

Step 3: Purchase the correct stacking kit
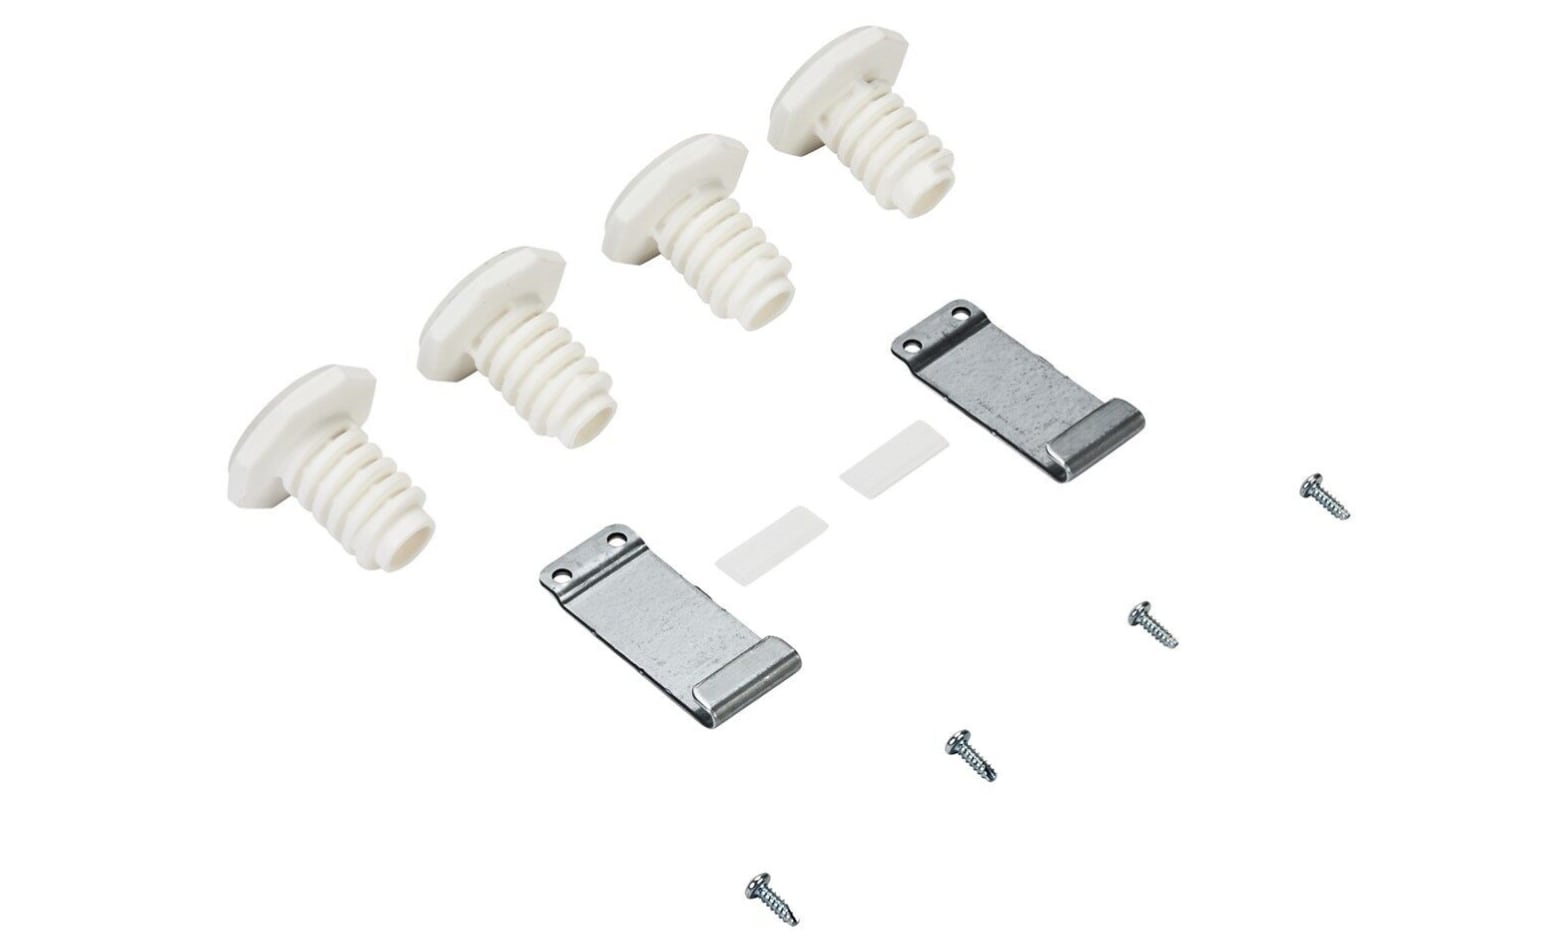
The kind of stacking kit, which is what will secure your stacked washer and dryer, will depend on the model washer and dryer you have. Most stacking kits come with a few screws and bolts or brackets that will secure your washer and dryer together, and they’ll typically cost anywhere from $40 to $100. Stacking kits can be purchased directly from the manufacturer of your appliances or at most home improvement stores. If you're stacking a Maytag® washer and dryer, ensure a good fit with this stacking kit.

Step 4: Get your appliances ready for stacking
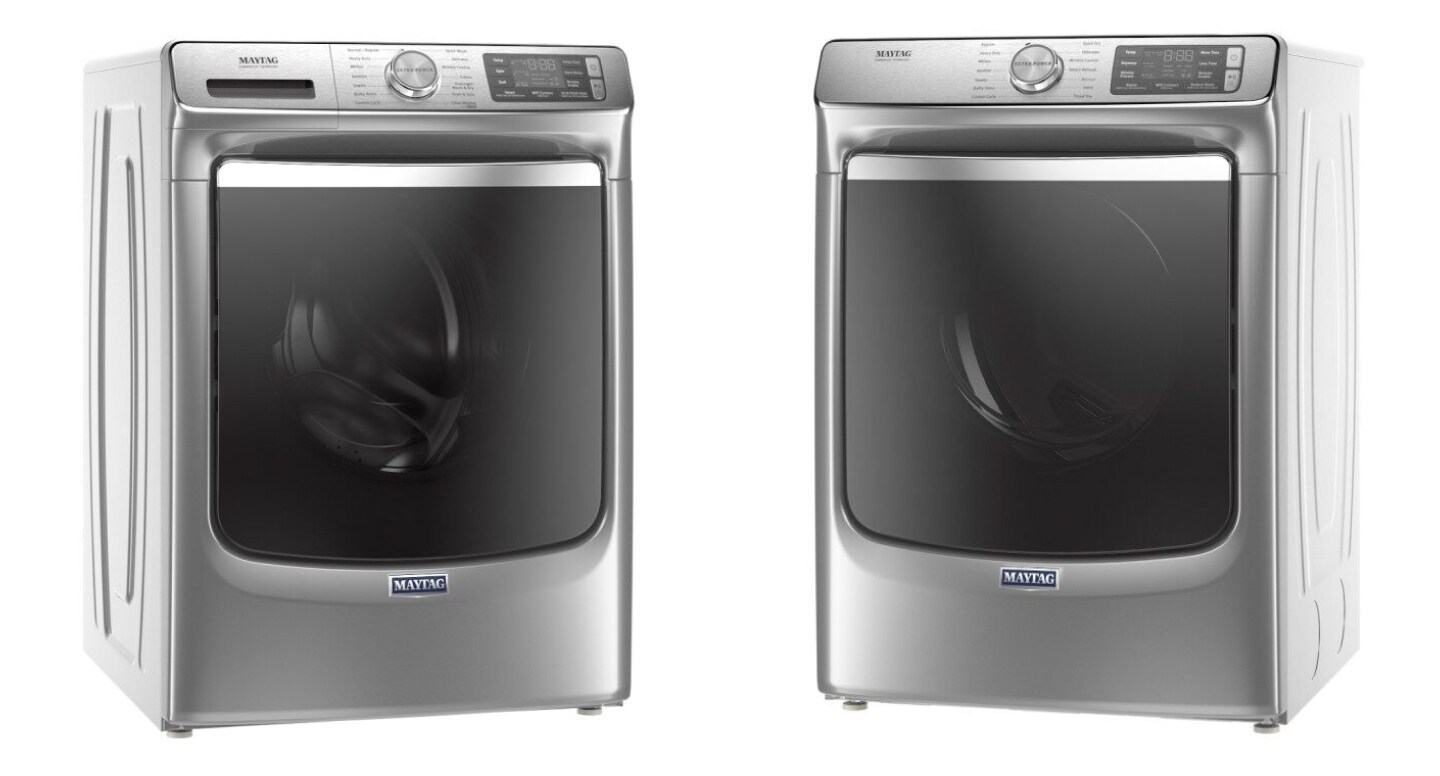
When stacking your washer and dryer, your dryer should always be placed on top of your washer. To protect your dryer from damage and to make it easier to move, place a piece of cardboard on the floor and tilt your dryer on its back onto the cardboard. Remove the legs–simply unscrewing the legs with an adjustable wrench should do the job. If your stacking kit came with stacking feet, thread them onto the dryer. Keep the legs you removed in a safe place in case you decide to unstack your washer and dryer later on down the road.
Step 5: Position your washer and dryer
Shift your washer to where its permanent placement will be, but leave a few inches of wiggle room so that you have space to work comfortably as you stack prior to installing. Check your washer with the level to make sure the washer’s feet don’t have to be adjusted. For Maytag owners, you can learn how to level your washer with this guide. Glide the dryer closer to its installation spot by using the piece of cardboard to move the dryer, and lift it back up to its upright position.
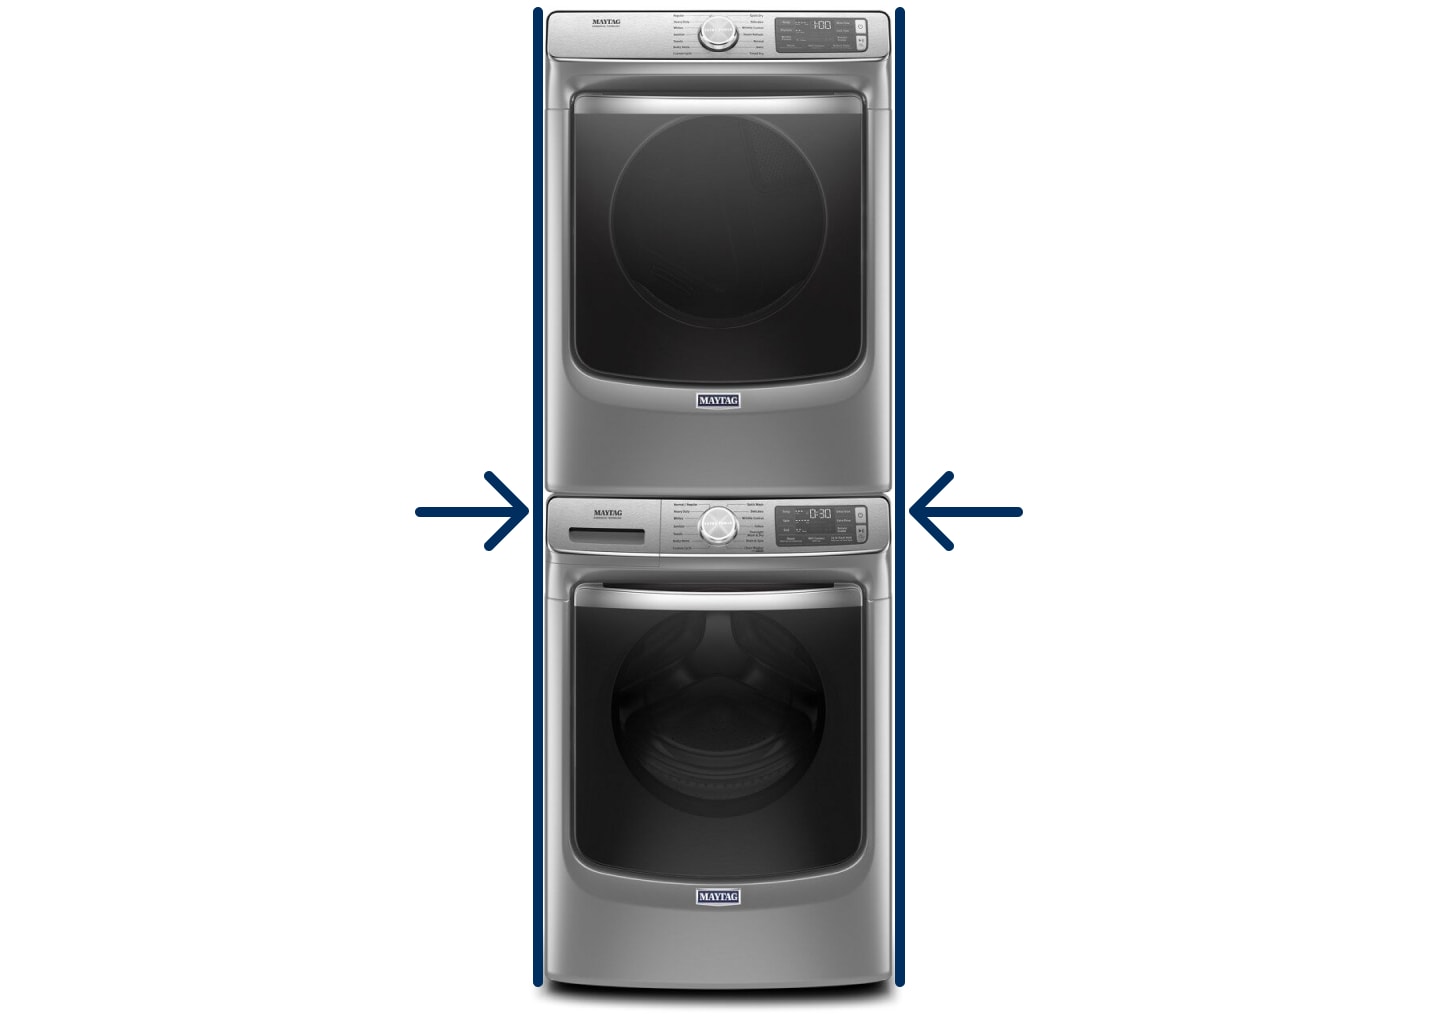

Step 6: Stack your dryer on top of your washer
If using foam pads, position them on top of your washer per the manufacturer’s instructions. You will need the help of another person in order to lift the dryer. If possible, you may want to consider using lifting straps in order to better distribute the weight of the dryer as you lift.
When placing the dryer on top, make sure that the sides and front are flush with the washing machine, and that the back of the dryer overhangs the washer slightly.
Step 7: Attach stacking kit brackets and clips
Once you’ve successfully placed your dryer on top of your washer, you’ll want to secure the appliances so that the dryer doesn’t move or wobble once it’s in use. If your stacking kit came with clips or brackets, attach them to the lower edges of the dryer, using a screwdriver to snap them open if necessary. Align the hooked edges of the stacking kit brackets over the clip, moving the dryer forward if necessary, and secure the screws tightly using a screwdriver.
Step 8: Reinstall washer and dryer
After securing the dryer to the top of the washing machine, connect all the water, vent and gas lines (if applicable) using your owner’s manual. Once everything is replaced tightly and securely, shift your stacked units back to their designated spot.
Step 9: Test run your installation
Test your stacked appliances by running an empty cycle on your washing machine and dryer. Pay close attention to the washer and dryer as they run to make sure there’s not too much rocking or abrupt movement. It’s completely normal to have some vibration, but if movement is extensive, it may be a sign that your machine isn’t level or the stacking kit wasn't installed properly.
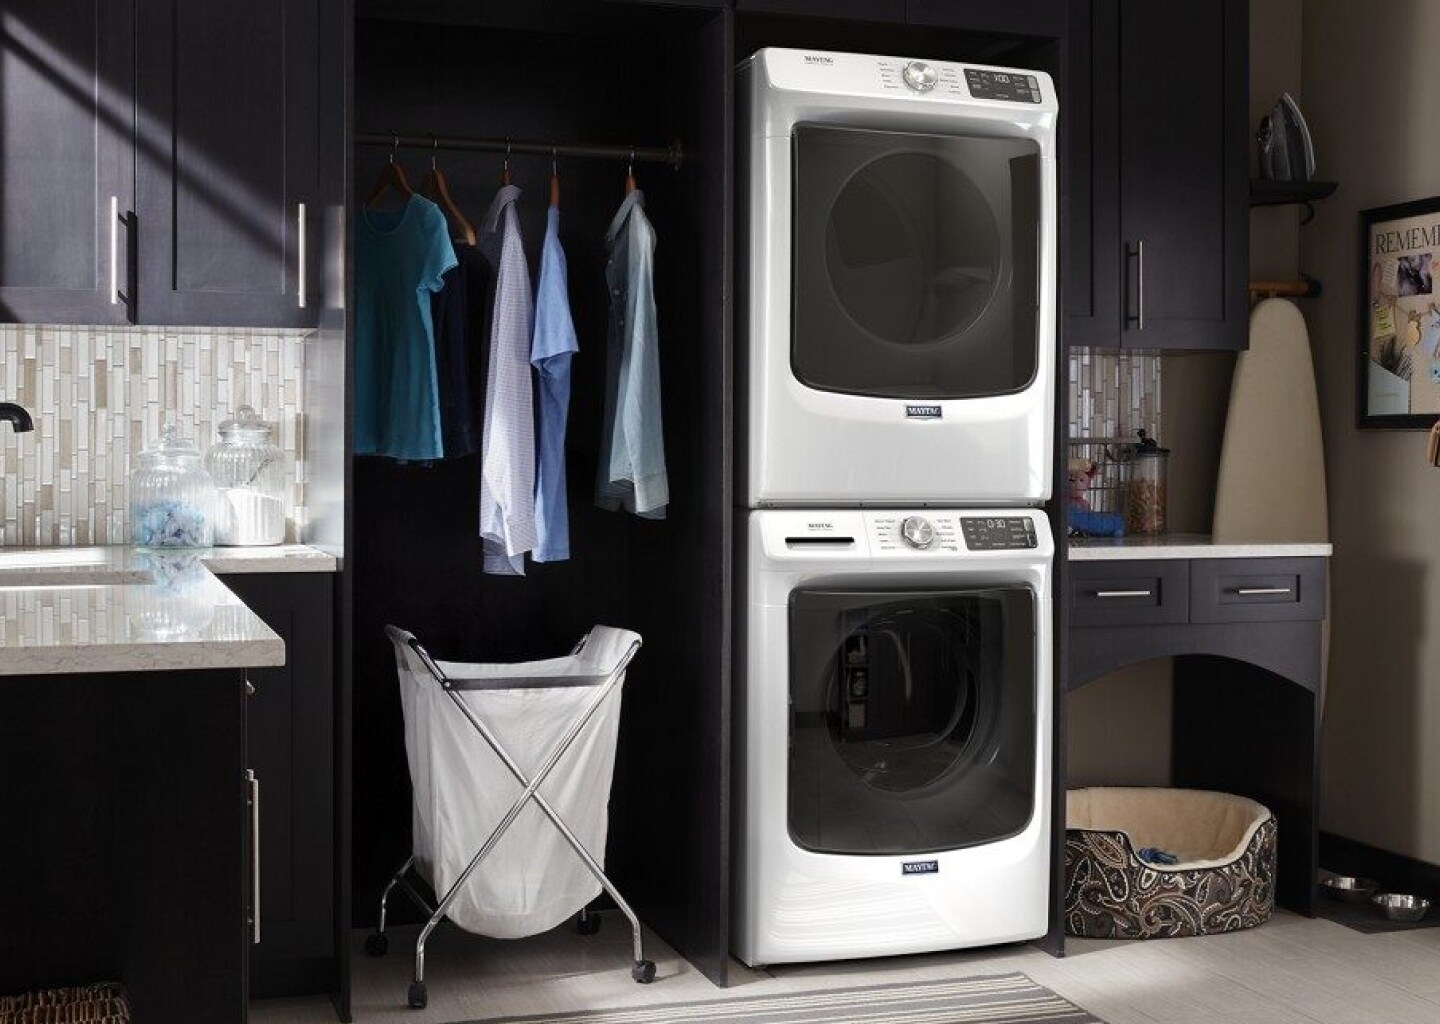

Step 10: All set!
If everything looks in tiptop shape after the test run, then your work is done! Use your appliances as you normally would and enjoy the extra floor space.
How tall and wide is a stackable washer and dryer?
Most stackable washers and dryers tend to be around 40 inches tall and 28 inches wide. Once stacked, your appliances will be around 80 inches tall. And if you are browsing for a new washer and dryer and need to figure out your space needs, this washer and dryer size guide can help.
Can You Stack Any Washer and Dryer?
The short answer to that is no. At the very least, your washer and dryer should be made from the same manufacturer, but that alone does not guarantee that your model is stackable. If you are in the market for a new washer and dryer and want the ability to stack them, then it’s best to look for models that specifically state they have stacking capabilities.
Shop for stackable washers and dryers from Maytag BRAND
Model: MHW8630HC
Color: Metallic Slate
Save $0 (0%)
Model: MED8630HC
Color: Metallic Slate
Save $0 (0%)
Model: MHW6630HC
Color: Metallic Slate
Save $0 (0%)
Model: MED6630HC
Color: Metallic Slate
Save $0 (0%)


