


 New Code Sent!

Cooktop Installation: Step-by-Step Guide & Tips
While it may seem like an intimidating task, installing a cooktop can be a fairly straightforward process, especially if you’re simply replacing an older model cooktop with a newer one. The installation steps are often similar, no matter the type of cooktop, so you can use this guide to walk through the basic process of installing a 4-burner or 5-burner gas, electric or induction cooktop.
Please note that this guide is an overview, and if your installation requires changing the configuration of your kitchen, installing new gas lines or electrical wiring, it may be best to hire a professional.


Who Can Install a Gas and Electric Cooktop?
You may be able to install a cooktop yourself if you’re particularly handy and familiar with similar types of installations, but it’s likely best to leave it to a professional. Cooktop installations require dealing with your home’s electricity and sometimes gas lines, which can be tricky without the right skillset.


How to Install a Gas, Electric or Induction Cooktop
If you plan to complete the installation without professional help, you’ll need to request the help of a friend, especially when removing the older cooktop, as it can be quite heavy. It’s also extremely important that you shut off the electrical power from the fuse box and turn off the gas line before you begin.
While these are the general steps to install a cooktop, instructions will vary depending on the manufacturer and whether you’re installing a gas or electric cooktop. Additionally, if using an induction cooktop, installation will follow the same steps as an electric cooktop. Always be sure to follow the manufacturer’s installation instructions for your specific cooktop model.
Tools & Supplies Needed for Cooktop Installation
Keep your owner’s manual or installation guide handy. Specific instructions and a detailed list of the tools you’ll need will all be in your manual. At the very least you or your technician will need:
Tools:
Pipe wrench
Pliers
Tape measure
¼" (6.35mm) nut driver
Marker or pencil
Screwdriver
- Power tester
For gas installation:
15/16" (24mm) combination wrench
Water and dish soap solution in spray bottle
Supplies:
Pipe sealant
Paint brush


Step 1: Disconnect and Check the Fuel Source
Start by shutting off all electricity at the fuse box. Ensure that the power is completely off by using a circuit tester on every wire in the circuit to be safe. If the light of the circuit tester turns on, it means there is still power that needs to be shut off.
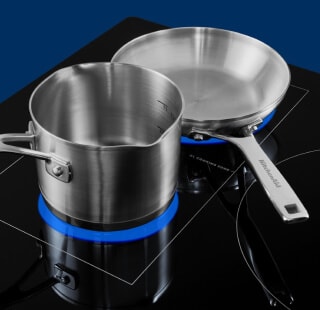
Take pictures or label the wiring before disconnecting the old cooktop since the new cooktop will likely connect the same way. There are two different installations depending on the fuel source that your cooktop requires. If you are replacing an induction or electric cooktop, then your connection and fuel source will require a junction box beneath the cooktop. If replacing a gas cooktop, then your connection will require a gas line. As a reminder, turn off your gas and/or electricity before you begin. Learn more about induction vs. gas cooktops.
Electric Stove Top Installation: Verify Correct Voltage and Amperage for Electric Cooktop
Before installing your electric cooktop, there are a few hookup requirements you should double check:
If replacing an older cooktop, then you’ll most likely already have a junction box that should be at least 240 volts.
Double check that your old cooktop has the same amperage as the new cooktop, since some older models only have a 30-amp circuit. Newer cooktop models tend to have a 40 or 50-amp circuit.
If you don’t have a junction box or you don’t have the required amperage, then you’ll want to hire a professional for this installation.
Gas Cooktop Installation: Disconnect Cooktop from Gas Lines
It’s best to contact a certified technician when connecting or disconnecting gas lines, but you can review the installation instructions for your cooktop to get familiar with the steps they’ll take. Typically, an expert will run the burners for several seconds to remove leftover gas and then detach the gas hose while checking for wear and tear. Next, they’ll shut the gas off by turning the switch perpendicular, then remove the gas byline with a wrench.


Step 2: Remove Existing Cooktop from Countertop
Before starting the process of removing the old cooktop, reference your cooktop’s installation guide and make sure you’re comfortable using a circuit tester and lifting heavy objects. If not, contact a professional who will complete all of the steps in this process for you.
Remove any removable parts from the cooktop, like burners and/or grills, as well as any sealant or caulking.
Give yourself more room to work by removing any cabinet doors or drawers that are in the way.
The old cooktop will be heavy, so you’ll need a second person to help you lift it.
To remove the cooktop, push from the bottom of the cooktop so it lifts up and out.
When discarding your old cooktop, check with your municipality to see if they have an appliance recycling program.
- Certain manufacturers may offer discarding or recycling services. You can verify this when you purchase.
Step 3: Measure Countertop Opening and Check Dimensions of Cooktop
The dimensions for your cooktop may vary, but typically, you’ll need at least 30 inches and 1-2 feet of clearance on the sides.
Use your tape measure to verify that you have at least this amount of clearance, though you should check your owner’s manual for specific measurements. Most cooktops will either be 30 inches, like select Maytag® cooktops, or 36 inches, like some models from Maytag brand.
Make sure there is enough space below where the countertop burner will sit.
Measure your cooktop and subtract about a ½ to 1 inch from each side to account for the overhanging lip that will go over the countertop.
Minimum clearances may depend on the cooktop manufacturer and local codes.
Step 4: Remove Packaging and Detach Removable Pieces of New Cooktop
Get ready to install your new cooktop by removing any packaging and protective material that came along in the box. Keep any loose accessories like grates or knobs to the side until installation is complete.
Step 5: Install Spring Clips in the Countertop to Hold New Cooktop
When your old cooktop is removed and your new one is ready to install, it’s time to call in a professional. Your new cooktop will include spring clips that hold it in place once it’s installed onto the countertop opening. An expert will likely start by screwing these clips into the cooktop itself. For granite countertop and electric cooktops, they may use a double-sided adhesive tape on the underside of the cooktop as well.
Step 6: Lower the New Cooktop Into the Countertop and Connect to Fuel Source
Your technician will start installing the cooktop by threading the cables and wires through the opening, then clicking the cooktop into place. The process for connecting the fuel source varies by fuel type, so here’s what you can expect them to do depending on the type of cooktop you choose:
Connecting an Electric Cooktop
First, your technician will connect the cable to the proper terminal in the connection box. They’ll use red and black cables as positive and negative charges to power the cooktop, alongside a white neutral cable and green ground cable. Once wires are capped with cable nuts and tucked inside the junction box, your electric cooktop is nearly ready to power up.
Attaching Gas Lines
An expert will start by applying a pipe sealant to the hose threading, then attach the regulator to the cooktop, if applicable. Next, they’ll attach the hose to the regulator and apply sealant before tightening it with a wrench. Finally, your technician will make sure the gas connection is tight and plug the cooktop in so it can power the igniter that lights the burners.
Test the Gas Connection
If at any point you suspect that the gas connection isn’t completely secure, you can request that your technician checks the line. They may spray a mixture of water and dish soap to the pipe joints. If large air bubbles appear, then the gas line connection is loose and needs to be tightened with a wrench.
Step 7: Install Trim and Accessories and Clean Up
You’re almost ready to fire up your new cooktop! The last thing your technician may do is tighten any screws from the spring clips and add any necessary caulk sealing for the trim. They’ll finish the job by adding knobs, burners or grates, then wiping down and removing installation debris.
How does induction cooking work?

Learn about cooktop cutouts and sizes


Frequently Asked Questions
You want to feel confident that the cooktop you bring home will fit seamlessly into your space. See the FAQs below to learn if a cooktop needs a dedicated circuit, a special installation kit or range hood venting.
DOES A COOKTOP REQUIRE A DEDICATED CIRCUIT?
Cooktops need a grounded, three-prong outlet with a dedicated circuit to function properly. Modern large appliances like refrigerators, stoves and of course, cooktops, require a dedicated circuit to prevent the appliance from overloading your home’s electrical system.
Do you Need a Special Kit for Installing a Cooktop on Granite?
Your cooktop will come with spring clips that hold it in place on the countertop, but you can also apply double-sided adhesive tape on the underside of the cooktop for extra security. These clips work on granite countertops as well, so you shouldn’t need a special installation kit.
Do You Need to Vent a Cooktop?
Just like a stovetop, cooking on a cooktop releases food, smoke and grease particles into the air that can impact the air quality in your home and cause lingering odors. Sometimes vent hoods above cooktops are required by code, but either way, you’re likely to benefit from venting with a range hood.
Maytag® cooktops
One cook space, full-meal power
Whether you’re working with a small space or just want more room for cooking, Maytag® cooktops offer power, durability and performance for every meal
Shop Cooktop Options from Maytag Brand
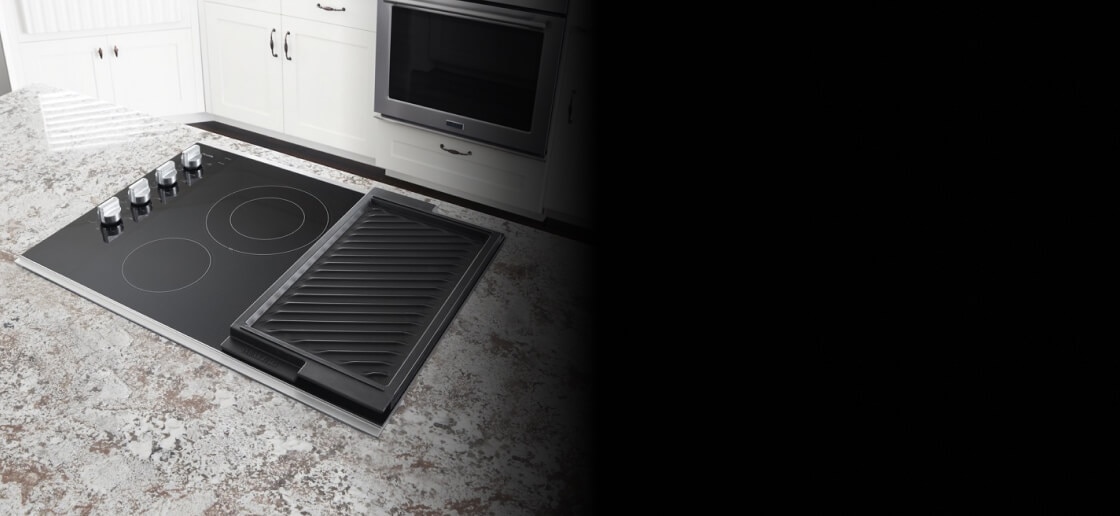
Trust Maytag® gas and electric cooktops to handle your cooking needs. Select models feature the Maytag® Exclusive Electric Cooktop with Reversible Grill and Griddle that lets you boil, pan fry, grill, sear, flip and griddle anything you’re bringing to the table. Plus, with 4-burner and 5-burner options to choose from, you’re sure to find the configuration you need for the dishes you make most.

MAYTAG® PERFORMANCE LINEUP
POWER PACKAGES THAT GET THE JOB DONE
Explore Maytag® kitchen appliances designed to power through mealtime and cleanup and look good while doing it


Your subscription was successful
Thank you for signing up. Keep an eye on your inbox for our next newsletter.
Sign Up for More Insights to Stay Connected
Enjoy articles like this? Get helpful guides and appliance care tips sent straight to your inbox.
