
HOW TO INSTALL A RANGE HOOD IN YOUR KITCHEN
If you’re considering upgrading the range hood in your kitchen but aren’t sure where to start, this guide will provide you with the steps necessary to successfully install a new range hood. An effective range hood will help remove odors, smoke and airborne grease in your kitchen, so you can focus on cooking without worrying about lingering food smells.
Read on to learn about the process for a range hood installation, or review this guide for range hood microwave combination installation, but please note that this guide should be used as an overview. Specific instructions and additional information will be found in your owner’s manual.
WHAT TO KNOW BEFORE INSTALLING A RANGE HOOD
Prior to purchasing your new range hood, take into account your cooking style and frequency, as well as the location of your stove and size of your kitchen.
VENTING POWER & CFM
Your range hood’s venting capability is measured in the amount of air it clears per minute, per square footage (CFM). The larger your kitchen, the more CFMs you’ll need. If your range is a gas range, then you’ll also want to make sure that the CFM of your range hood meets or exceeds the BTU output of your cooktop.
COOKING STYLE & FREQUENCY
Additionally, if you do a lot of frying or steaming, you may want to consider a range hood that has a higher CFM to make sure that the hood can provide optimal clearing.
EXTERNAL VENTING OR RECIRCULATING
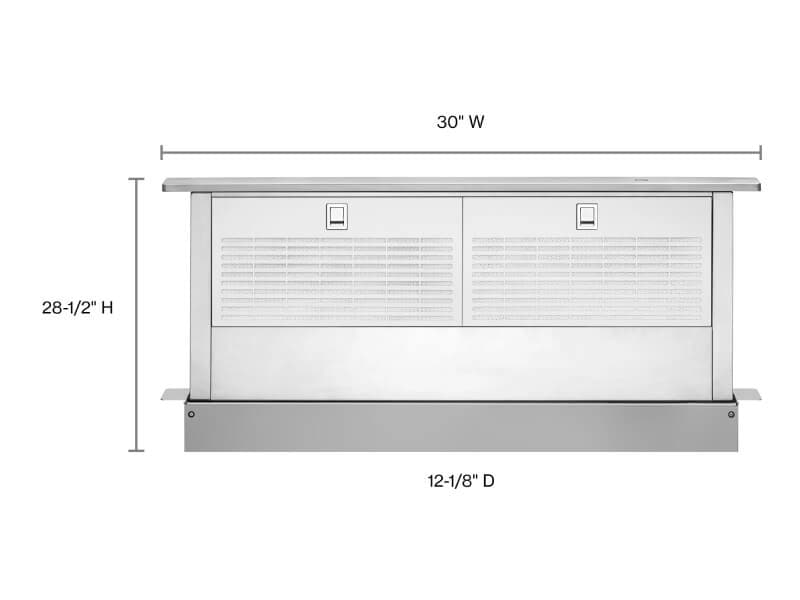
Range hoods can be vented outside, or they can recirculate the air back into your kitchen. Ducted range hoods pull smoke and other odors outside of your house , though you should make sure that the vent goes to the outside and not into the attic or crawlspace. Downdraft range hoods improve ventilation without needing ductwork vented outside.
RANGE HOOD STYLE & SIZE
When choosing a type of range hood, it’s important to consider both style and size. Undercabinet hoods are compact and may be ideal for kitchens with limited space or upper cabinet storage, while wall-mount and island canopy hoods typically offer stronger venting and can make a visual statement.
If your rangetop has been installed in an island, an island canopy or retractable downdraft hood may work best. You can also explore hood liners that integrate into custom cabinetry for a more built-in look, or microwave hood combinations if you’re looking to save space above the range.
In addition to style, size is an important factor when selecting a range hood. The width of the hood should match or exceed the width of your cooking surface to help capture rising steam, smoke and grease. If you have a larger cooktop or one with higher heat output, consider a wider or deeper hood to help provide more effective coverage and ventilation.
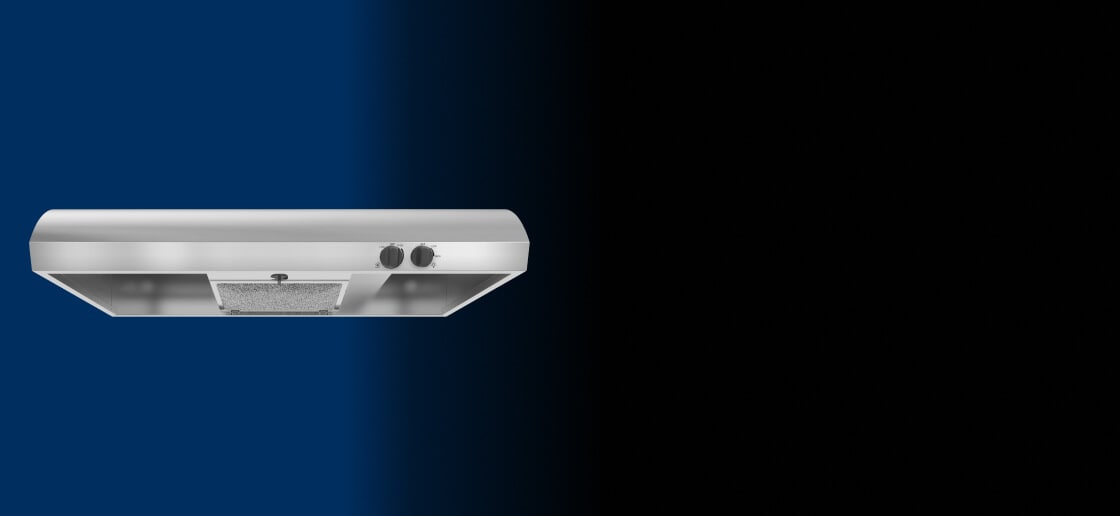
Maytag® range hoods
HELP CLEAR THE AIR IN YOUR KITCHEN
Maytag® range hoods help remove smoke and odors from your kitchen to help keep your home smelling fresh
RANGE HOOD INSTALLATION: A STEP-BY-STEP GUIDE
Installing a range hood includes removing the old unit, preparing the wall and vent openings, connecting the ductwork and wiring, and securing the new hood in place. With the right tools and a bit of planning, it’s a manageable project for many homeowners. Read on for step-by-step instructions and supply lists to guide your installation.
SUPPLIES
- Caps
- Wire connectors
- Metal ducts
- Wall mount range
- Building wire
- Caulk
TOOLS
- Twist drill bits
- Punches and nail setter
- Wire strippers
- Power drill
- Screwdriver
- Caulk gun
- Cutting pliers
- Oscillating tool/Reciprocating saw
Note: Before installing a range hood, make sure to shut off the power at the fuse box. Unplug the range hood and disconnect all electrical wiring.
1. REMOVE EXISTING RANGE HOOD
If you’re replacing an older model range hood with a new one, or replacing an existing microwave with a range hood, then you’ll first want to remove the older model.
Range hoods are heavy, so to avoid injury, make sure that you use the help of a second person to support the weight of the hood as you unscrew it from the wall.
2. MEASURE WHERE THE NEW RANGE HOOD WILL BE INSTALLED
You’ll want to measure both the new range hood and the wall where the hood will be installed. Oftentimes, range hoods come with a paper template to help measure out where the vent hole will go for installation. You can use this template or a tape measure. Measure and mark the spot with a pencil or tape your template into place.
Before cutting the bigger hole, make a small one in the wall to make sure that there isn’t any plumbing or wiring behind the wall that could interfere with the installation. Any wiring or plumbing present may require a contractor to find a work around for the new vent. Additionally, the wall where the vent hole will go should have direct access to the outside.
3. CUT THE HOLE FOR YOUR VENT
You’ll need at least a 6-inch hole for your new vent. Use an oscillating tool or reciprocating saw to open the hole. If necessary, you can make the hole bigger for more room to work. Since you’ll also need a hole on the outside of your home, drill four smaller locator holes on each edge of the vent hole with a long drill bit.
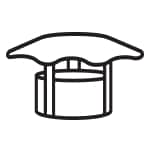
4. CUT THE EXTERIOR VENT HOLE AND ATTACH THE VENT CAP
When opening the exterior hole, use the locator holes as a reference guide by connecting them to form a circle to cut through with the reciprocating saw or oscillating tool. Attach your duct or range hood vent cap, making sure that it’s long enough to connect to the range hood. Once attached, secure with screws and caulk to seal it.

USE A PVC TRIM
You’ll want your exterior vent hole to be secure and waterproof. If your home has panels, or a rough or uneven exterior, cut a square piece of PVC trim, and cut the exterior hole through the trim. Attach your vent cap to the hole in your trim and secure it with the screws and caulk.
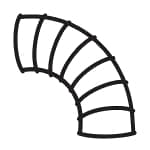
5. CONNECT THE DAMPER
Some range hoods come with a damper that will need to be attached to the interior vent hole. Measure the interior hole to see how much duct you’ll be needing, and cut out a smaller section of duct first to make sure it fits. Once you have your measurements, mark the outside of the damper to reference where to tape the ductwork with duct or foil tape.

6. CONNECT THE ELECTRICAL WIRING
When running your electrical wiring, make sure that there is enough conduit and wiring that extends from the breaker to the electrical terminal box of the range hood. You can drill holes on the sides of the vent to run the wiring from the hood to the electrical box.
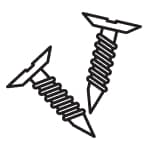
7. PLACE NEW RANGE HOOD AND SECURE WITH MOUNTING SCREWS
Using the help of a second person to hold the range hood, insert the mounting screws through the mounting slots of the hood, making sure to tighten the upper screws first. You can remove the grease filter to make it easier to tighten. Once the range hood has been positioned, but before the screws are tightened completely, use a level to make sure that the hood is level.
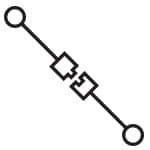
8. COMPLETE THE ELECTRICAL WIRING
Connect each wire to its corresponding color connector and the copper ground wire to the grounding wire connector using wire caps. Clip any excess wiring.
Note: If you do not feel confident running the electrical wiring yourself, hiring an electrician is strongly advised.
9. FINISH INSTALLATION OF YOUR RANGE HOOD
Add parts like filter screens, vent covers or the fan if you removed them during the installation. Turn your power back on to ensure that the installation was successful and that your new range hood is working as it should. If everything is working properly, your installation is likely complete.
SHOP MAYTAG® RANGE HOODS WITH THE FIT SYSTEM
Maytag® range hoods with the FIT system have been designed to streamline the installation process. By reducing the need for measuring, cutting or trim, the FIT system helps ensure a clean, precise fit—making it easier to get your new hood in place with minimal hassle.
TIPS FOR INSTALLING A RANGE HOOD
Installing a range hood is a step toward maintaining cleaner air, removing cooking odors, and managing heat and grease in your kitchen. Whether you're using a ducted or ductless model, proper installation and regular maintenance will help your hood perform at its best.
Here are some helpful tips to keep in mind during and after installation:
Check ductwork for blockages before attaching your range hood to help ensure proper airflow.
Inspect electrical connections regularly to help confirm they’re secure and up to code.
Measure your space carefully—your range hood should match the width of your range and be positioned correctly above it.
Avoid venting into attics or crawlspaces, which can cause moisture damage.
Use caulk around vent caps on exterior walls to help prevent water intrusion.
Secure all mounting screws tightly after leveling the hood to help support long-term stability.
Match CFM to kitchen size and cooking style to help ensure adequate ventilation.
Clean filters and check fan function periodically to help maintain performance and also to help extend the life of your appliance.
HOW MUCH DOES IT COST TO INSTALL A RANGE HOOD?
The total cost of replacing a range hood will depend on how extensive the installation will be. On average, a new range hood and its installation can cost around $750-$1,000, though it may differ depending on location, the company doing the installation, existing ductwork or whether there will be paneling or cabinetry added to conceal the range hood.
CAN I INSTALL A RANGE HOOD BY MYSELF?
If you are confident doing household maintenance and are replacing an old range hood with a newer model, then you may be able to install a range hood yourself. However, you may want to hire or consult with an electrician or HVAC professional if your new installation requires new ductwork or electrical wiring—or simply if you’re feeling unsure of the process.
WHERE CAN I GET HELP INSTALLING A RANGE HOOD?
You can always hire a contractor for the installation. Additionally, you can find sources online and your local home improvement store may also offer installation services.
If purchasing a Maytag® range hood, Maytag offers installation services that can be added on during the time of purchase for an additional fee. Service includes removing the old appliance and removing all trash after the installation. To know if your purchase qualifies for installation, see your cart at checkout.
EXPLORE MAYTAG® RANGE HOODS
Maytag® range hoods are designed for easy installation, powerful ventilation and long-term reliability. With features on select models like the FIT system for a seamless setup, high CFM motor classes and practical incandescent lighting that makes it easy to see what you’re cooking, these hoods offer both function and simplicity. Choose from a variety of styles such as microwave hood combinations, downdraft, canopy and under-cabinet hoods to suit your kitchen layout. When it comes to helping clear the air in your kitchen space, there’s a Maytag® range hood built to fit your needs.


