
INSTALLING GAS & ELECTRIC DRYERS: A HOW-TO GUIDE
You don’t always need a professional to install a new gas or electric dryer in place of an old one. As long as you have the appropriate hookups, it’s a task you can tackle on your own.
However, before you begin, you'll need the written installation instructions that accompanied your product and a second person to help move this heavy machine into place. If you don’t have hookups in your desired dryer location, contact a professional to help get your laundry space up and running.
Use the following article as a general guide to learning how to install gas and electric dryers. Always refer to the installation instructions and safety guidelines for your specific model and get professional help if you are unsure of any steps. If you are just looking to level your washing machine, check out this detailed guide.
Hooking Up a Gas and Electric Dryer Video Tutorial
Watch this video and learn how to install a gas or electric dryer from Maytag® appliance experts.
How to Install a Gas Dryer
If your laundry room is equipped with both electrical and gas lines, you may be able to install your gas dryer with the help of a friend. Use the following instructions in tandem with your dryer’s product manual to learn how to install the appliance. Instructions may vary by make and model.
Tools
1 3/4" pliers
Flat blade screwdriver
#2 Phillips screwdriver
1/4" nut driver
8" pipe wrench
10" adjustable wrench
Supplies
Vent clamps
Level
Utility knife
Propane-resistant pipe-joint compound
Leak-detection fluid

Step 1: Remove dryer from packaging
Using your utility knife, slice open the sides of the cardboard packaging your dryer arrived in. Remove the box and any plastic or styrofoam, and check the dryer drum for any included manuals and parts.

Step 2: Install dryer feet
With the help of one other person, tilt the dryer onto its back to expose the bottom of the appliance. Install the leveling feet included with your dryer by screwing them into place. Tilt the machine right side up with the help of a friend.
STEP 3: INSTALL THE POWER CORD
The specific instructions for installing your dryer’s power cord may vary depending on the make and model of the appliance, it is recommended that you follow the instructions provided in your product manual for this step. If you’re not experienced with electrical work, schedule a time with a licensed technician.
If you have a Maytag® gas or electric dryer and need professional assistance installing your power cord, contact Maytag® service to schedule an appointment.
STEP 4: MAKE THE GAS CONNECTION
Like installing the power cord to your appliance, instructions for making the gas connection to your gas dryer may vary depending on the make and model. Refer to your product manual for model specific installation instructions.
Step 5: Install the vent system
First, plan your vent path using the tips provided in your product manual. Once you have determined the positioning of your dryer vent, loosely place the vent clamp onto the vent and connect it to your dryer exhaust. Secure the venting in place using a screwdriver.
Step 6: Push dryer into place and check leveling
Once all the required connections have been made, push or slide your dryer into place with the help of another person. Use your level on all sides of the machine to ensure the dryer is even. If the appliance is not level, pull out your dryer with the help of another person and adjust the leveling feet. After you’ve made any adjustments, plug your dryer into a grounded three-prong outlet, push the appliance into place and run a test cycle.
How to Install an Electric Dryer
The steps to installing an electric dryer are similar to those of a gas dryer, but you don’t have to worry about connecting the appliance to a gas line. Read the following instructions to learn how to install an electric dryer.
Tools
1 3/4" pliers
Flat blade screwdriver
#2 Phillips screwdriver
1/4" nut driver
Supplies
Vent clamps
Level
Utility knife

Step 1: Remove dryer from packaging
Cut open the cardboard box your dryer arrived in using your utility knife and remove any plastic wrap and styrofoam buffers. Open the dryer door and remove any product manuals and appliance parts from the dryer drum.

Step 2: Install dryer feet
Slowly tilt your dryer into its back with the help of a friend. Once the bottom of the appliance can be accessed, attach the leveling feet by screwing them into place. Then, prop the dryer onto its feet with the help of another person.

Step 3: Install the power cord
Consult your product manual for specific instructions as there are several types of power cord installations that vary depending on the model of your dryer. You can also schedule an appointment with a licensed technician if you feel uncomfortable working with electrical connections.

Step 4: Install the vent system
Use your product manual to help determine the direction of your vent system as this can vary depending on the model. Once that’s complete, place the vent clamp loosely around the venting hose. Connect the vent to the dryer’s exhaust and secure it into place using a screwdriver.

Step 5: Push dryer into place and check leveling
With the help of at least one other person, push or slide your appliance into the desired positioning. Use your level to check each side of the dryer to ensure it is even. If the dryer is not level, prop it up and adjust the leveling feet. Once you’ve made any necessary adjustments, plug in the machine to a grounded three-prong outlet and run a normal cycle to test its function.
Installing a Dryer FAQs
Explore some frequently asked questions below to learn more about installing gas and electric dryers.
Can I Install a Dryer Myself?
Yes, if your laundry room is already set up with the proper power connections for your dryer type you can install the appliance with the help of at least one other person. Electric dryers only require a grounded electrical connection, while gas dryers need both electrical and gas connections.
If your laundry room isn’t equipped with the proper power lines, a professional technician will be required for installation.
Does an Electric Dryer Need a Special Outlet?
Electric dryer need to be connected to a grounded 240-volt outlet in order to operate as dryers are large appliances that require a strong electrical connection to function. These outlets typically have three or four prongs.
Do You Use Teflon Tape on a Gas Dryer?
When installing a gas dryer, it is important to only use pipe-joint compounds that resist the action of propane gas. Teflon tape should not be used when installing your dryer.
Do Gas Dryers Need to be Elevated?
Depending on your state and the installation location of your gas dryer, you may need to install the appliance elevated above the ground. Since this varies by location, consult your area’s fire codes and your product manual for specific instructions. Learn how to install laundry pedestals for a convenient way to lift your dryer up while adding storage underneath.
How to Install a Steam Dryer?
Installing a steam dryer is very similar to installing gas and electric dryers, with only a few additional steps as steam dryers require a water line connection in addition to gas and electrical connections. You can learn more about installing steam dryers with this guide.
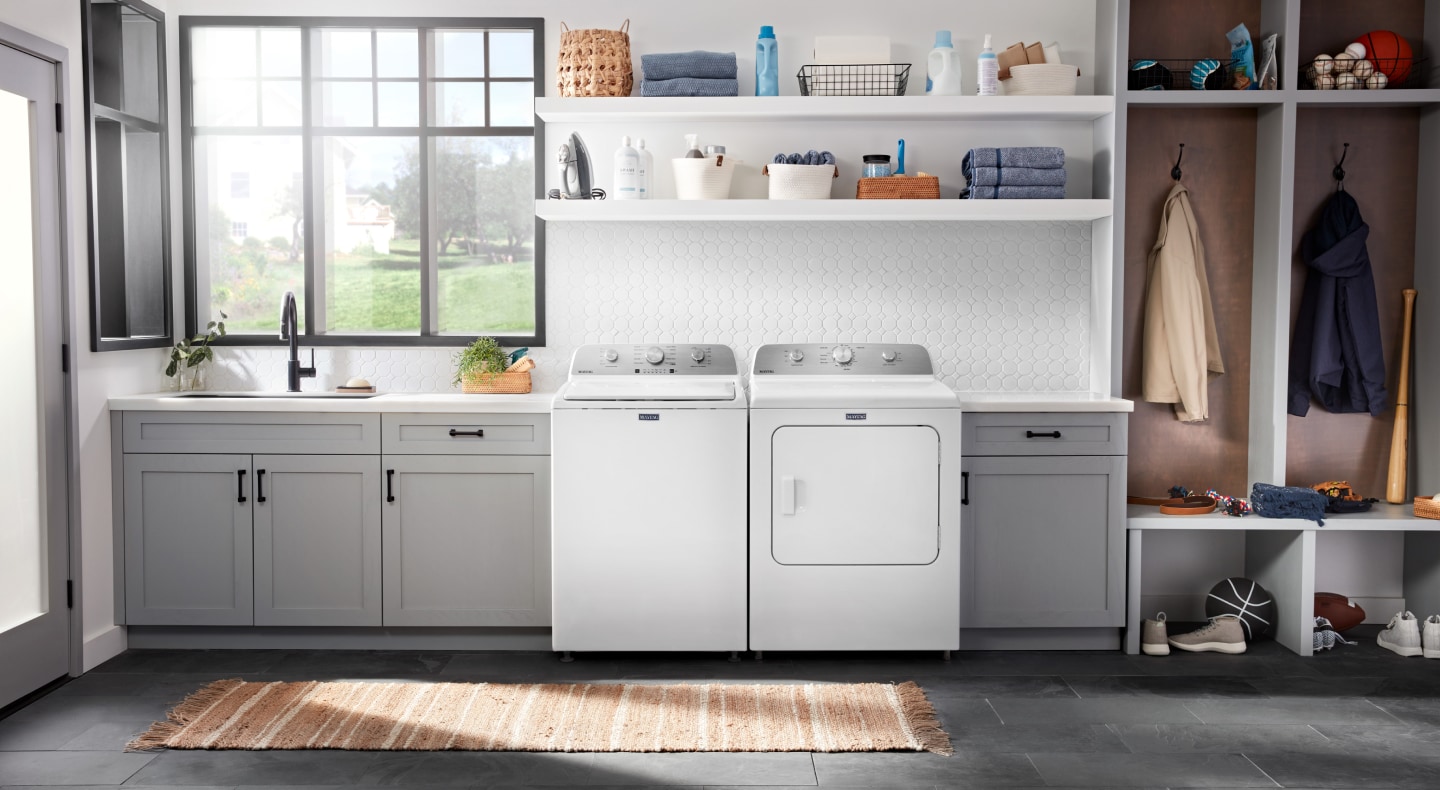
Shop Maytag® Gas and Electric Dryers
When you choose a Maytag® gas or electric dryer for your home, you can be sure that your family’s laundry is getting great care. With gentle yet powerful drying capabilities and features like Advanced Moisture Sensing and Reduced Static Option on select models, Maytag® dryers can help make laundry day less of a chore.
