





 New Code Sent!

HOW TO INSTALL A WALL OVEN: SINGLE, DOUBLE OR COMBO
If you're looking to make more room for your cooking, baking and roasting, a wall oven can be a worthwhile addition to your kitchen. These ovens are designed to do the heavy lifting when cooking and can provide great results so you can get dinner on the table quickly.
If you've recently purchased a new oven, you may be about to face the task of installation. Installing a wall oven yourself might seem daunting, but with the right preparation and installation and troubleshooting guidance, you may be able to do it yourself. Use this guide, along with the installation instructions provided with your appliance, for help with installing a wall oven in your kitchen.

INSTALLING A WALL OVEN: STEP-BY-STEP INSTRUCTIONS
This guide will provide you with a general overview of how to install a wall oven. Specific instructions often vary based on make, model and whether you’re installing a single, double or combination wall oven. Installing your new oven shouldn't take more than a few hours with the help of another person but remember that you should reference your installation instructions for full details and specific measurements you'll need.
If you don't feel comfortable or aren't familiar with installing appliances, then hiring a professional is recommended. For those purchasing a Maytag® wall oven, professional installation services are available for your convenience and ease of mind.
WHAT YOU’LL NEED FOR WALL OVEN INSTALLATION
Installing a wall oven requires several tools and supplies. The following items are commonly used when installing a wall oven, but be sure to check your product manual for model-specific information.
SUPPLIES
Cardboard
Installation instructions
Wire connectors
Thread sealant (if installing a gas oven)
Tools
Phillips screwdriver
Non-contact electrical tester
Measuring tape
Drill
1-inch drill bit
Level
- Flat-blade screwdriver
- Adjustable wrench

STEP 1: MEASURE THE SPACE OF THE CABINET OPENING
Measure the opening of your cabinet as well as the oven itself to make sure that you have the required space clearance and the appropriate cutout width, height and depth to complete the installation. Standard wall oven sizes typically come in widths of 24, 27, and 30 inches, with heights varying if it's a single, double or combination oven.
Reference your installation instructions to determine the exact measurements you'll need. If you’re cutting a new opening for your wall oven, refer to your product manual for specific clearance guidance.

STEP 2: TURN OFF ELECTRICITY
Switch off the electricity at the fuse box before beginning the installation. Make sure that the power has been completely turned off by using a non-contact electrical tester. If you’re unable to test that you’ve properly disconnected the electricity, schedule service with a licensed technician before proceeding.

STEP 3: PREP AREA WHERE THE WALL OVEN WILL BE INSTALLED
Clear a path around your installation space so that you and another person are able to move the appliance without obstruction. Carefully remove the new oven from its packaging and use either the flattened box it came in or a blanket to place the new oven near the installation spot. Placing it on top of the box or blanket can help reduce the chances of damaging your floors.

STEP 4: REMOVE DOORS OF THE EXISTING AND NEW OVENS
Remove the door from the existing oven, if there is one. If removing a combination or double oven, you'll want to remove both sets of doors. Do the same with the new oven as well to make lifting and positioning the oven easier. Place the door or doors handle-side down on a piece of cardboard or blanket. Oven door and hinge removal instructions may vary by model, so be sure to reference your owner’s manual for instructions.
For more information regarding the parts of an oven, review this Guide to Oven Parts.

STEP 5: REMOVE ANCHORING SCREWS OF EXISTING WALL OVEN
Loosen the anchoring screws present while the second person supports the weight of the oven. Carefully remove the oven from the cabinet opening. If electrical wiring needs to be cut from the junction box to remove the oven, it is strongly recommended that you contact a licensed professional for assistance.

STEP 6: LOCATE JUNCTION BOX
The location and accessibility of your junction box must match the applicable electrical requirements provided in your appliance’s manual. The junction box should be either 3 inches above or below the cabinet cutout. If you don't see a junction box, then it may be behind the drywall of the cutout and you'll have to cut an opening to reach the box and connect the wiring. In this case, you may need to schedule service with a qualified electrician.

STEP 7: PLACE OVEN FEET
Tilt the new oven onto its back carefully with the help of a second person, making sure to place it on the cardboard to help avoid damage. Use your installation instructions for specifics, since how you attach the feet will depend on the height of your cutout, as well as if you're installing a single or double oven.

STEP 8: COMPLETE ELECTRICAL CONNECTION
Again, using your installation guide for specifics and instructions, connect the wiring and various hookups as instructed in your user manual. However, this can be a complicated process that involves electrical wiring, so if you feel out of your depth or can't figure it out, it may be best to get the help of a qualified professional.

STEP 9: FINISH THE INSTALLATION
Lift the oven into the opening of your cabinet with the help of a second person to distribute the weight of the oven. Check that your appliance is level and properly aligned before proceeding. Once you’ve confirmed that it has been installed properly, secure the anchoring screws with a drill so that the oven stays in place, and reattach the oven doors along with any trimming before restoring power and doing an operational check of the appliance.
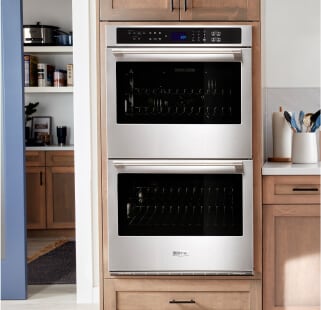
Will your wall oven fit?
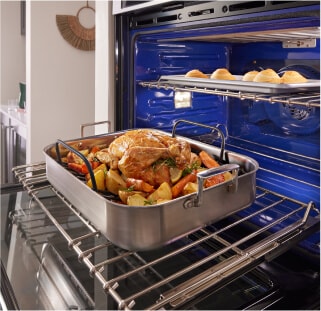
Convection vs.conventional cooking


WALL OVEN INSTALLATION TROUBLESHOOTING TIPS
If you run into trouble with your wall oven installation, use the following tips and tricks to help troubleshoot issues with your appliance.
If your oven door won’t close, ensure that the oven racks are inserted completely.
If your wall oven isn’t turning on after installation, it may not be connected to the correct electrical voltage. Some models require a 30-amp circuit, while others require a 40-amp circuit to operate.
If you have installed your oven with the correct voltage and it still isn’t turning on, check your fuse box for a tripped circuit breaker. Reset the breaker if necessary. If the problem continues, do not attempt to operate the wall oven and disconnect the power cord.
If problems persist after attempting these troubleshooting tips, schedule service with a licensed technician.

WALL OVEN INSTALLATION FAQS
If you still have questions about installing your new wall oven, the answers to some frequently asked questions below may help you get started.
You will need a cabinet or a built-in wall with adequate structural support, cutout dimensions, clearances and ventilation requirements in order to install a wall oven, since it requires room for the cooking cavity and electronic parts of the oven.
Whether or not you need an electrician depends on how comfortable you feel with installations that require working with electricity. If this is something that you haven't done before, you're unfamiliar with working with electrical wiring or if significant electrical work is required, then hiring an electrician is strongly recommended.
Oven prices vary greatly depending on brand, model and whether it's a single, double or combination oven. However, prices for Maytag® wall ovens can generally range anywhere from roughly $1,400 to $3,000. Cost of installation may depend on the complexity of the installation, including cabinet modifications and electrical work, as well as your home's location and local labor rates.
Depending on the layout of your kitchen, you may be able to replace an older wall oven with a new model of a different size. However, you may need to modify your cabinet cutout measurements and clearance requirements to fit the new model.
If your wall oven doesn’t line up with the cabinet trim, you may need to make modifications to your installation and cutout. If your cutout is too small, you’ll need to first determine if there’s enough material and clearance to expand the opening, then modify the cutout if possible.
If your cutout is too large, there may be steps you can take to mitigate the situation, but it might be best to consult a professional to help with your installation.
A single wall oven can often fit under a countertop. However, you will have to consider the height difference between the appliance (typically 27-28 inches) and your kitchen countertops (typically 36 inches). You may end up with extra space above or below the appliance. Check your user manual for installation requirements to be sure.
To determine whether your new appliance will fit in an existing cutout, measure the cutout’s height, depth and width and then compare it to the cutout requirements of your new wall oven. If the current cutout measurements don’t align, you may have to modify the cutout or opt for a wall oven with the same dimensions as your old appliance.
You should only take on the task of installing your wall oven if you have the assistance of one other person and at least some experience installing other appliances or working with electrical wiring. If this is something that you haven't done before, you're unfamiliar with working with electrical wiring or if significant electrical work is required, then hiring an electrician is strongly recommended.
Whether you choose to install your new wall oven yourself or with the help of a professional, a Maytag® wall oven is designed with performance features that deliver serious cooking power. Explore single or double wall ovens from Maytag brand to find the appliance that fits in with your kitchen layout and your cooking routine.
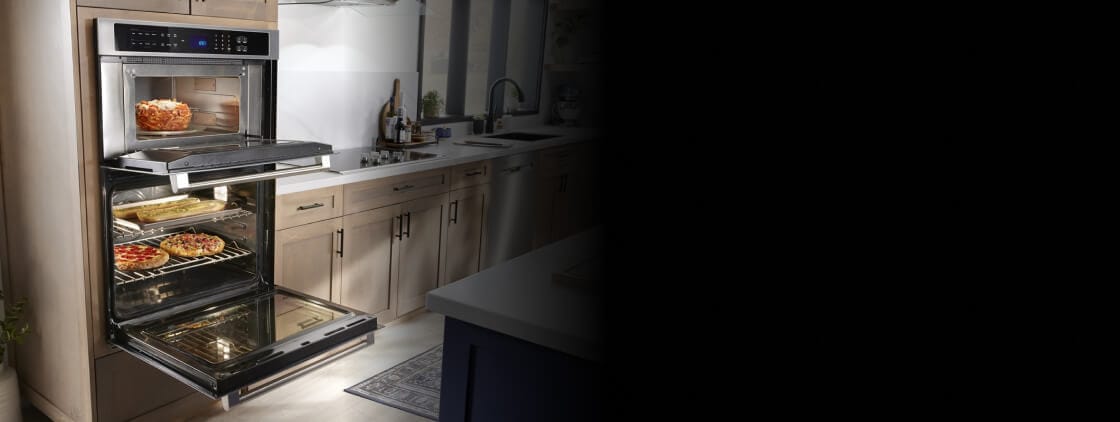
Maytag® wall ovens
WHERE POWER MEETS PRECISION
Get dinner done quicker with features on select Maytag® wall ovens that deliver serious cooking power


Your subscription was successful
Thank you for signing up. Keep an eye on your inbox for our next newsletter.
Sign Up for More Insights to Stay Connected
Enjoy articles like this? Get helpful guides and appliance care tips sent straight to your inbox.

